The Blog Post From Monday: A DJI Mavic Mini Review

The Blog Post From Monday: A DJI Mavic Mini Review

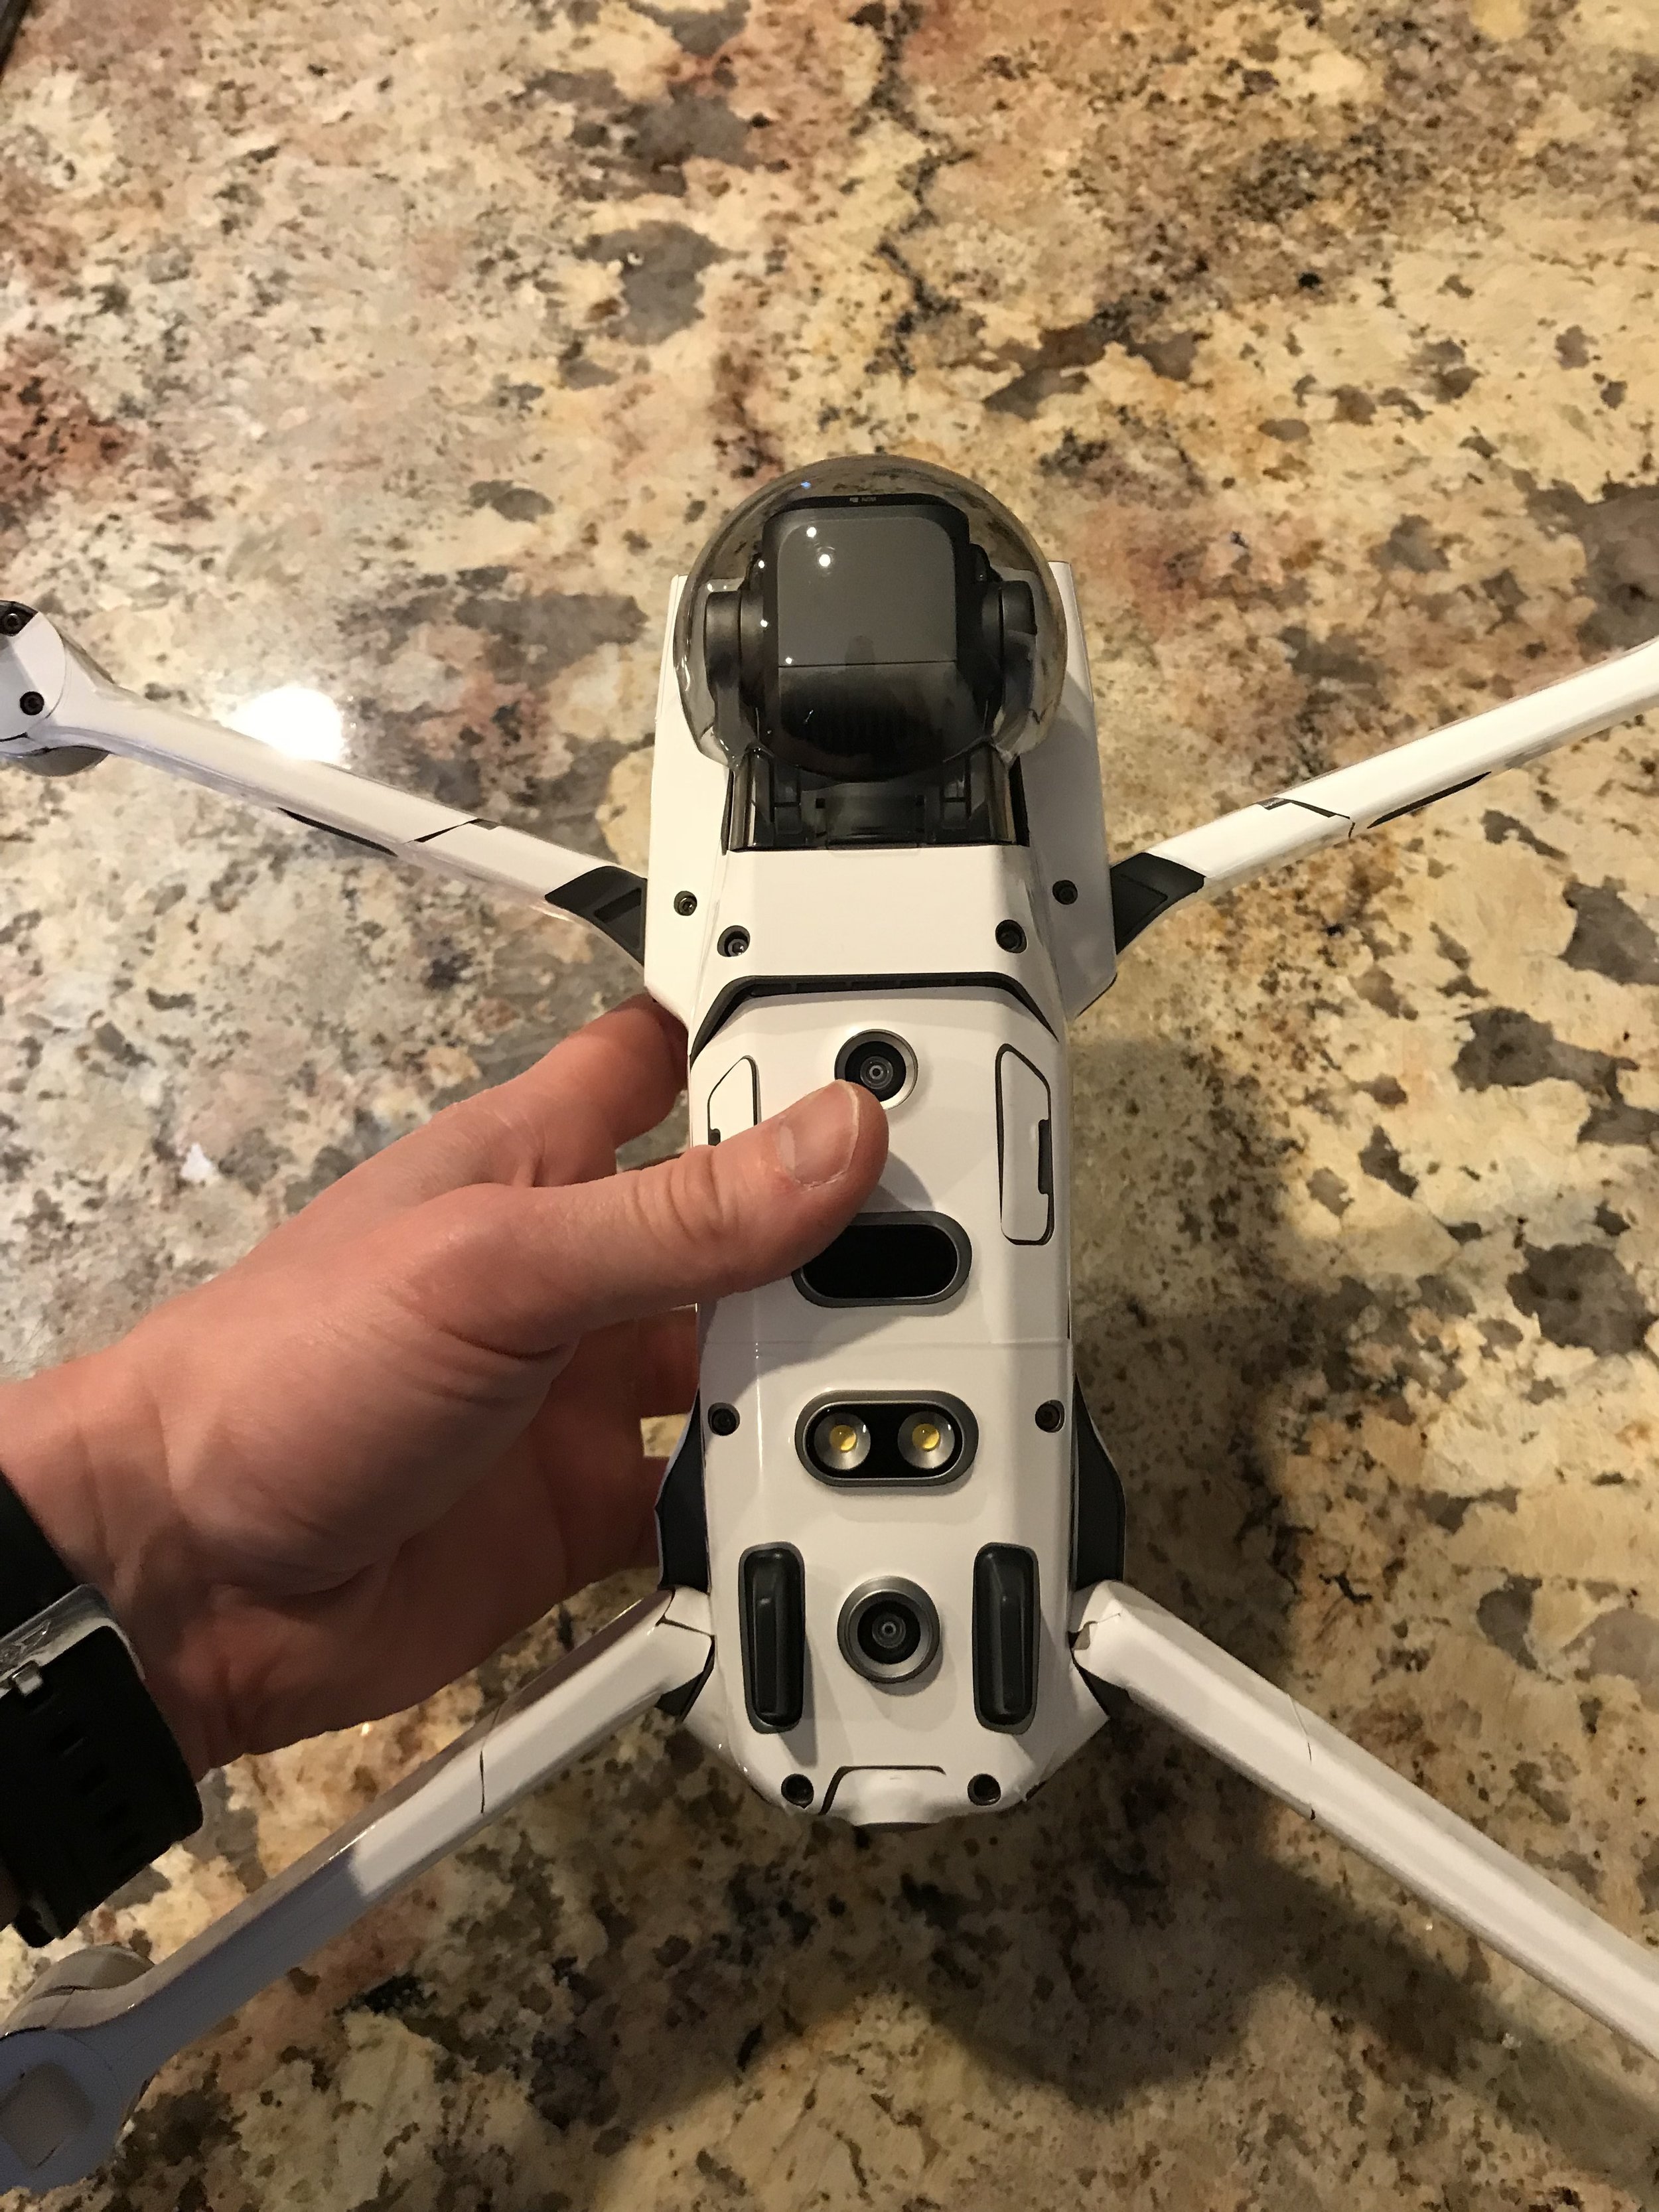
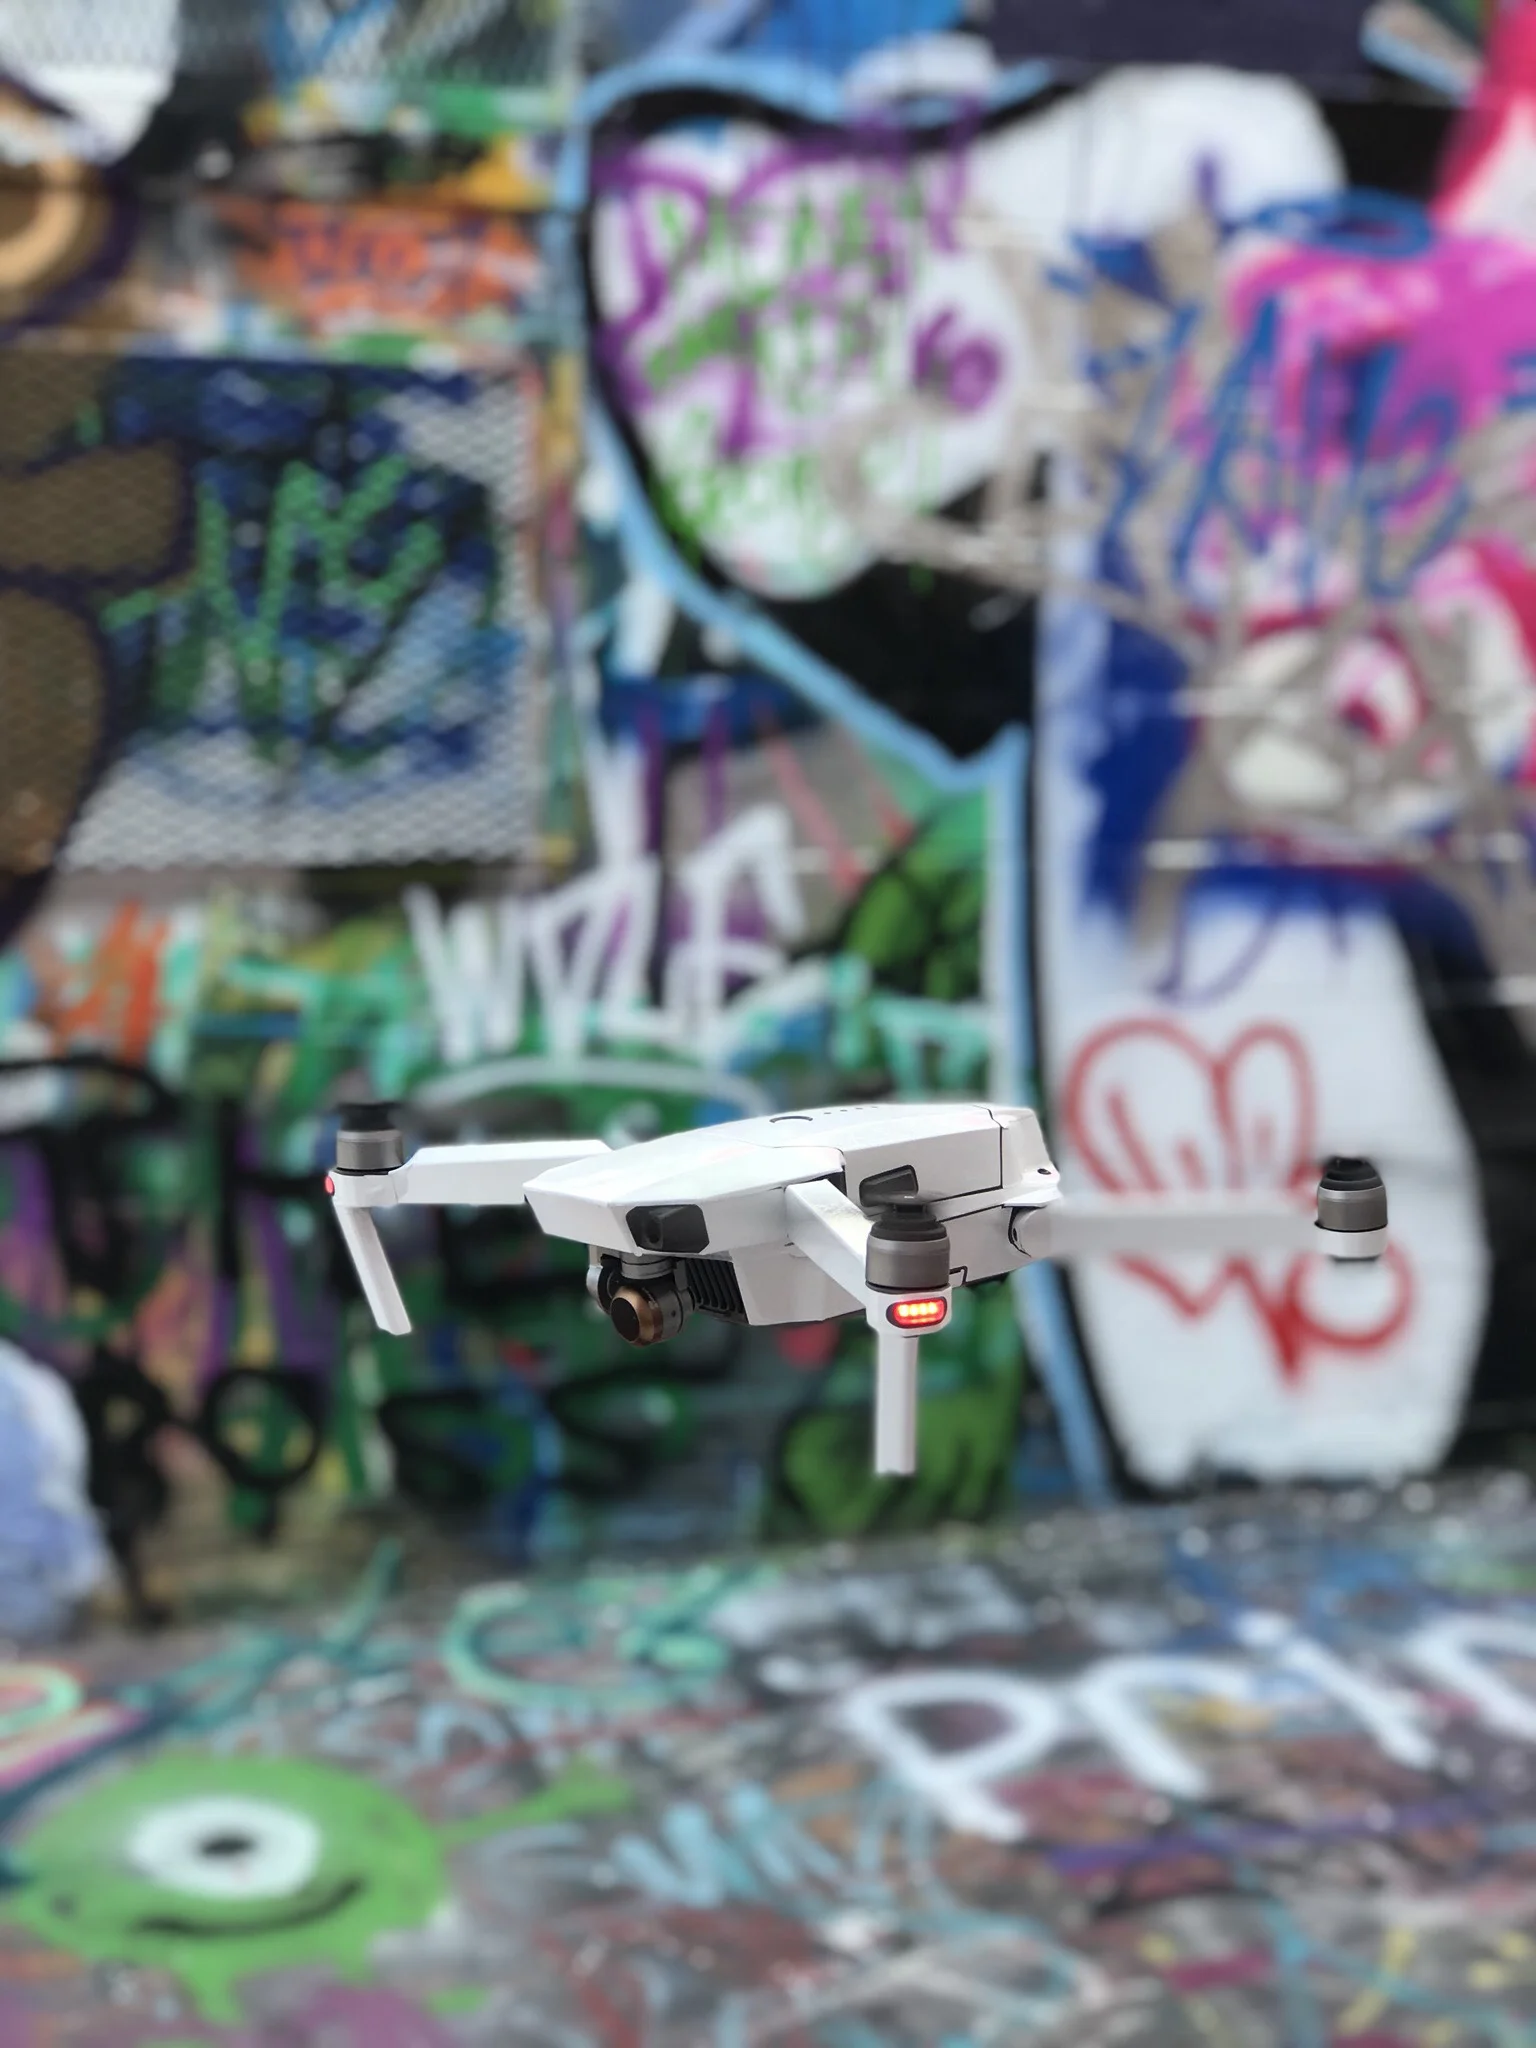
Where to start? Not too sure. This was supposed to be a revolutionary new product, and yet the specs don’t correlate with the hype. Why am I saying this? There’s no doubt DJI has stuffed a significant amount of technology into this new, fold-able little drone, but is it an upgrade from the DJI Spark? Within this blog post, we’ll go over my likes and dislikes of the drone while comparing the Mini to the Spark.

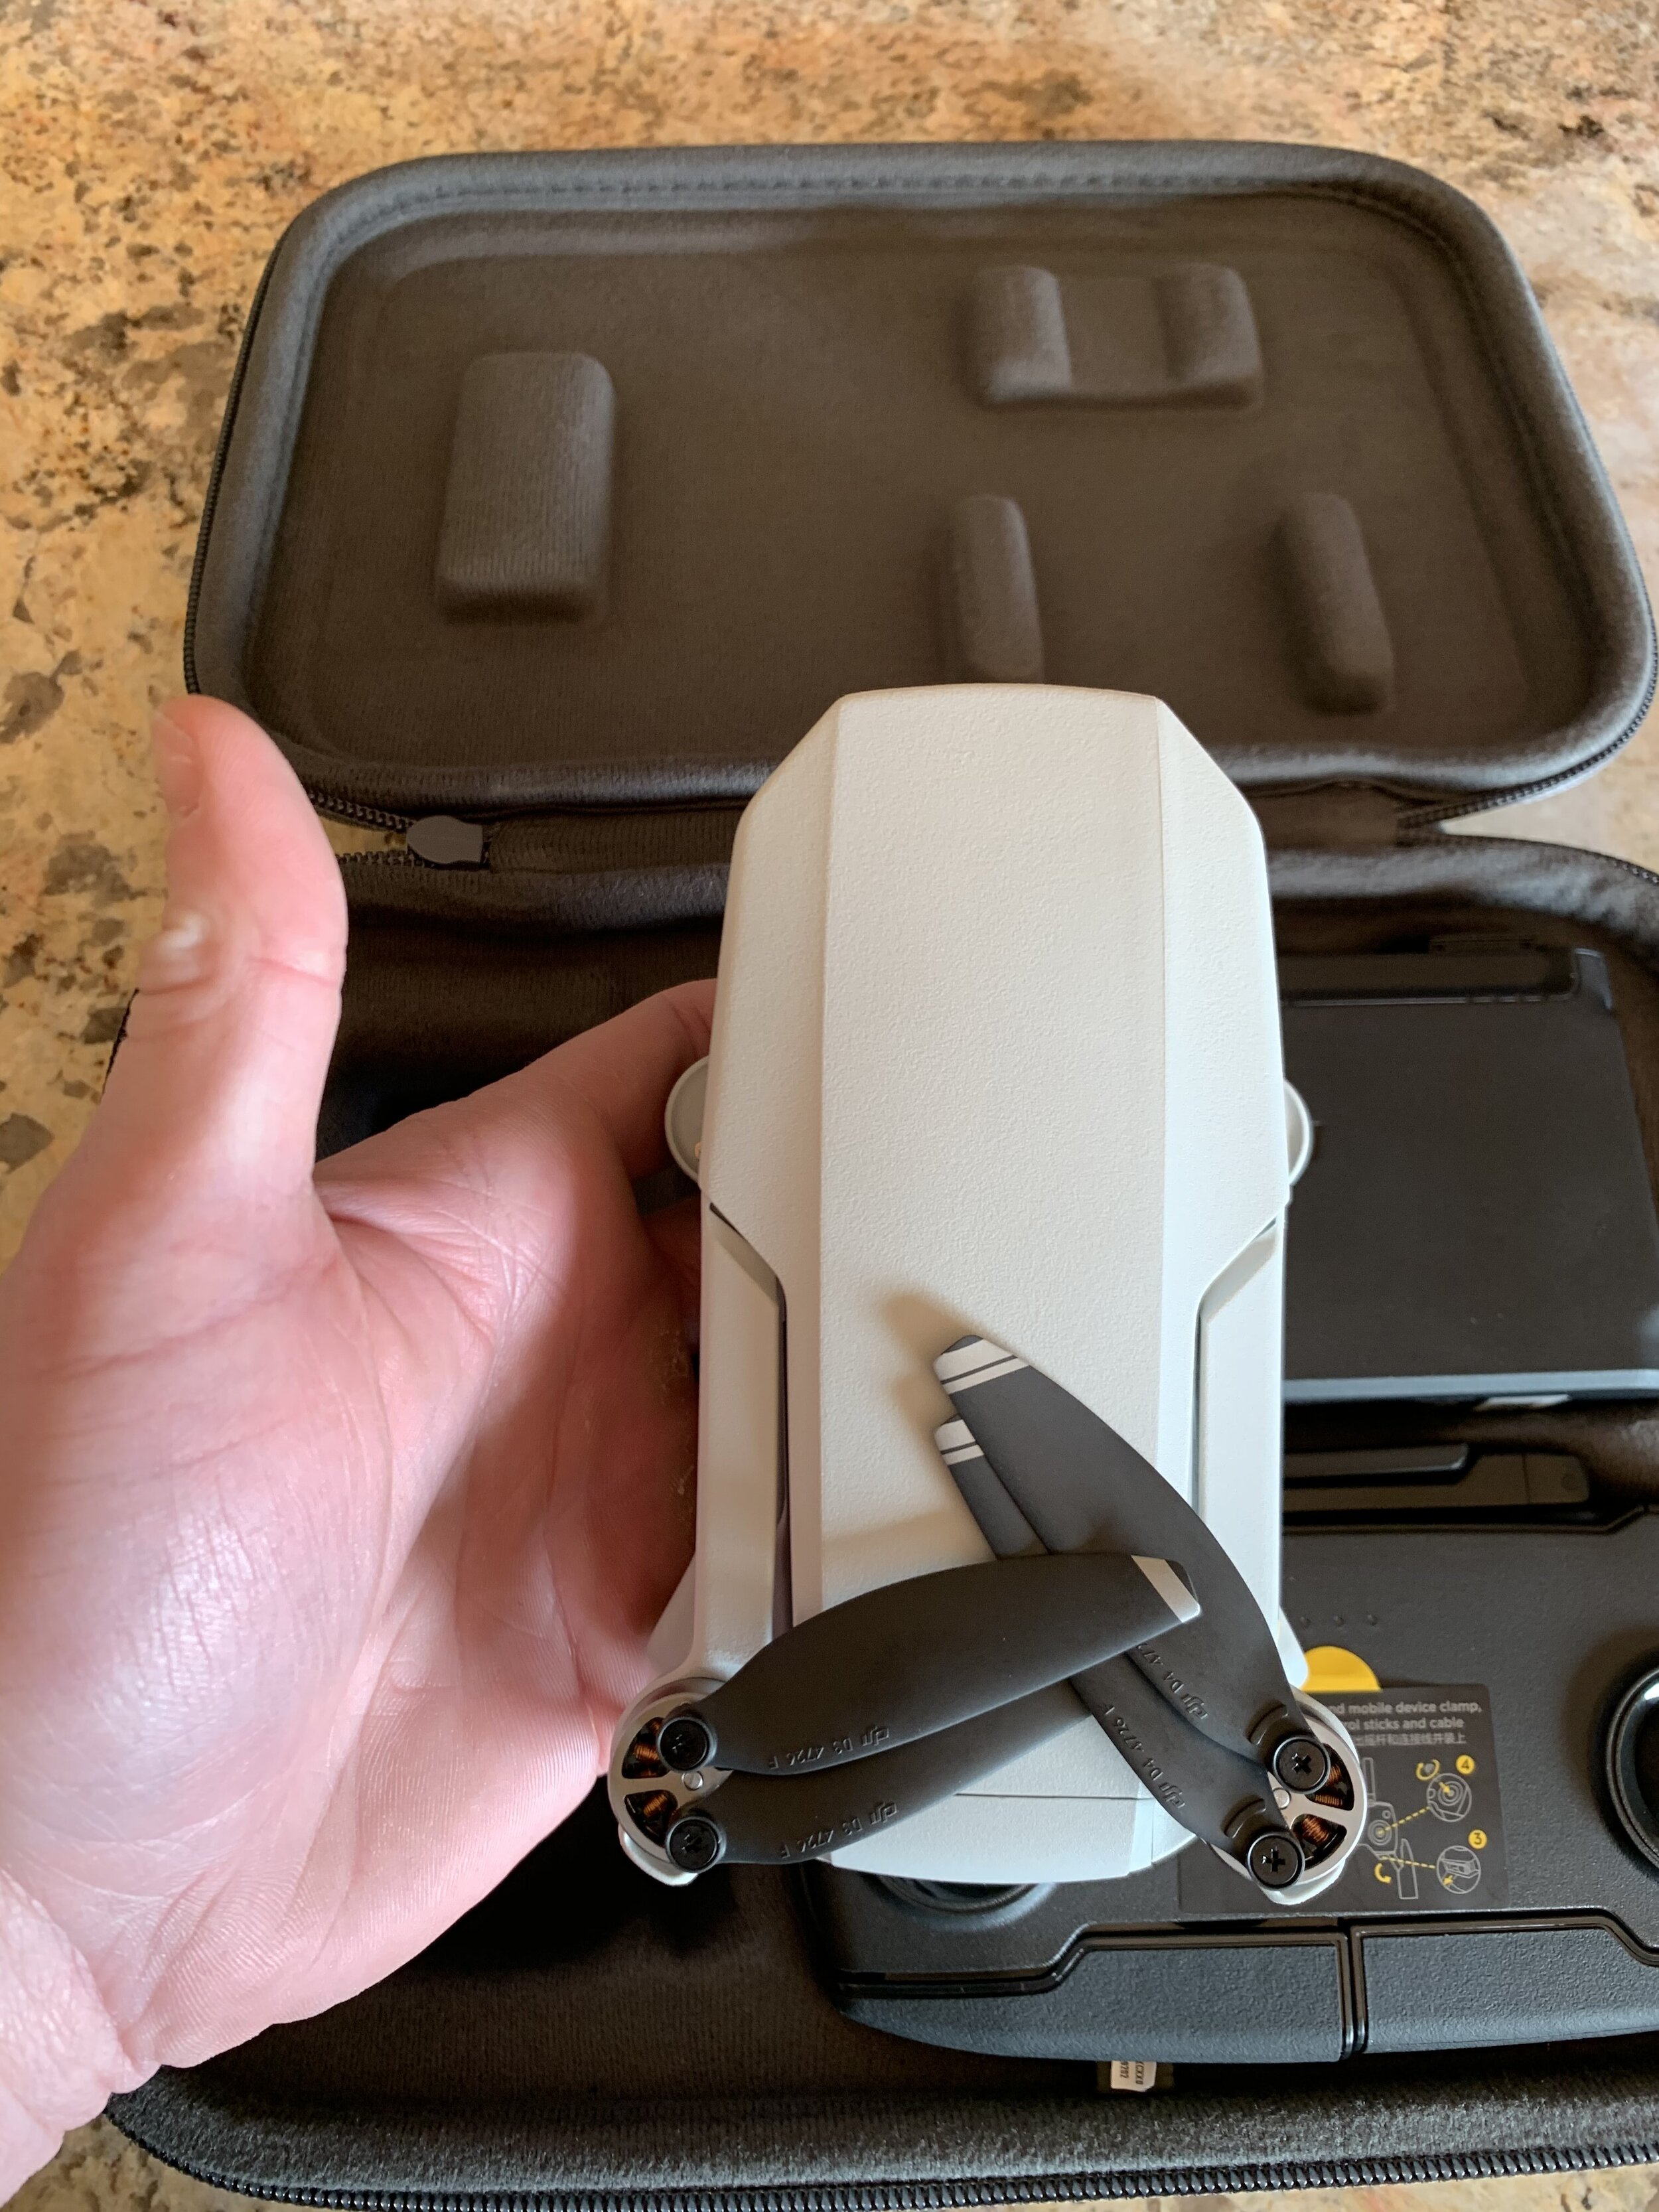
What is the DJI MAVIC Mini?

DJI’s latest creation is weighing only 249 grams and capable of capturing 2.7k video footage. Same with the Spark, JPS is the only still file format. Potential flight time is up to 30 minutes, and most of the quick shots offered within the DJI GO 4 app the Mini has makes this a cool drone. But “cool” as in a toy or a tool to add to your current flight systems. Can the Mini fit in a back jean pocket? Yes. Will this replace your Mavic Pro? No.

Let’s get into my head, AKA thoughts.

Is the MAVIC Mini a Good Drone?

This is an ambiguous question because perspective is everything. If you’re looking for something to take quick pics and video and then immediately upload to social, this could be for you. If you are thinking of or already have an aerial media business, I’d save your money.

Likes:

  1. Increased Range - I was never able to achieve 4km anywhere - Urban, suburban, or rural environments. My Spark would start having transmissions issues only 150-250 meters away, but the Mini went 1.2k meters before any lag was experienced. The range is a vast improvement, and my favorite attribute overall.

  2. Battery Life - with the Spark I was averaging around 7-10 mins with each battery, now, the Mini is close to 25 minutes average but a mean value of 22 based on all my flights.

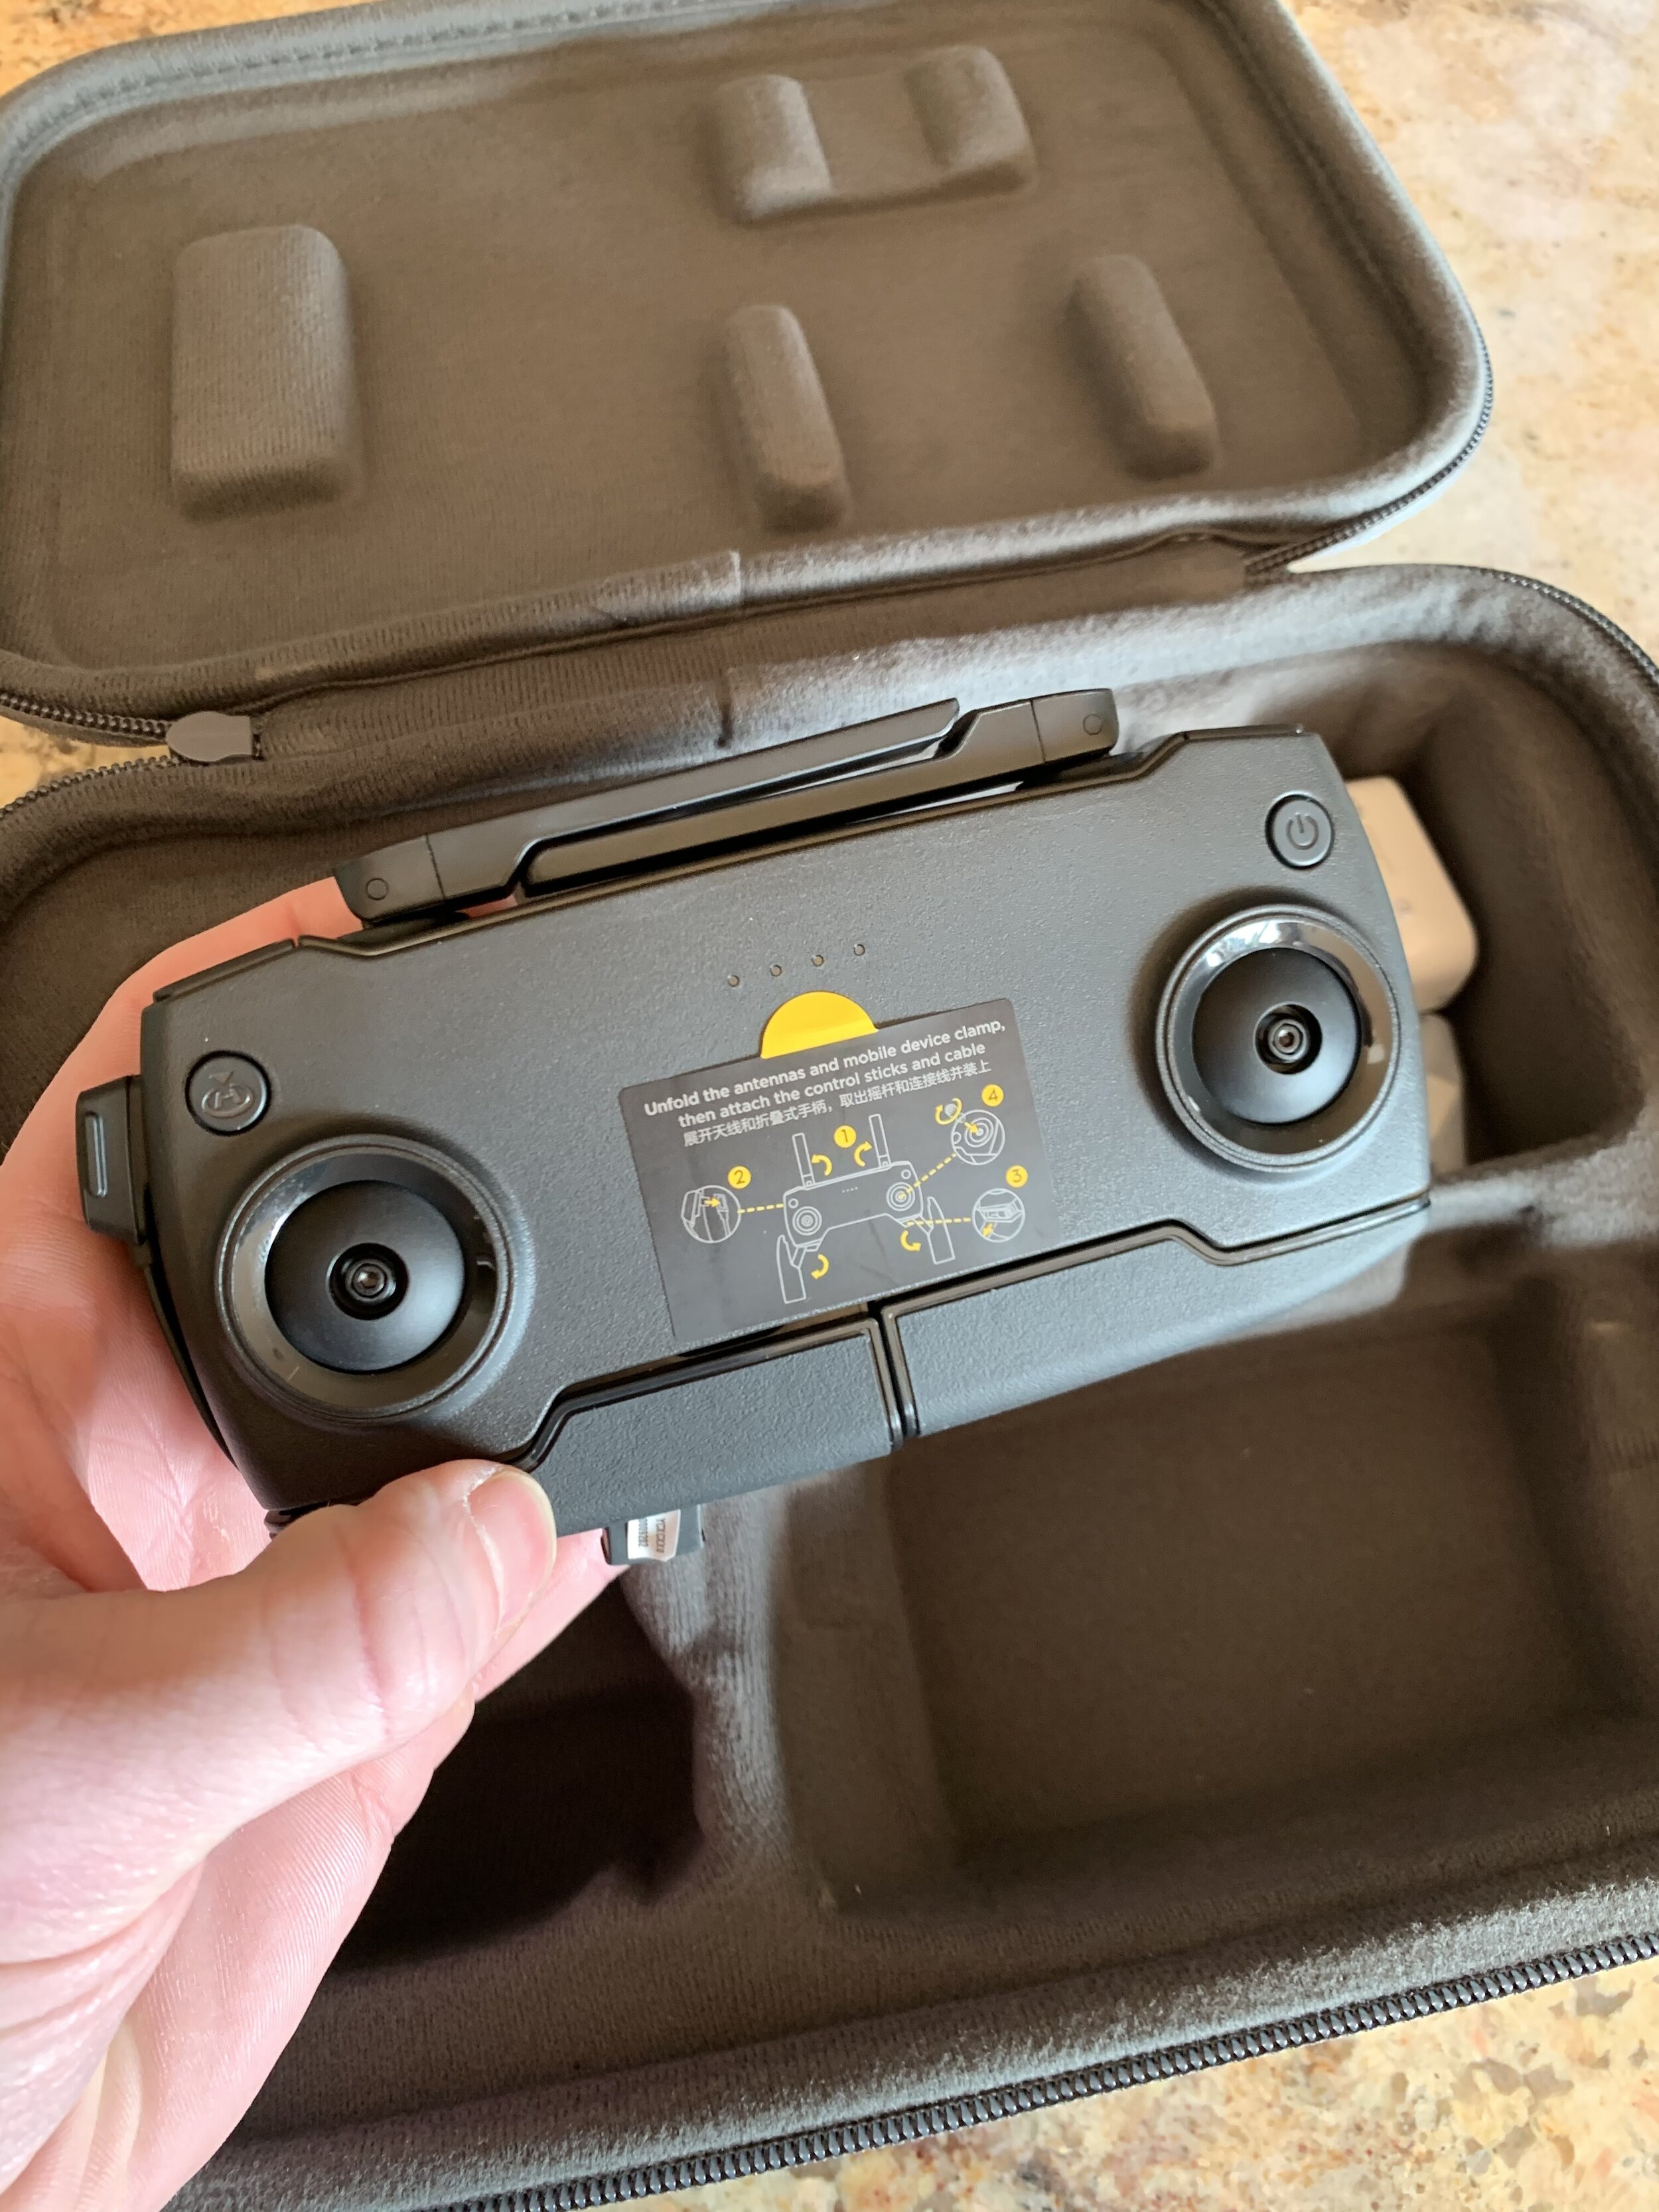
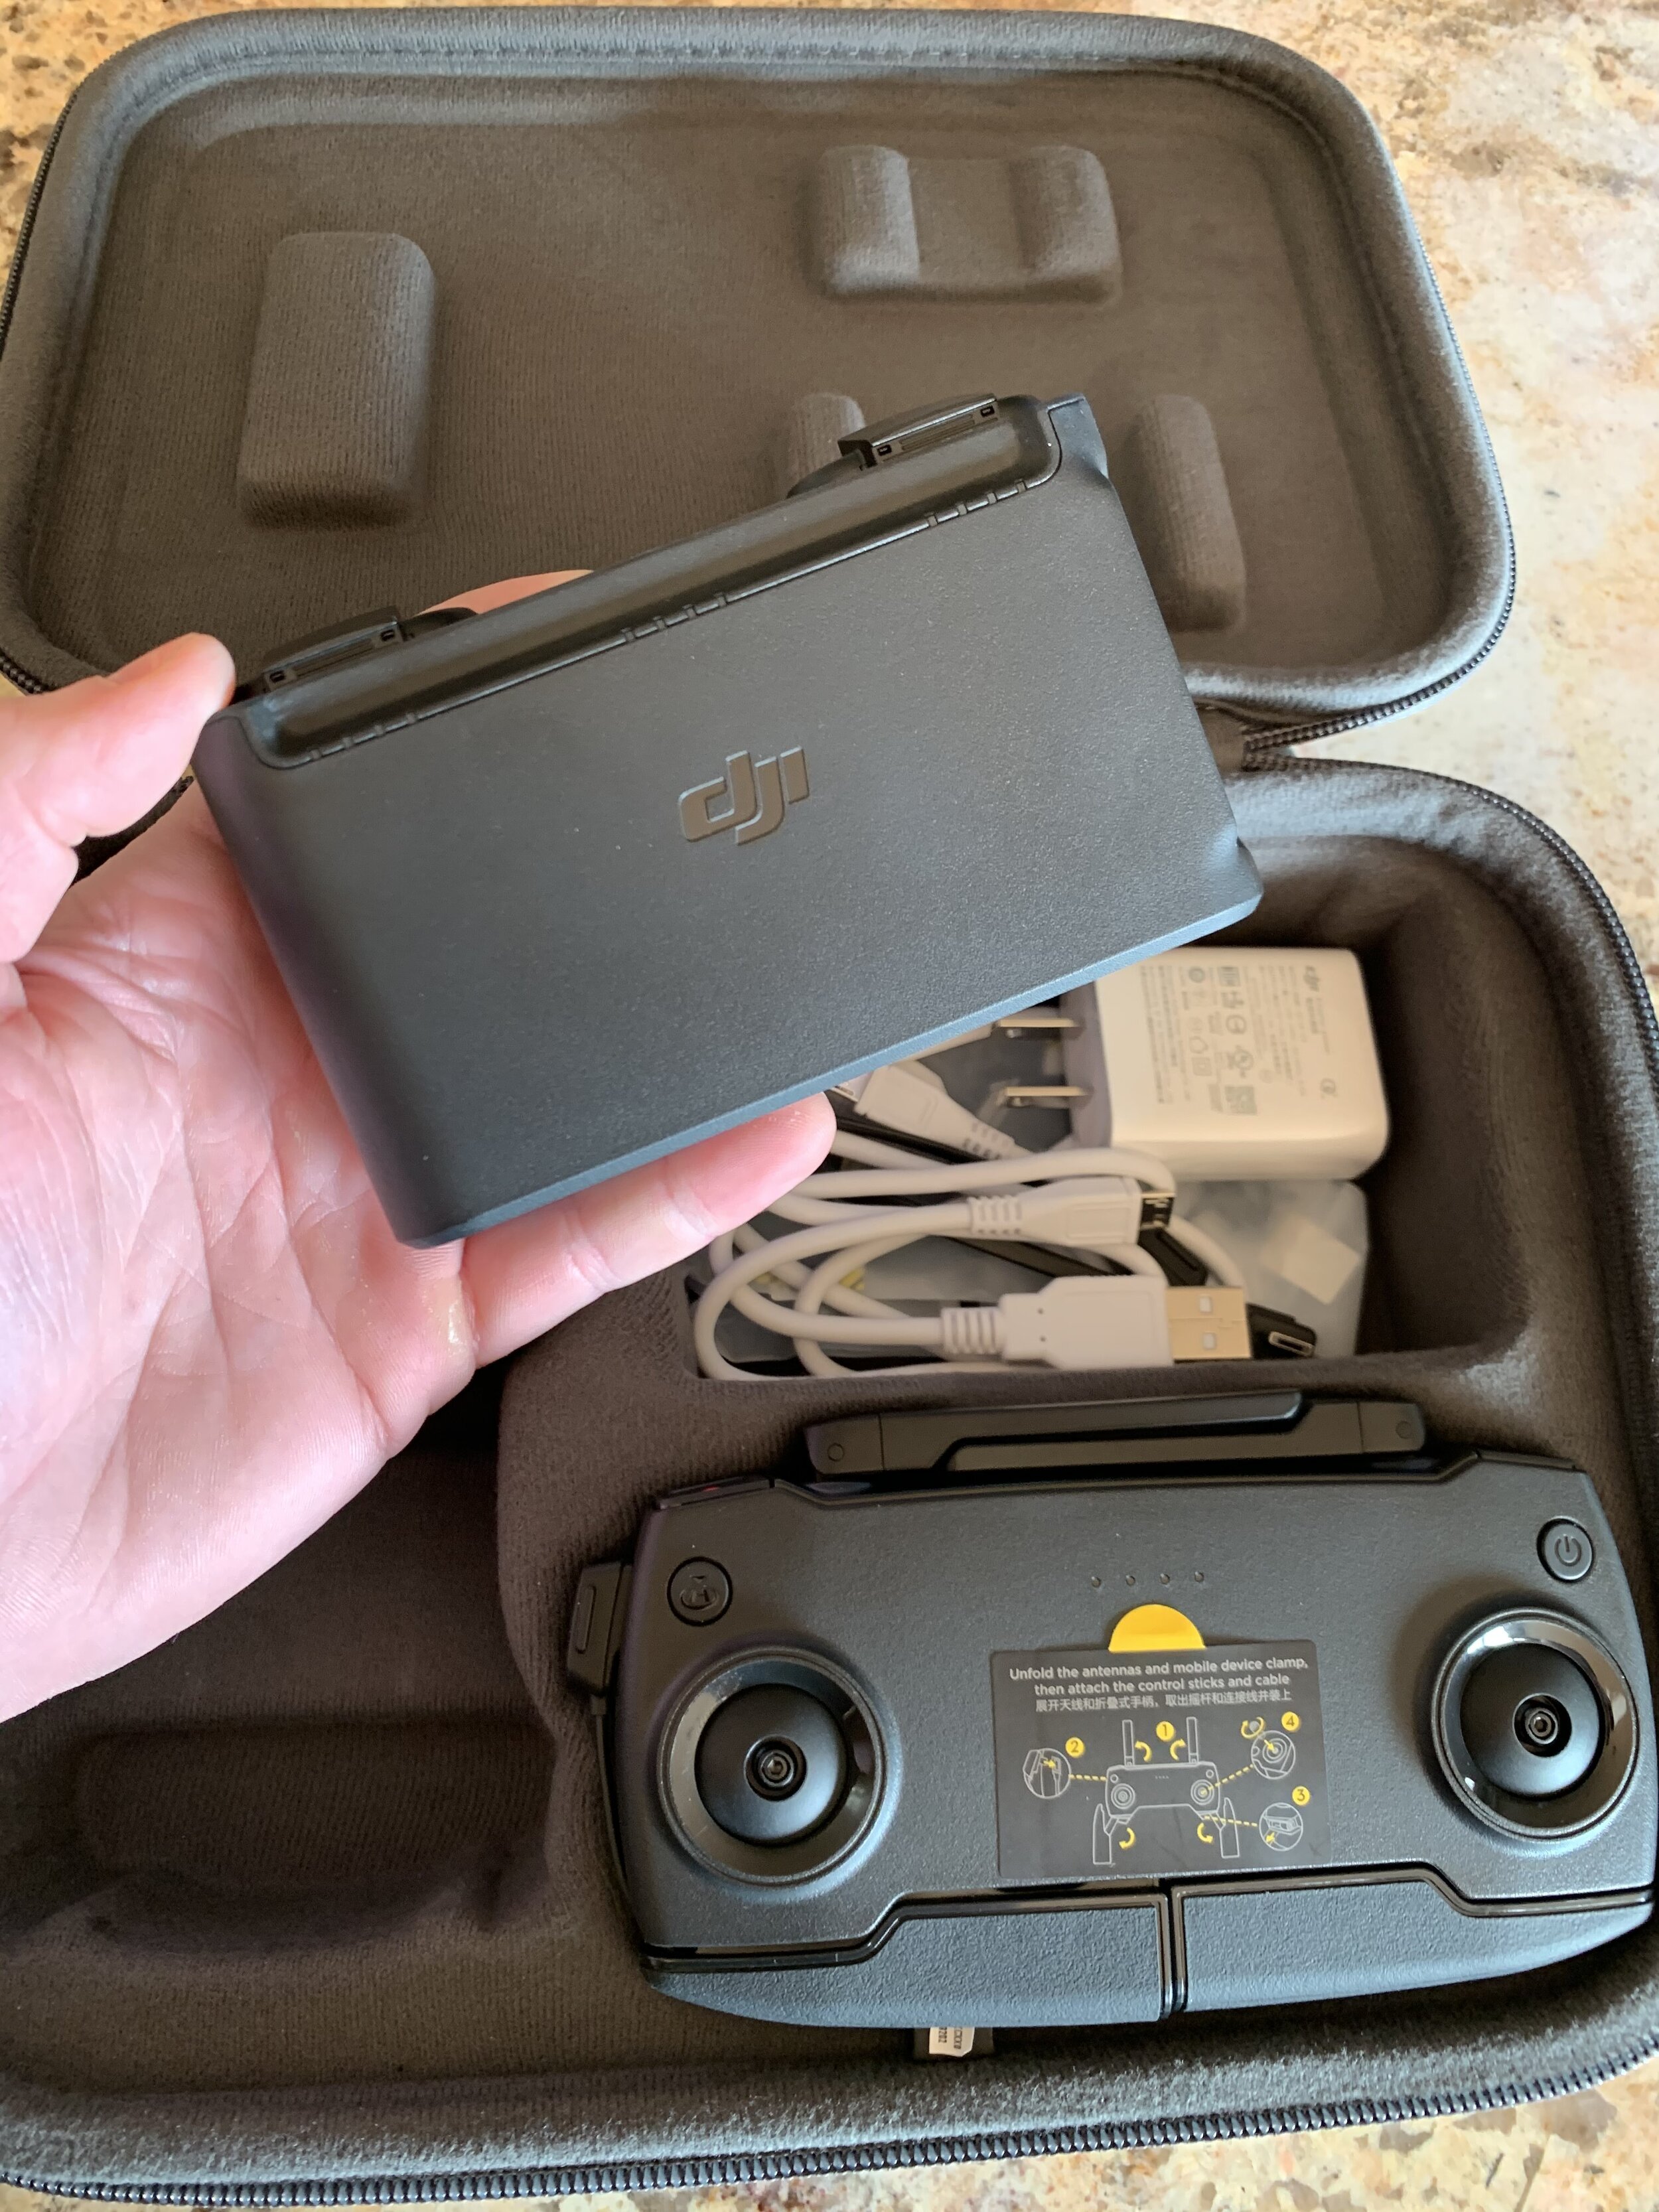
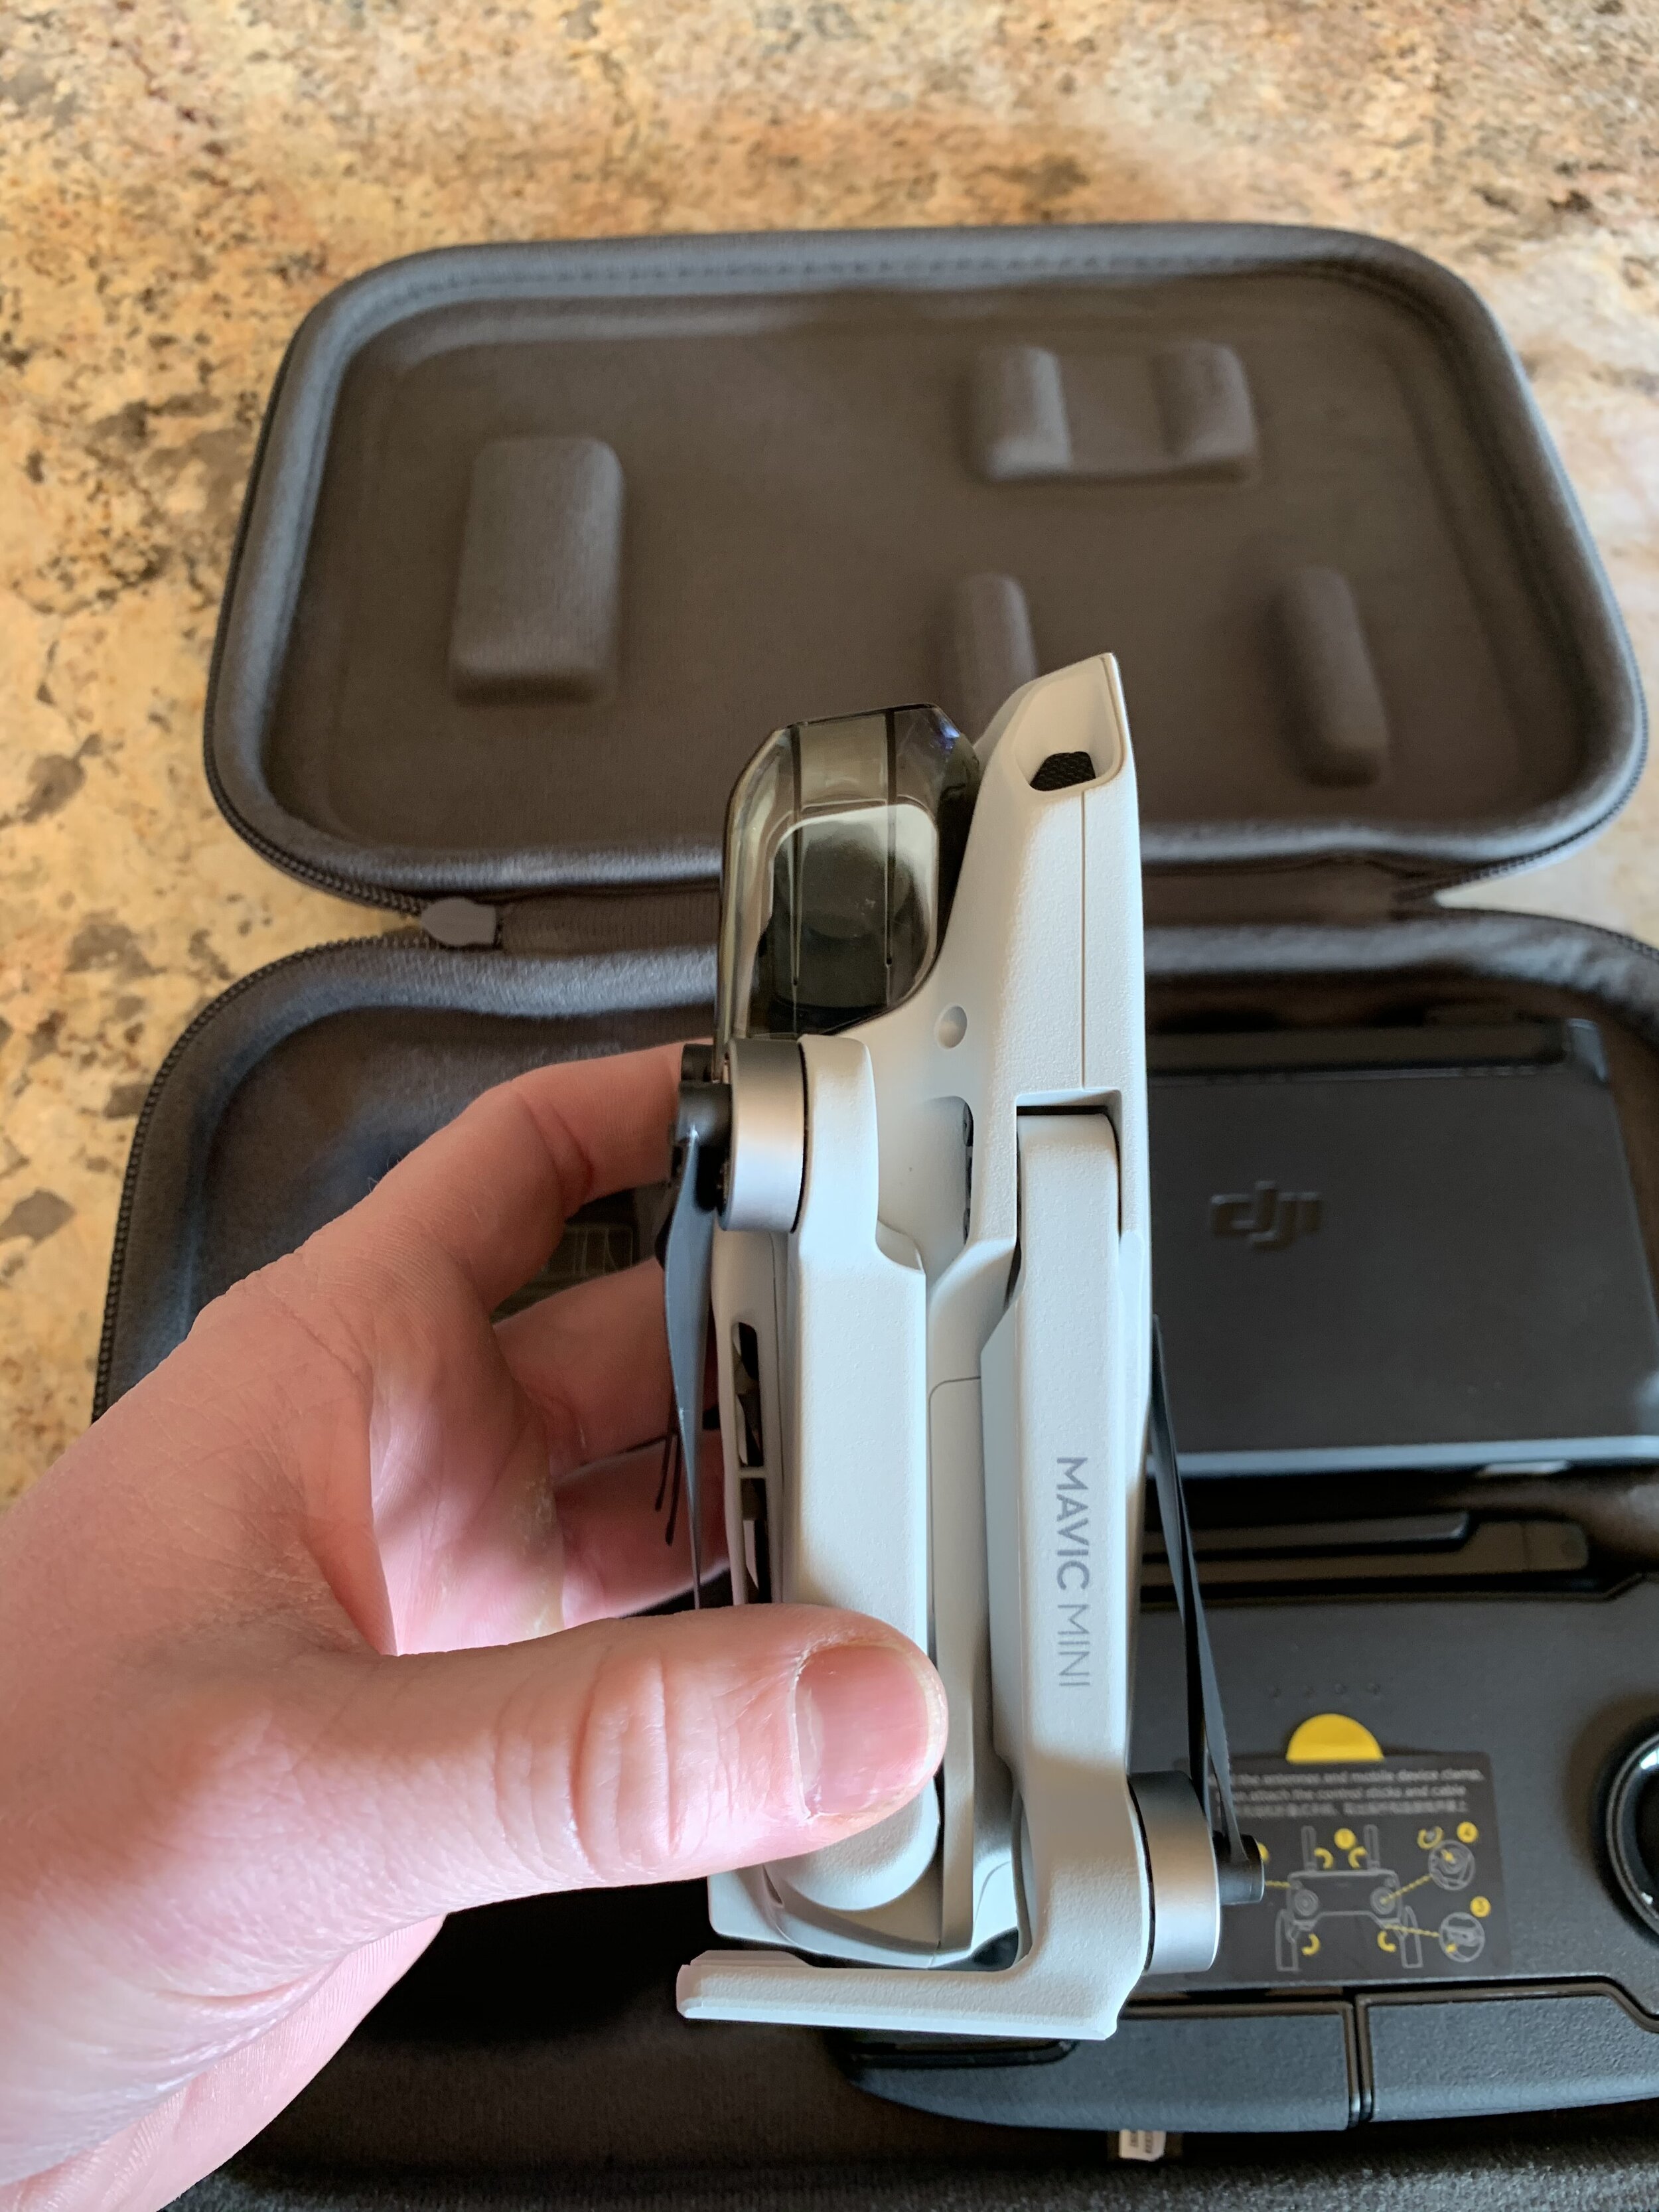
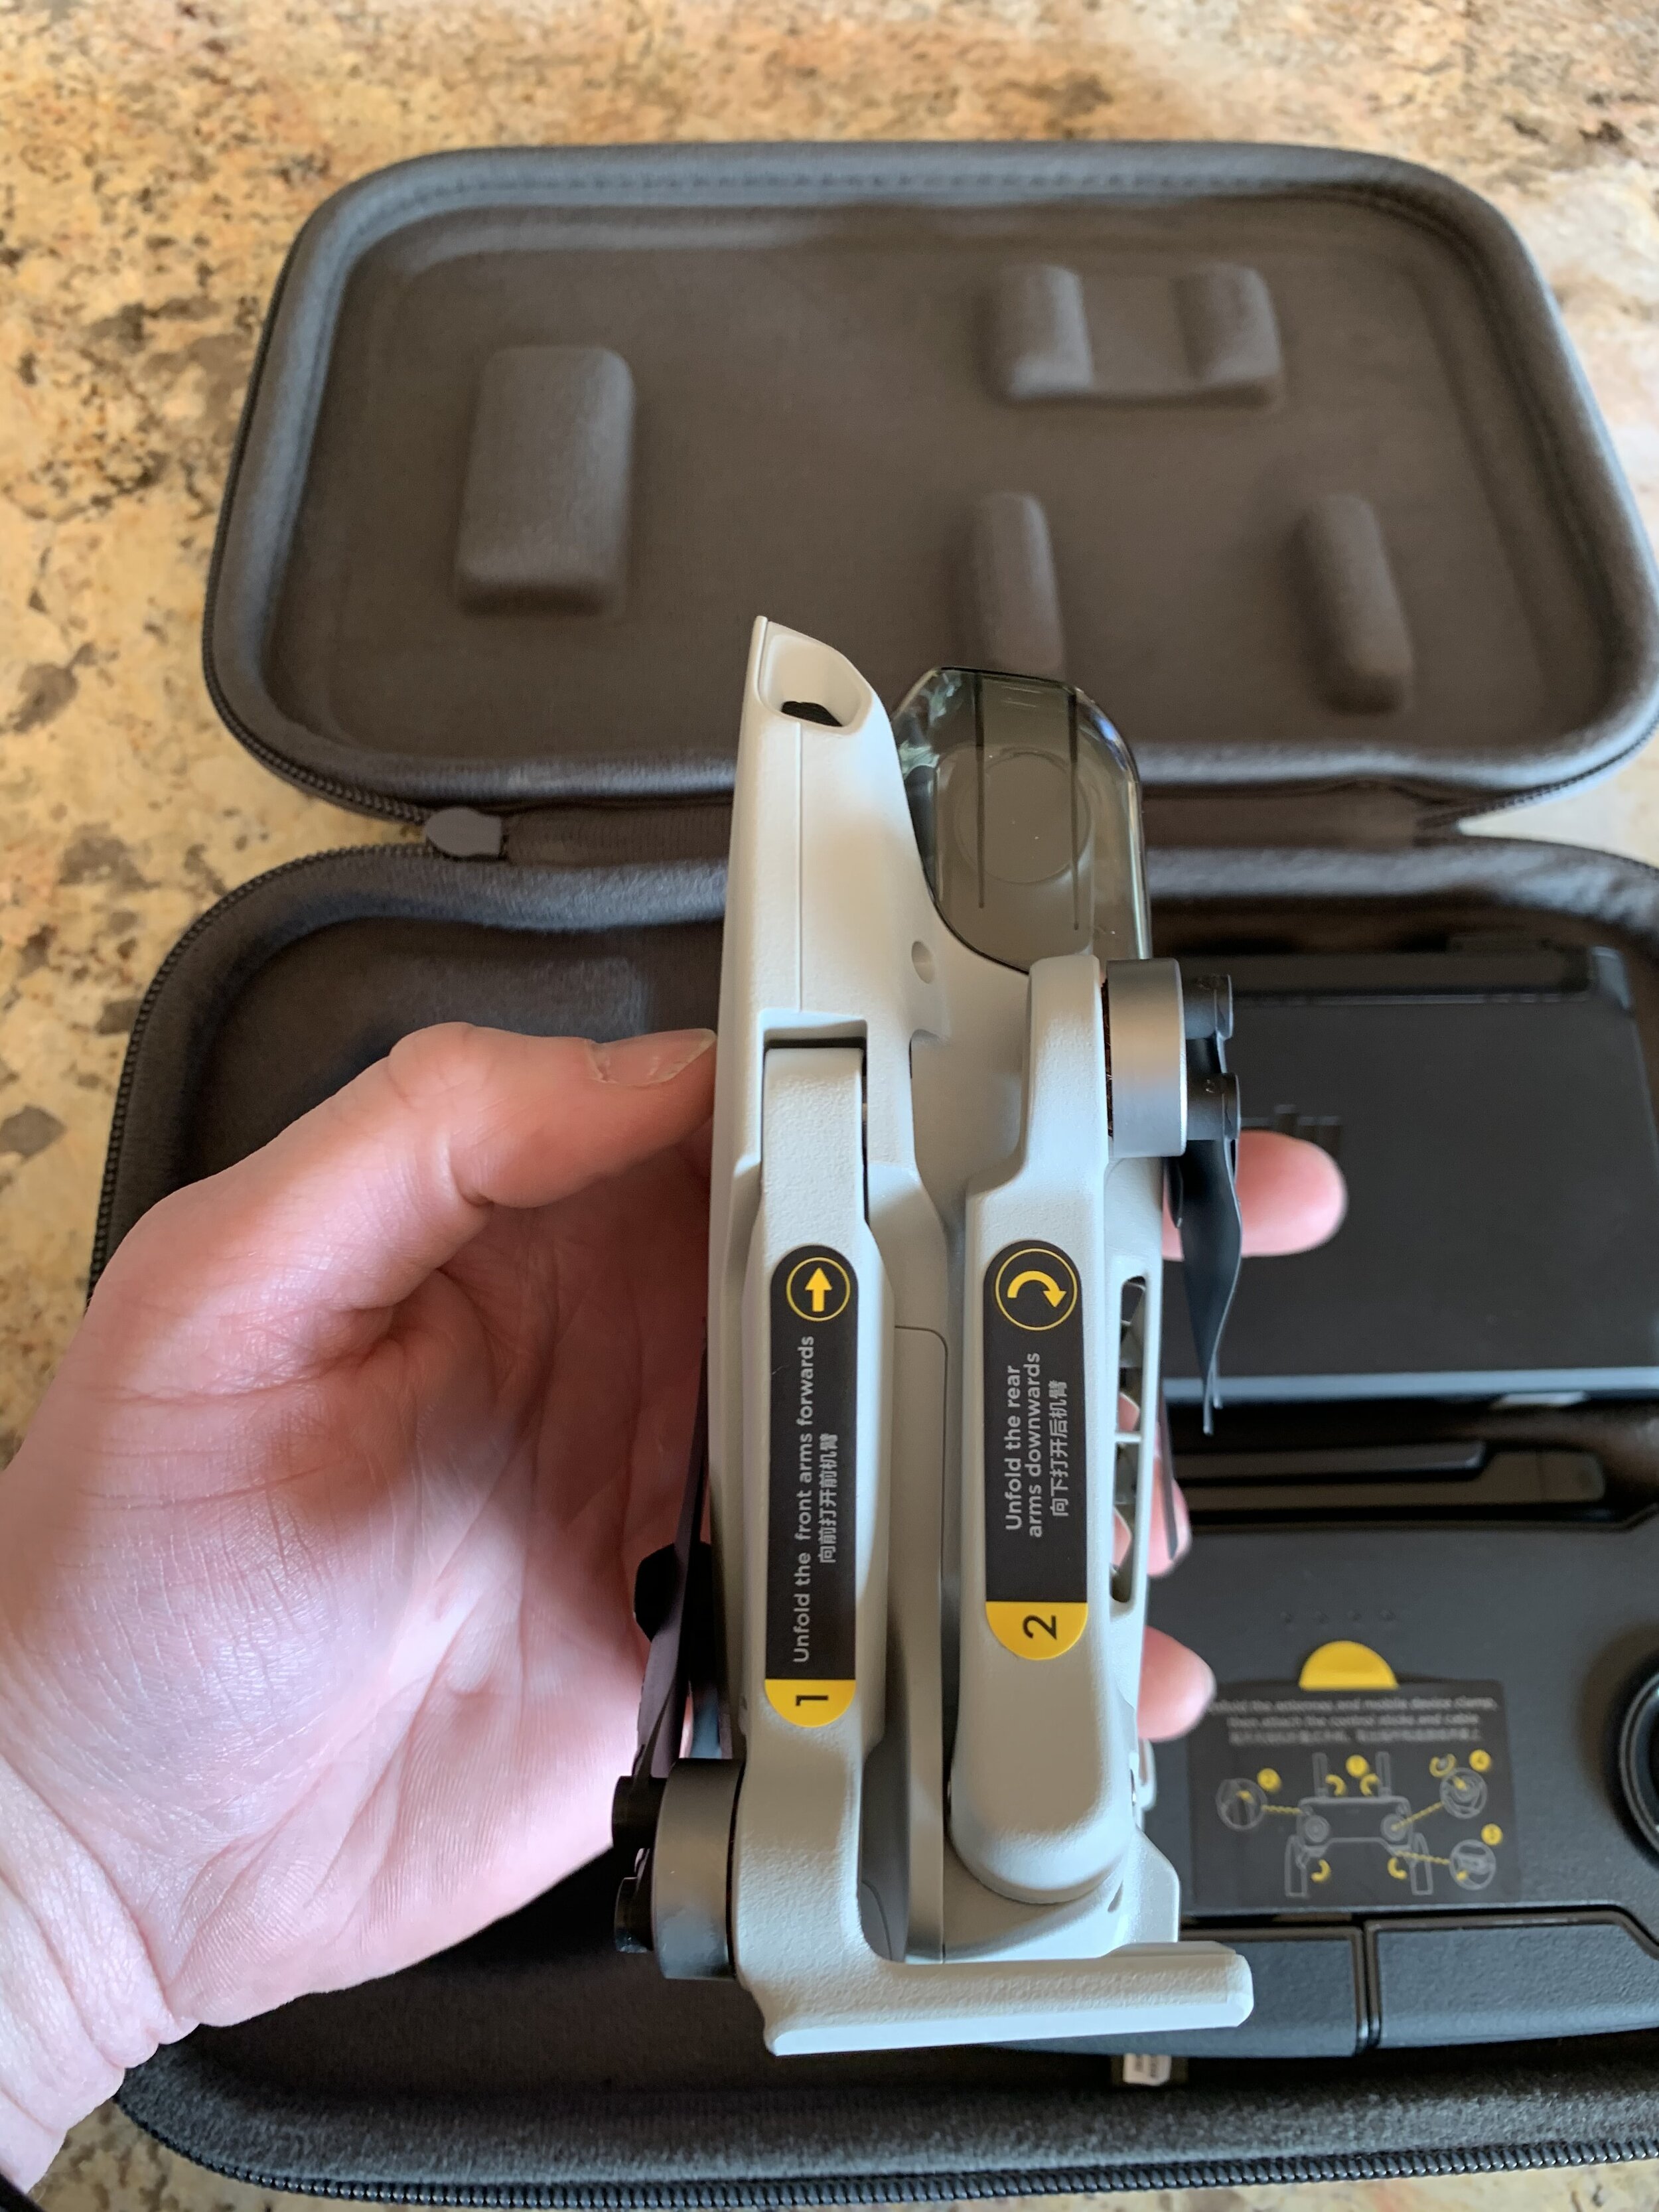
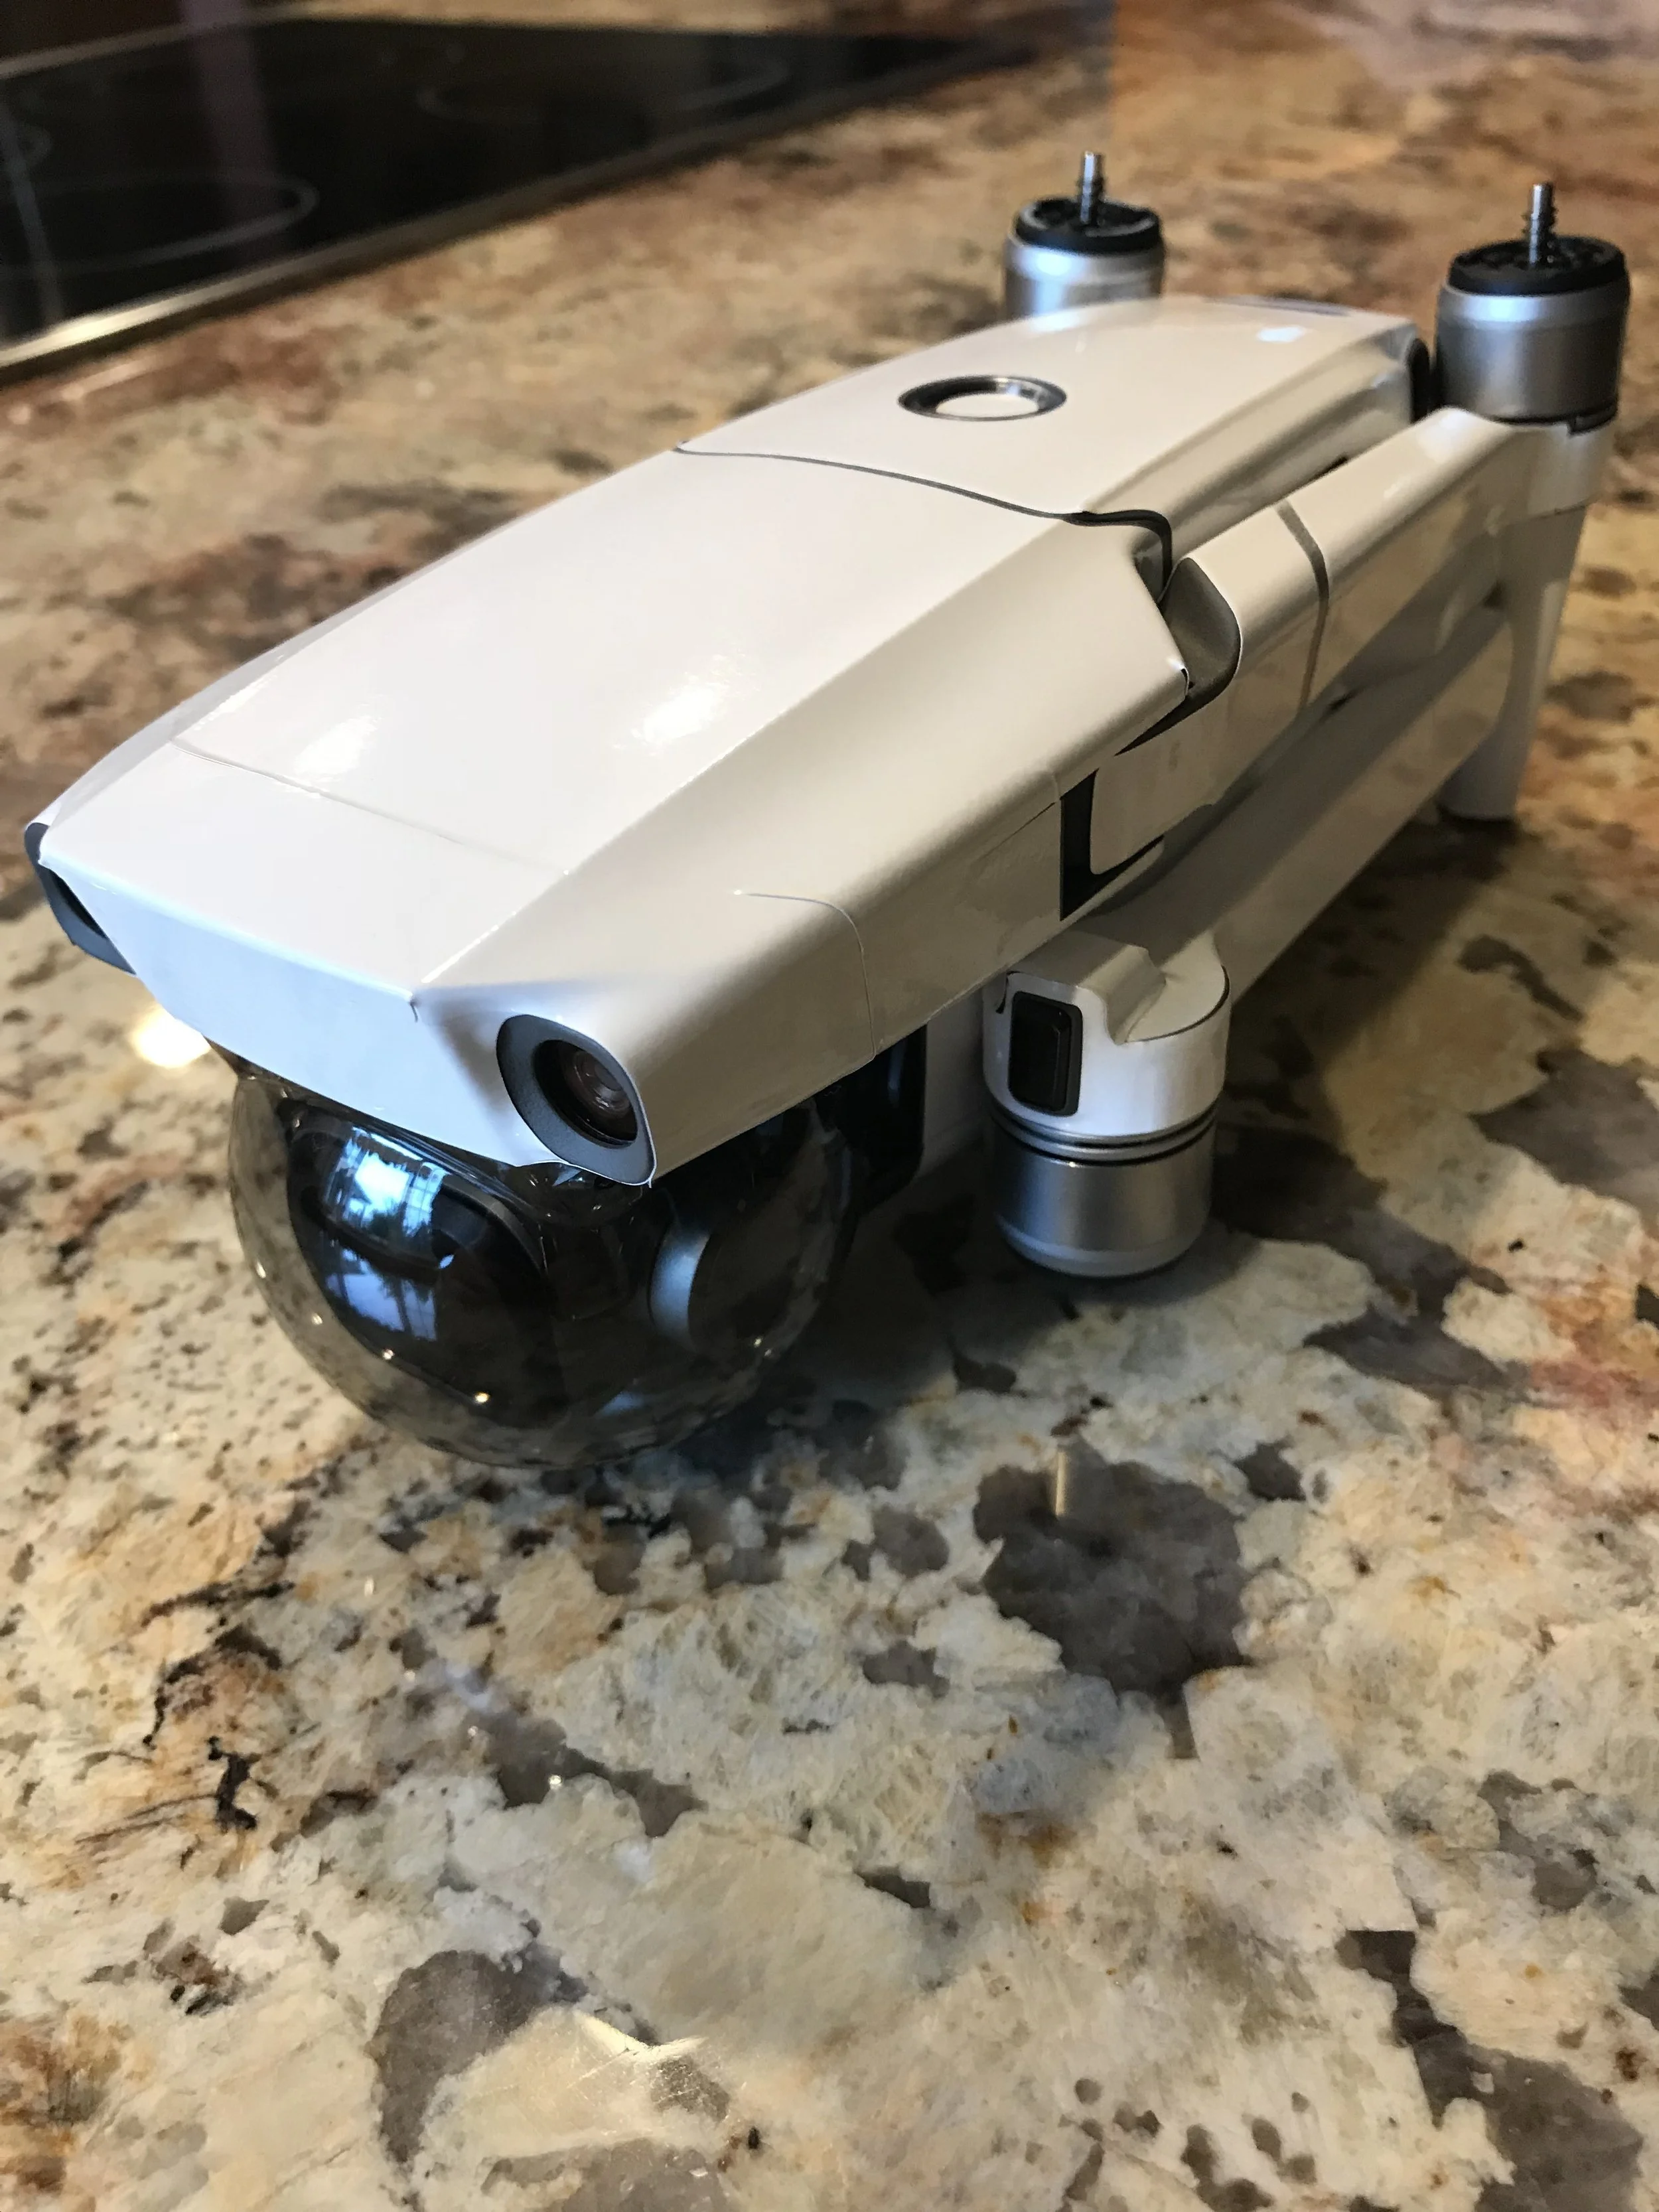
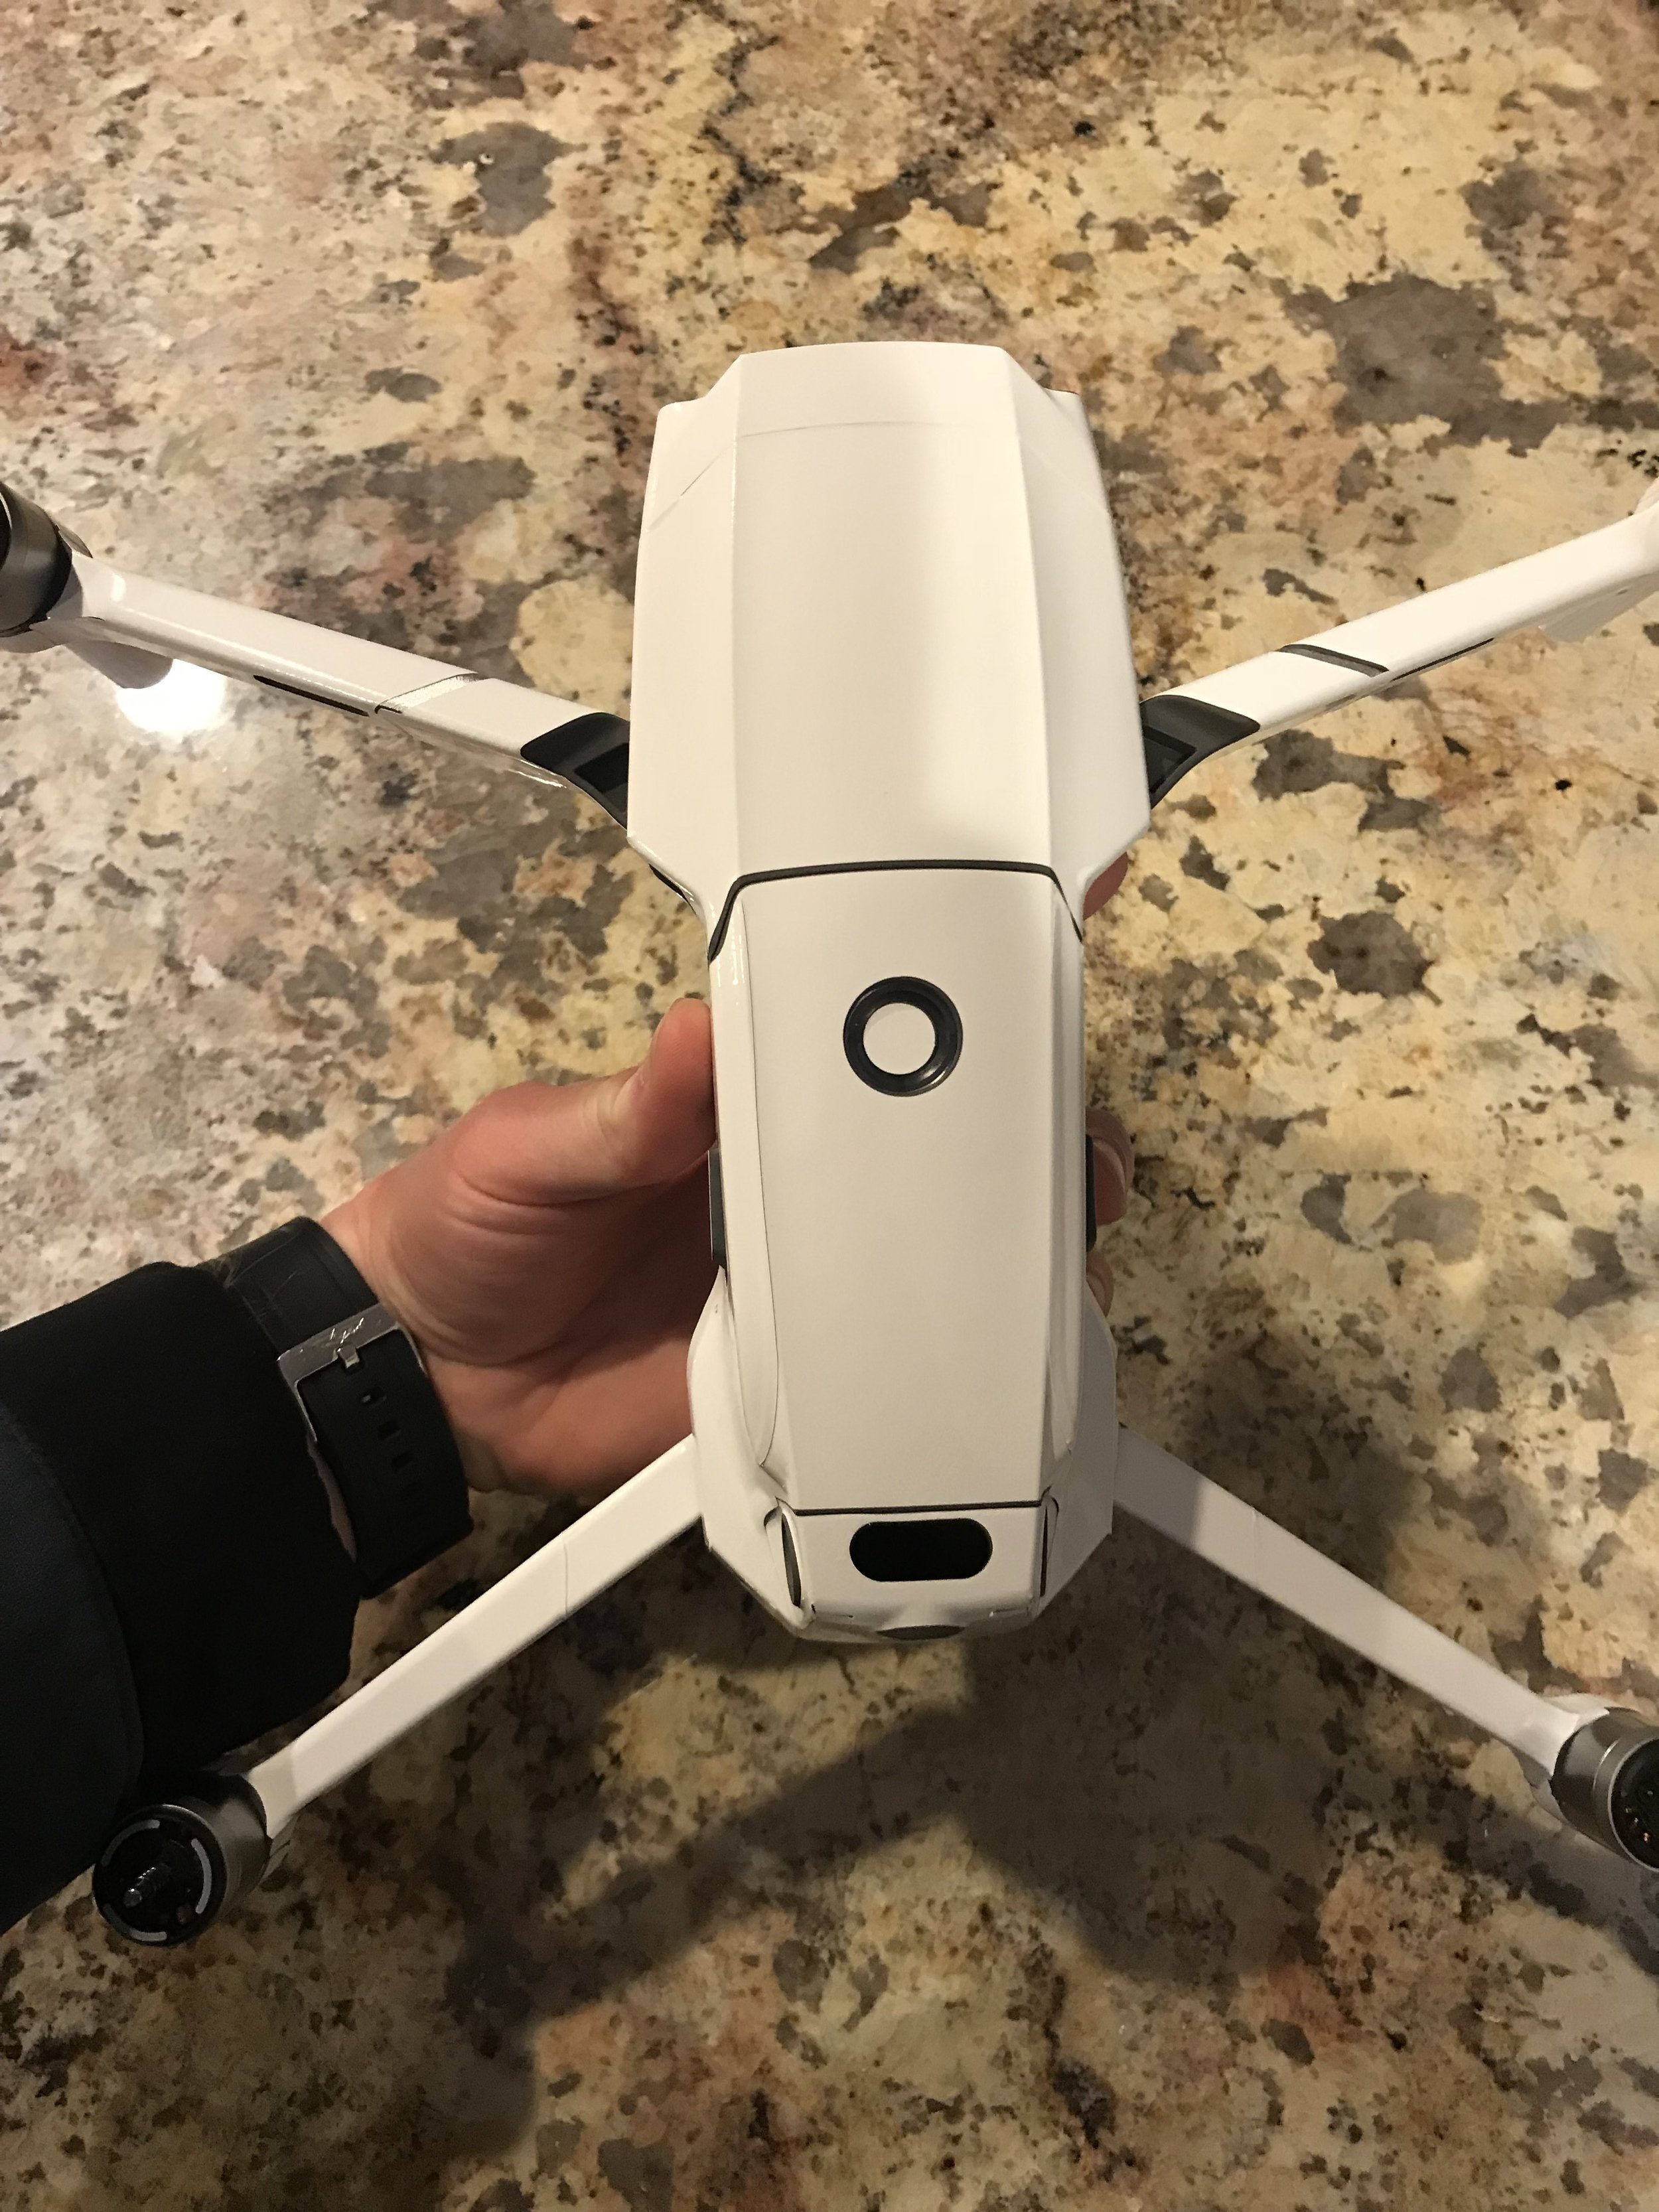
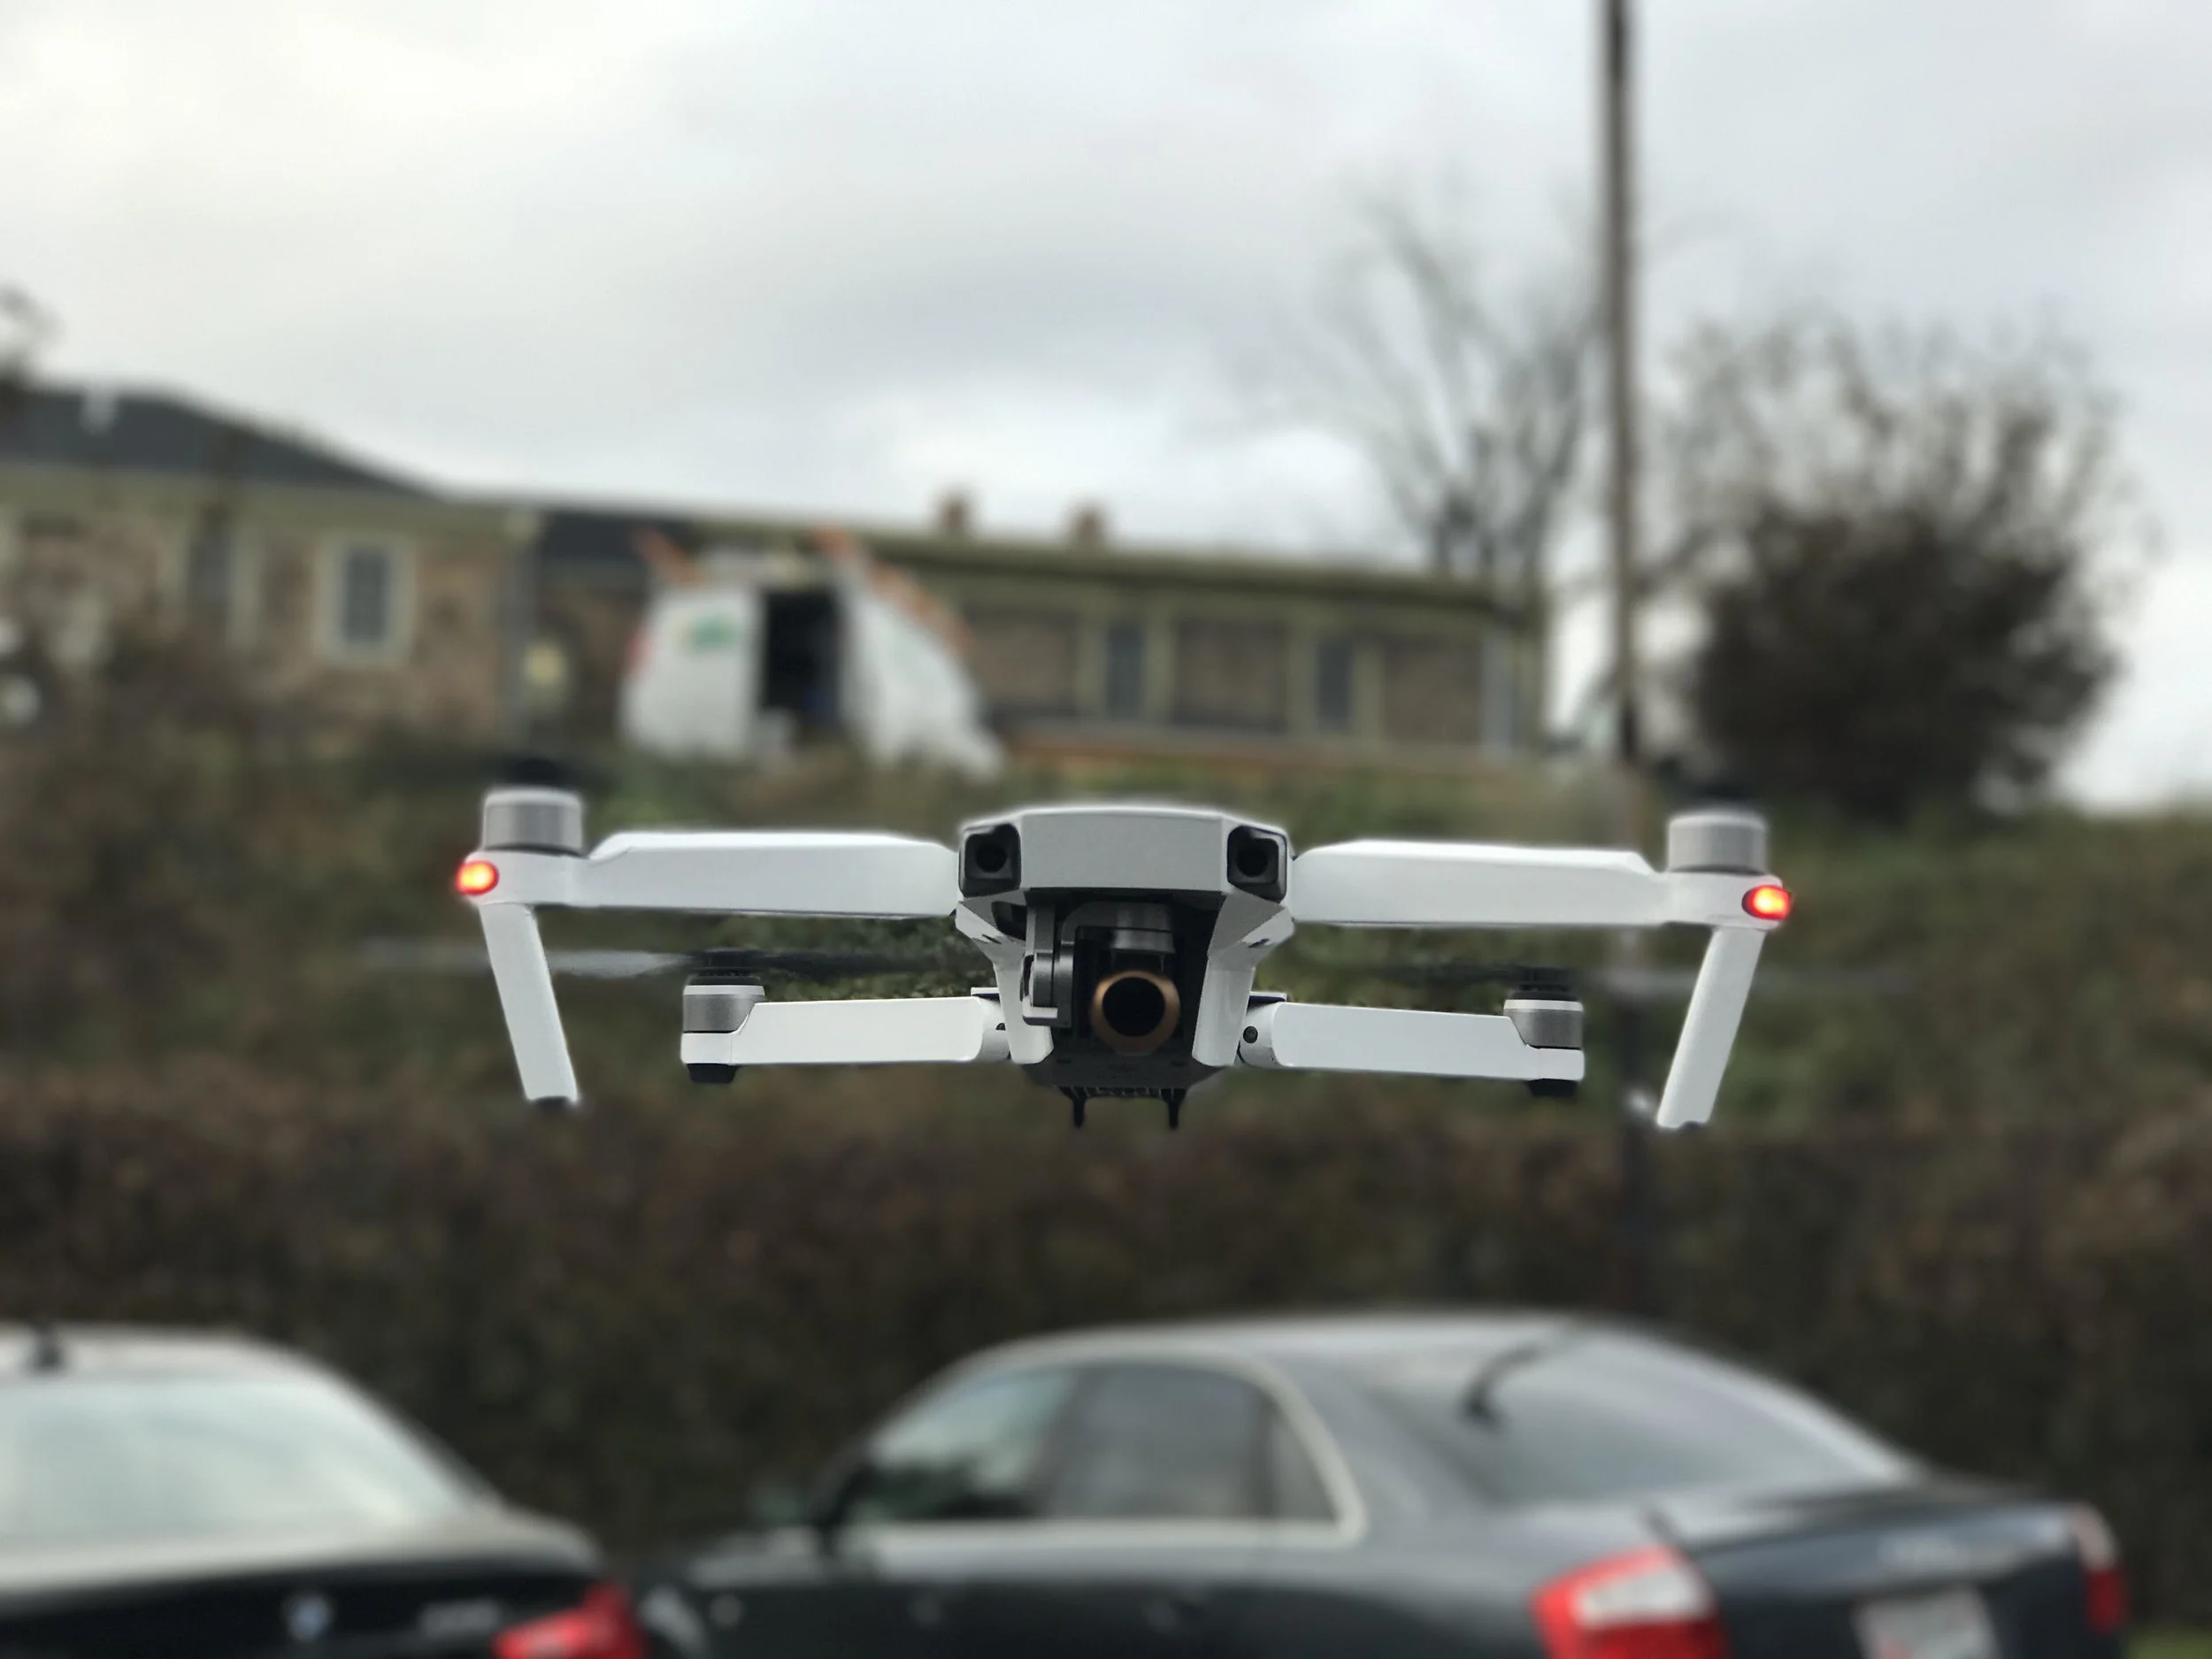
  3. Size - They call it a Mavic because it has fold-able arms and legs. That’s about it, though. A legit Mavic has OA (obstacle avoidance) and Occusync 1.0 or 2.0. Putting the drone or RC in your (back) pocket isn’t an issue. JUST DON” T SIT DOWN WITH IT IN YOUR POCKET!

  4. Flys Well Indoors - I had a few of my Amazon students fly the Mini indoors during our last week of class with and without GPS lock. Based on what I saw, the Mini handles likes a rock indoors without the need for GPS.

  5. DJI Fly App - This app was built for the Mini and is very user-friendly. However, it is bland, and the notifications that pop up don’t last long, but I like it. A few bugs need to be worked on, such as the lag while trying to switch between video and picture settings.

Dislikes:

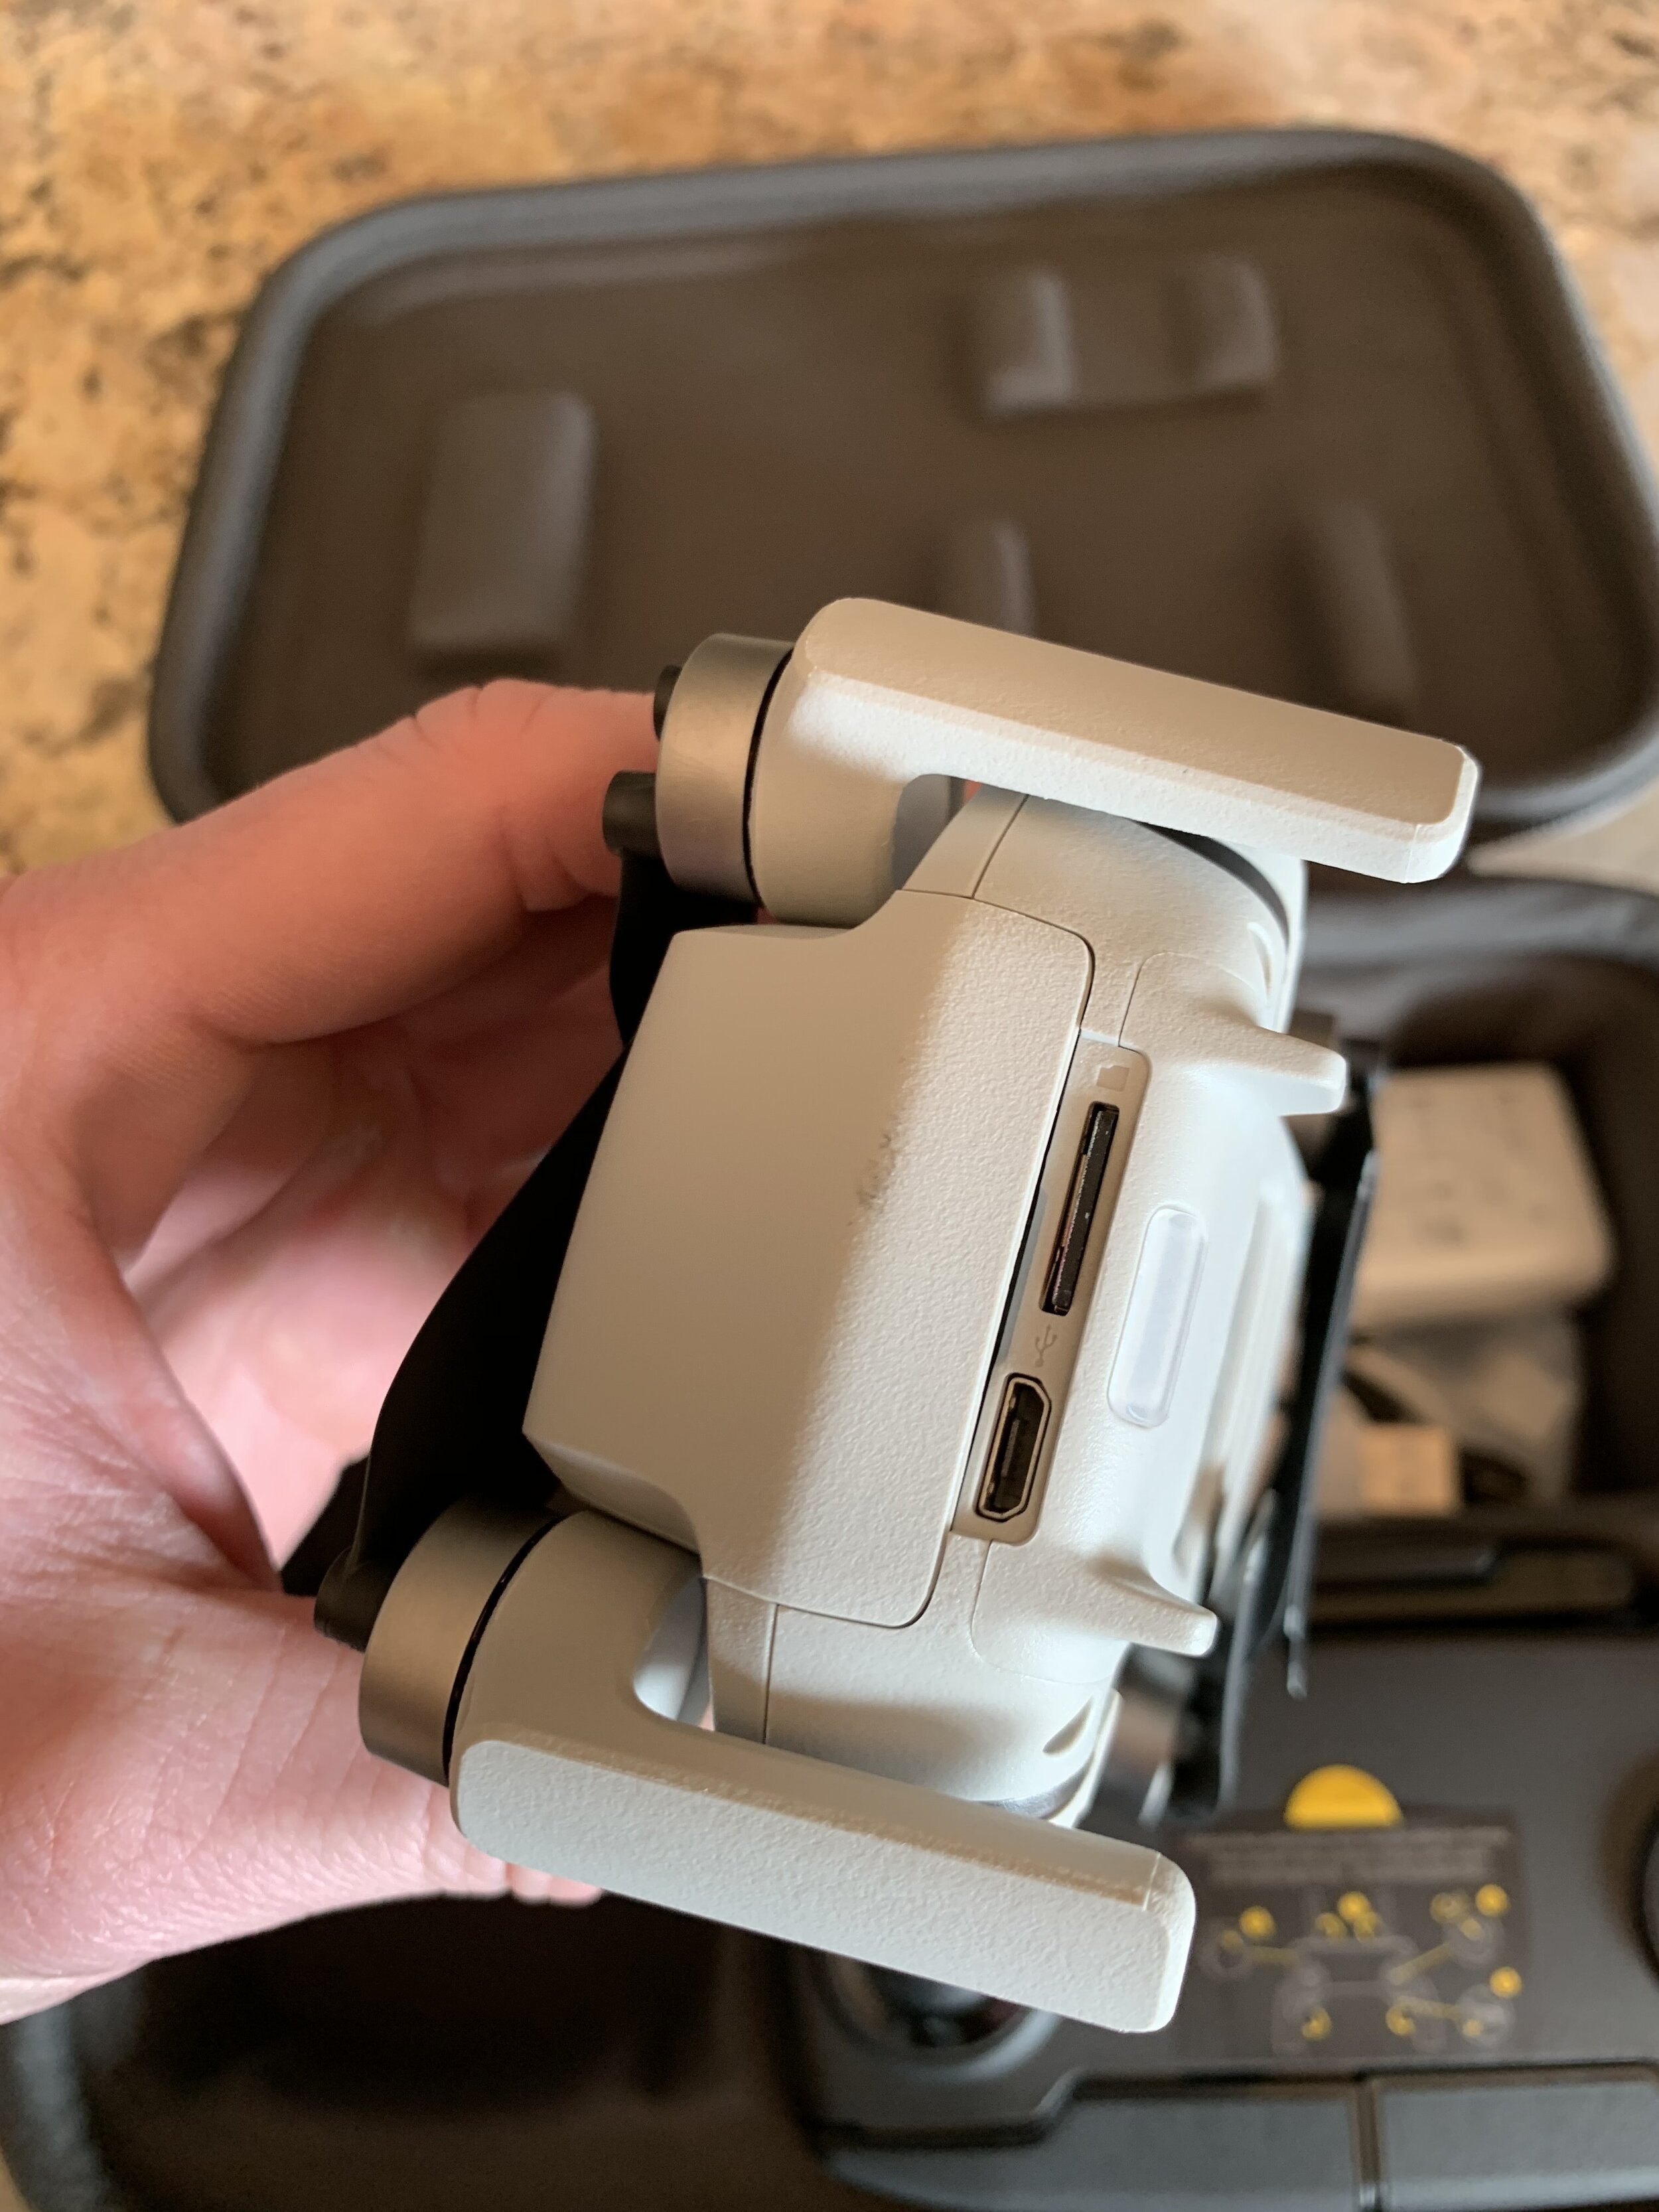
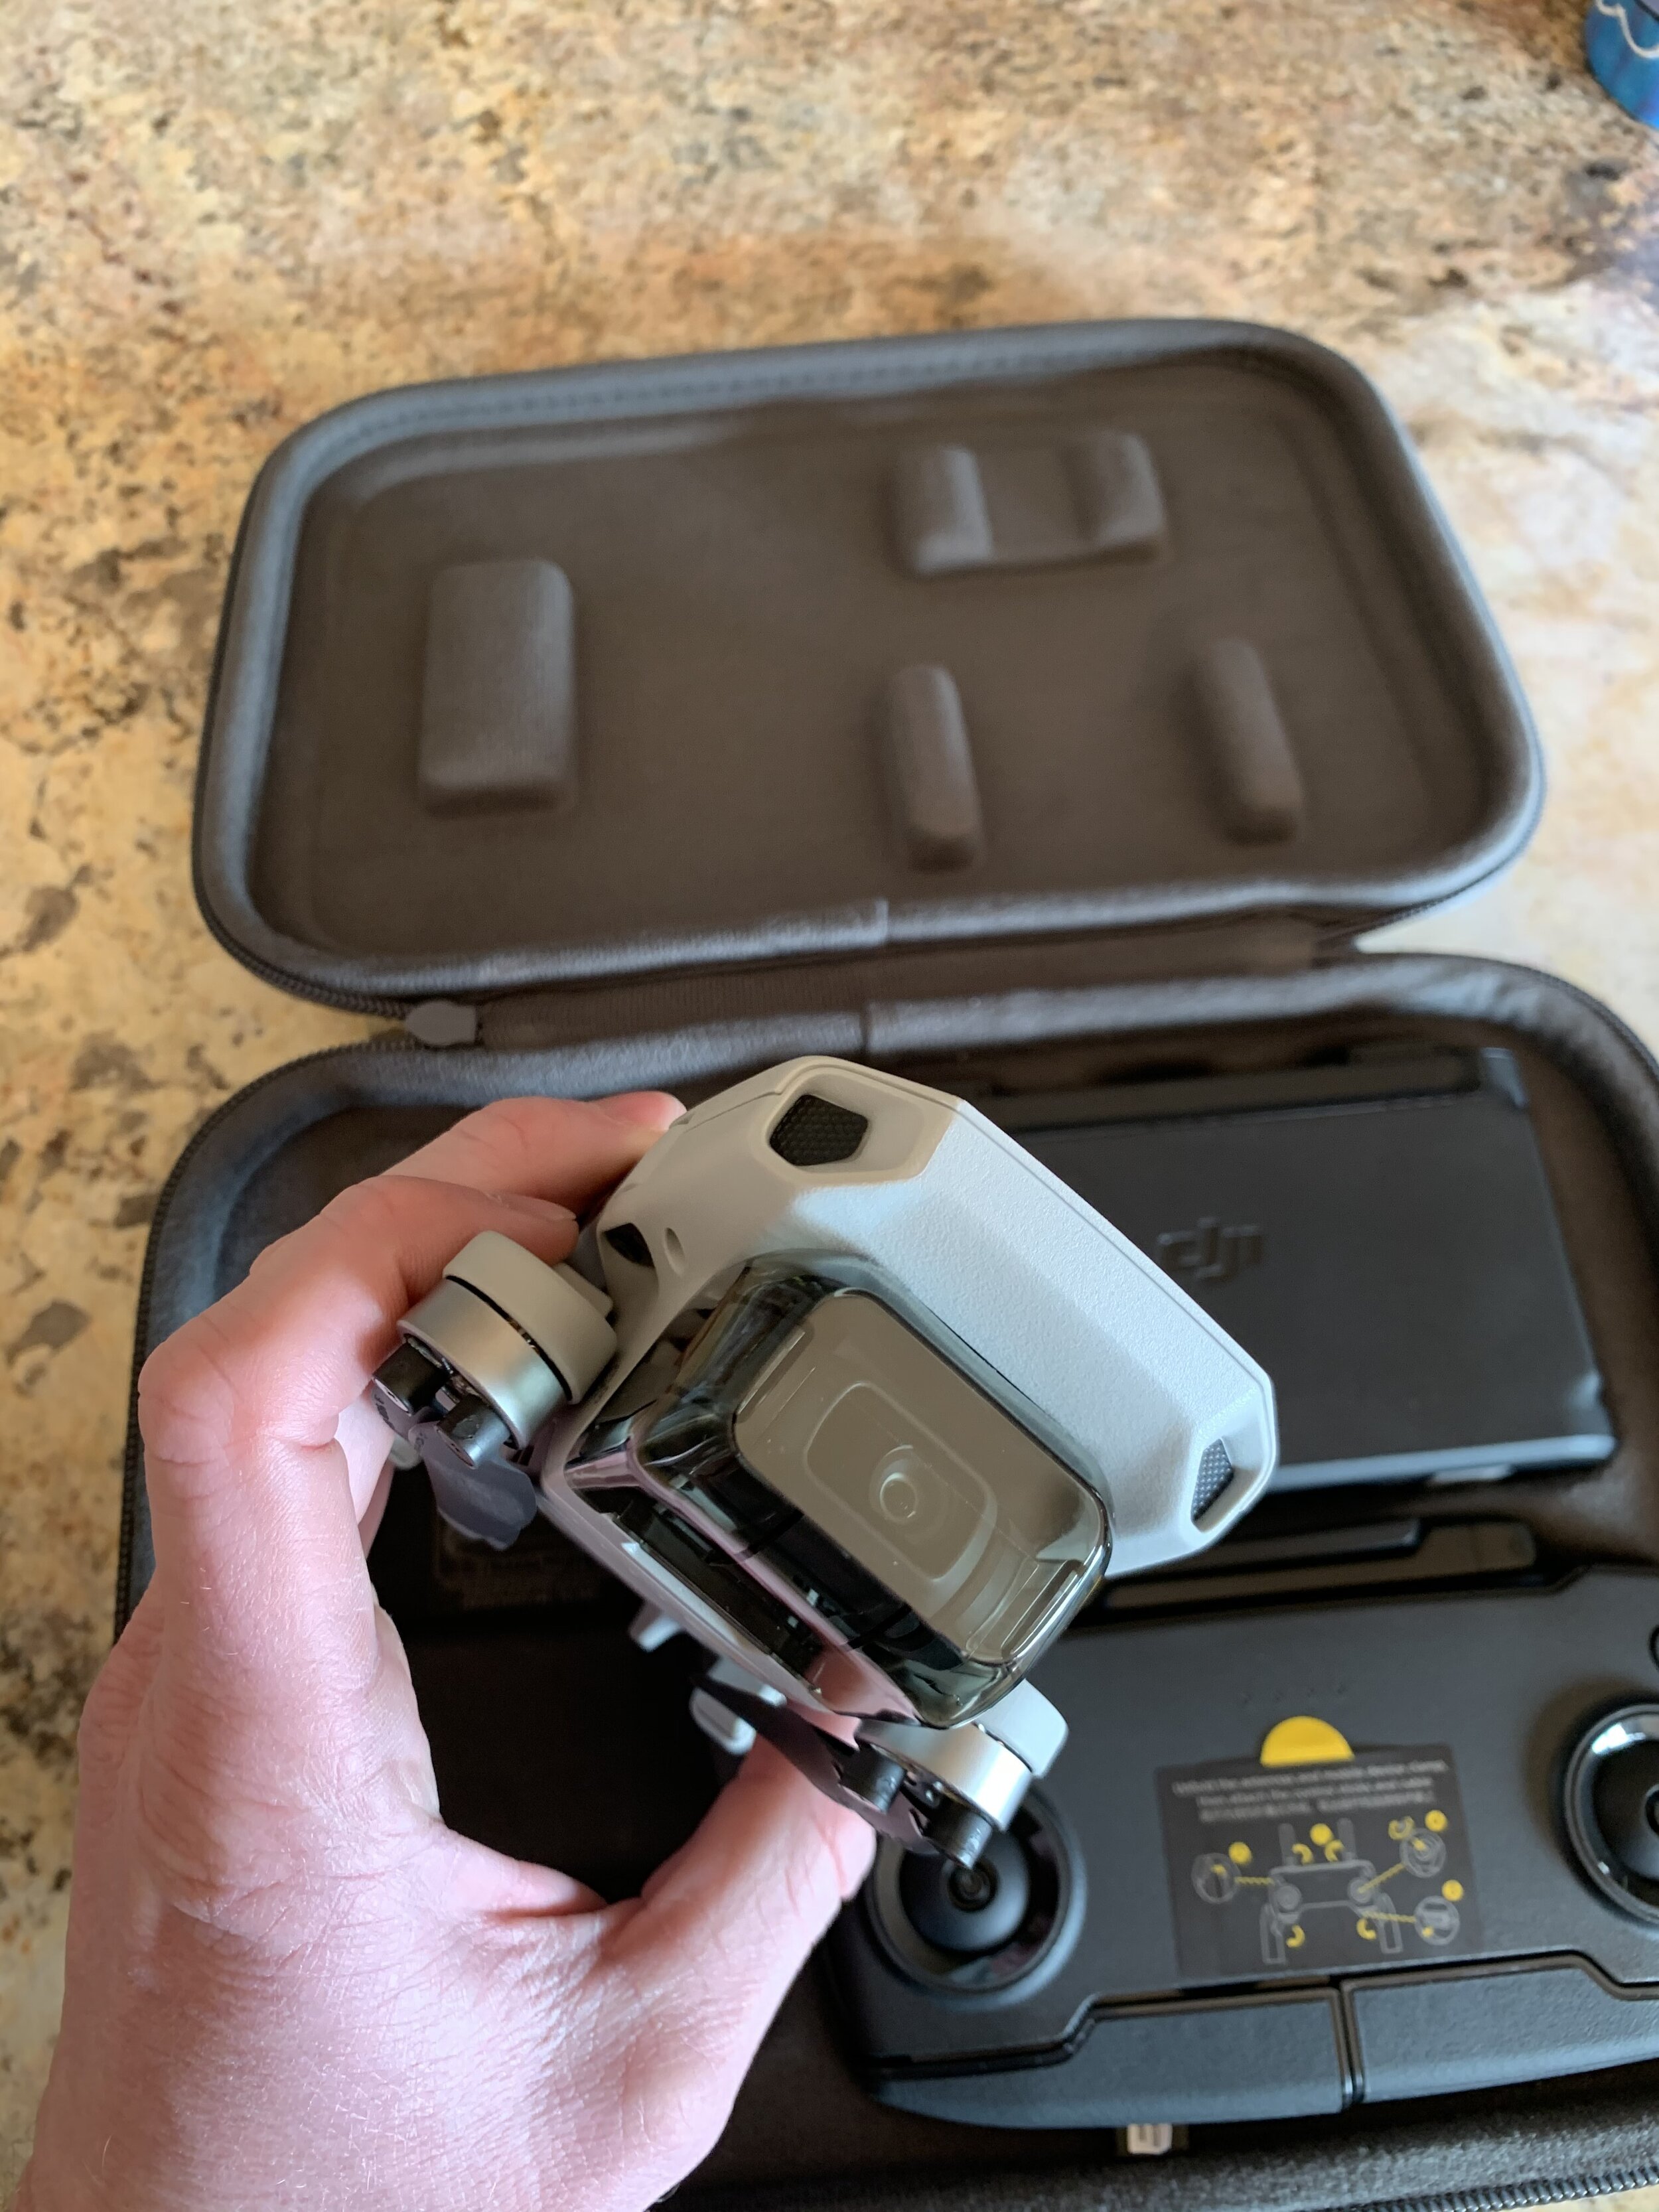
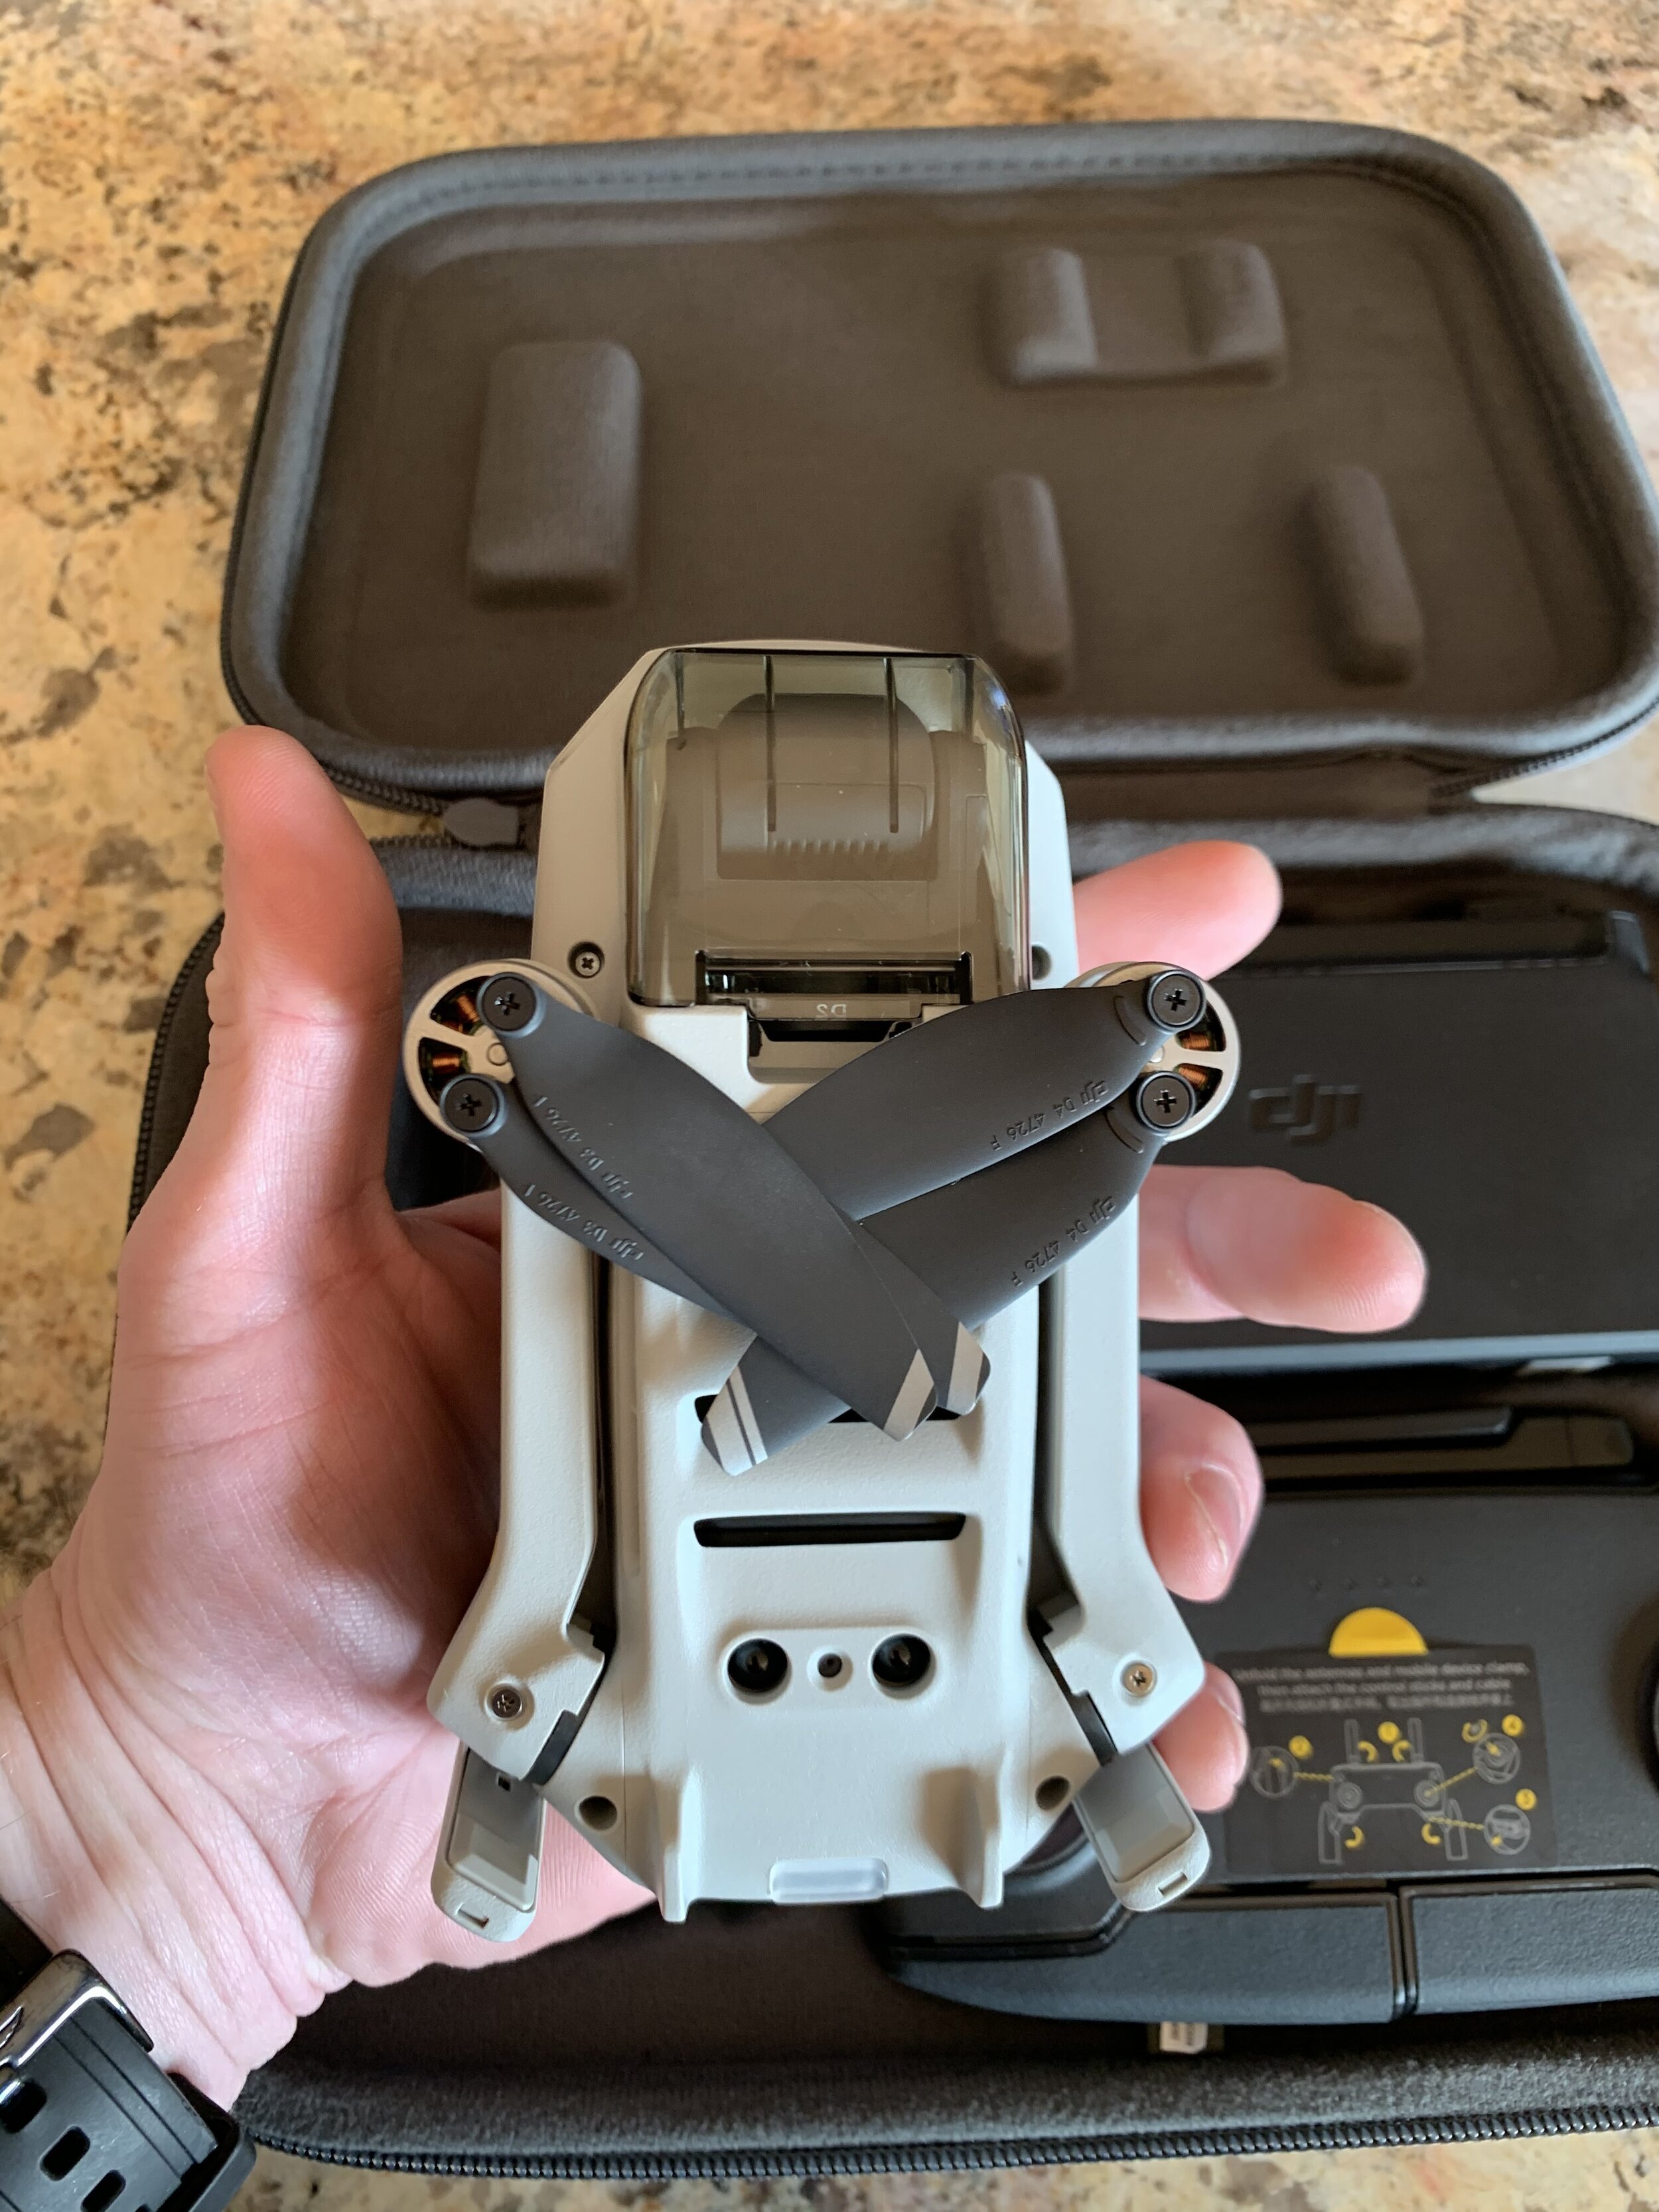
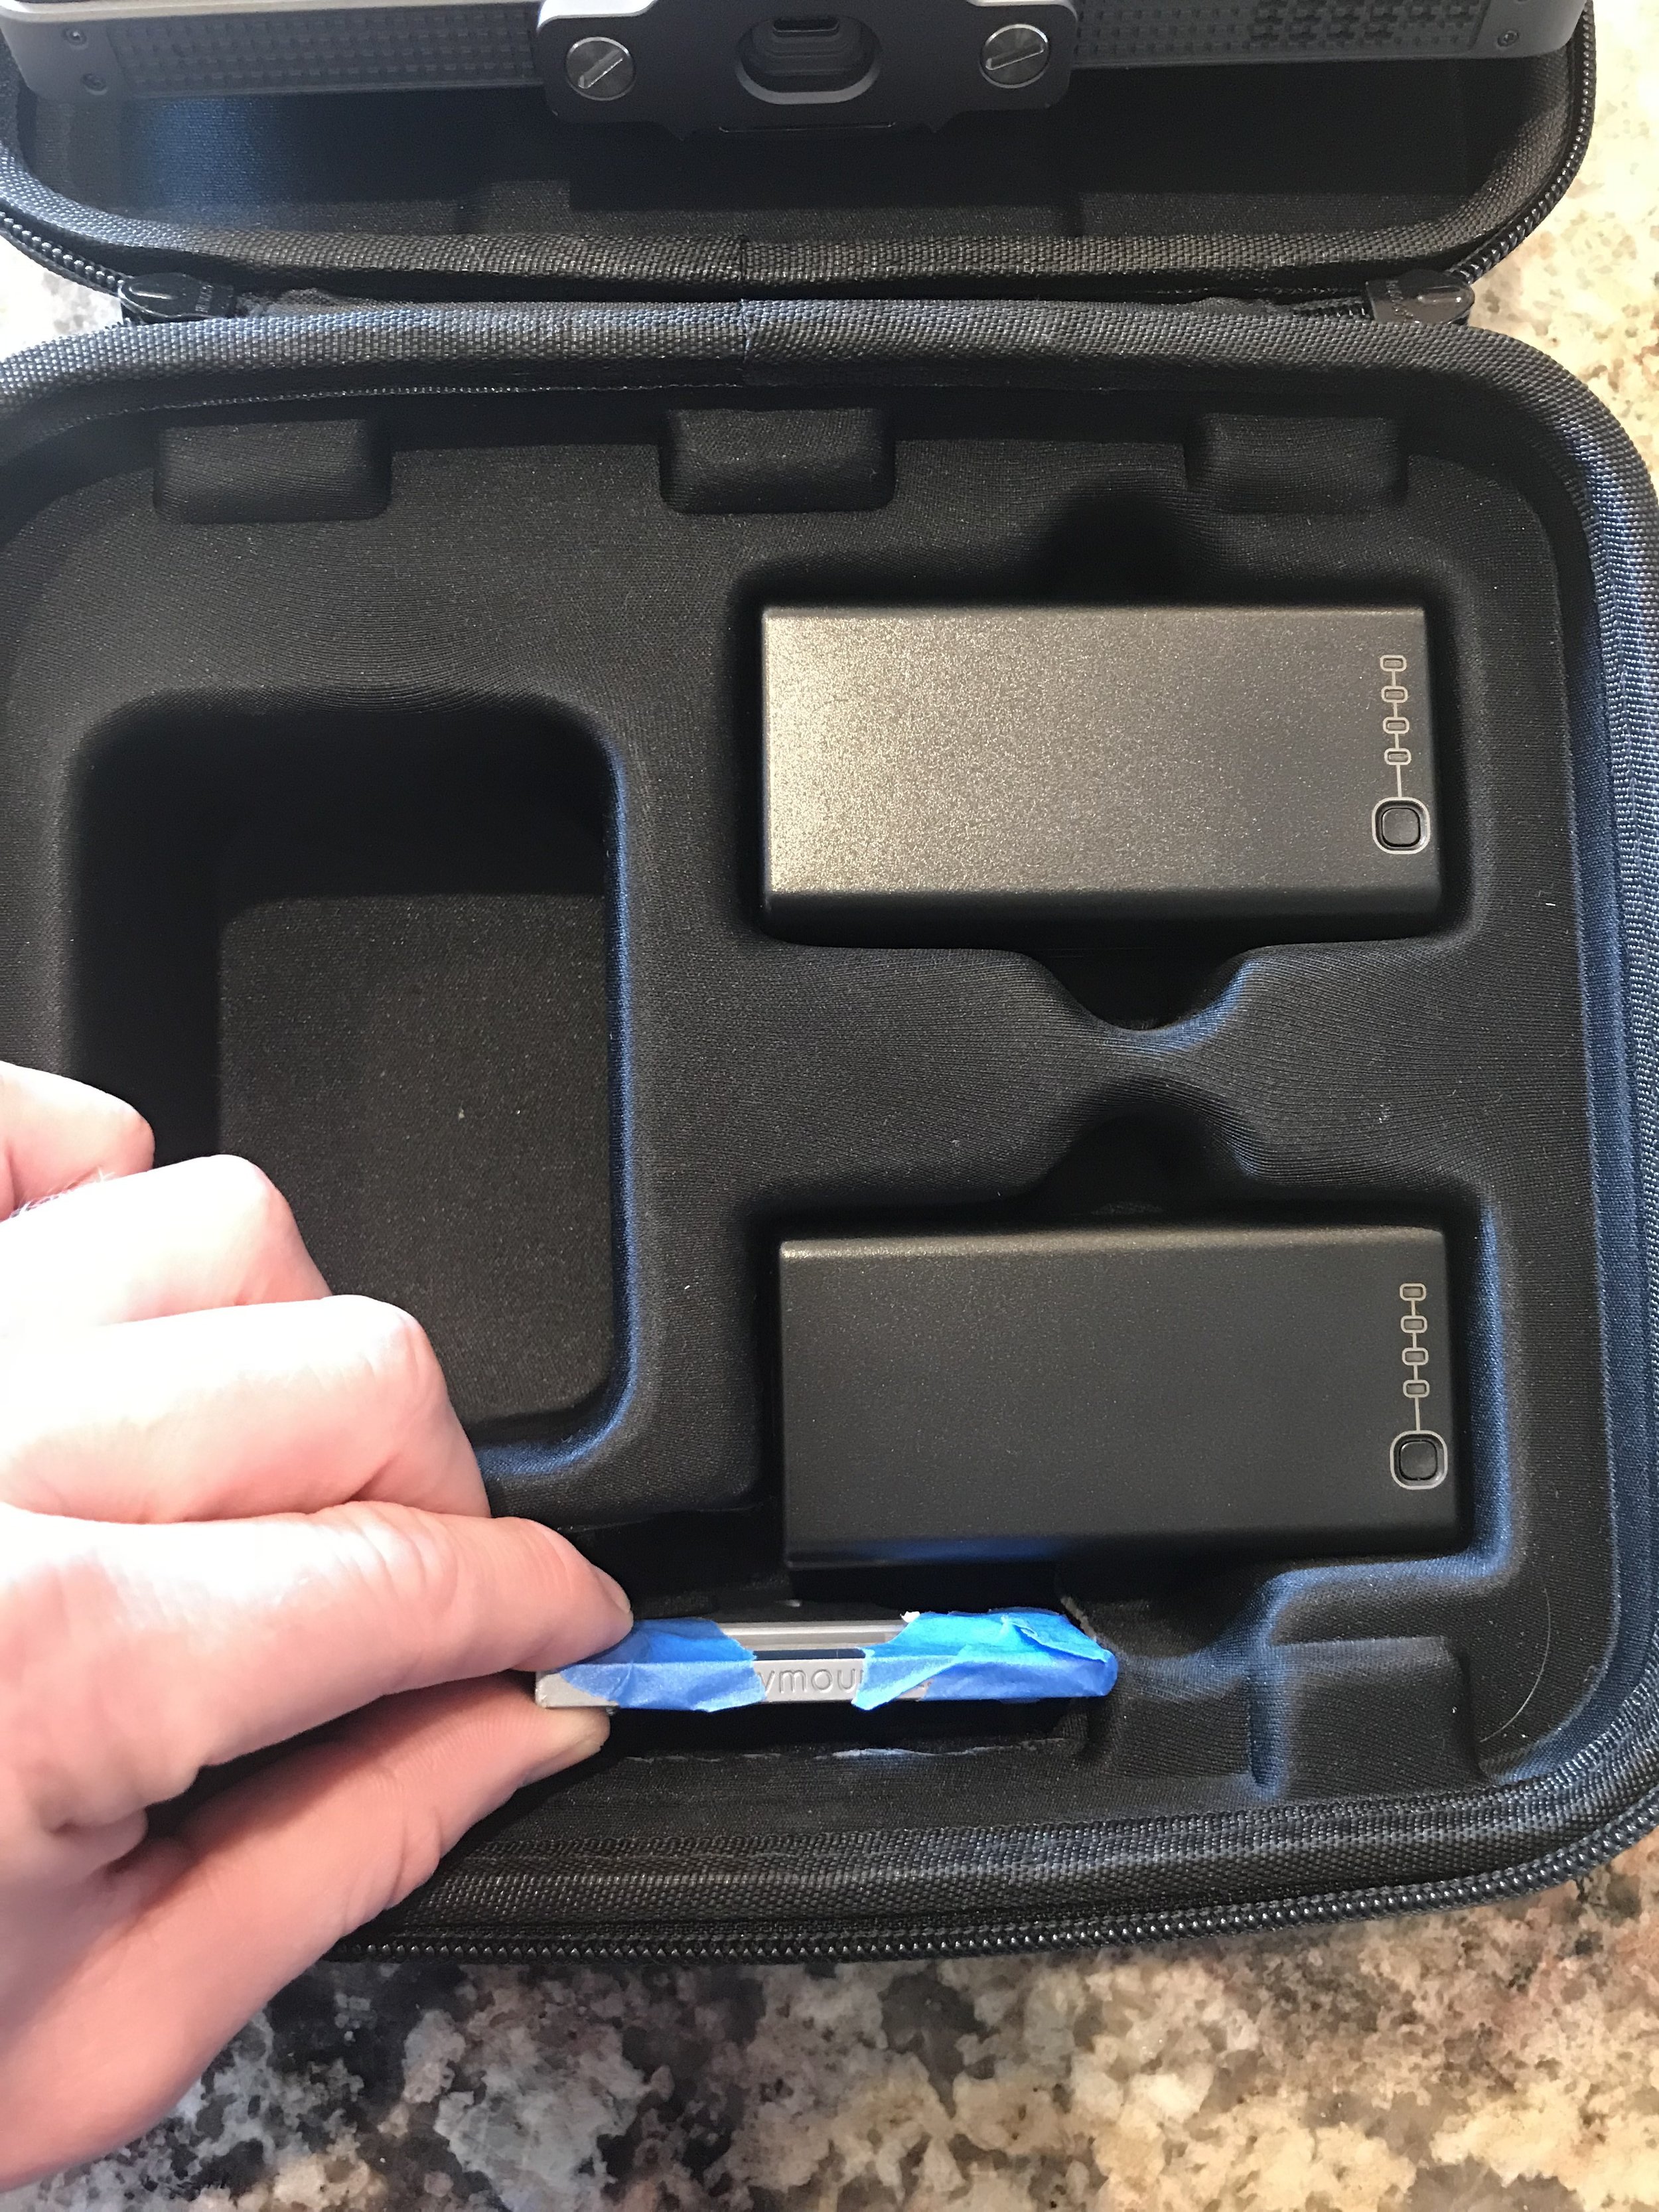
  1. No protection for the SD Card - As you can see from the picture, the SD card is completely exposed to the elements. With the Spark, a flap was used to keep the SD card and mini USB protected. I am a little confused about this decision, but that is nothing a little electrical tape can’t handle.

  2. Build Quality - I have to keep in mind the 249g marketing angle before I write this portion because ultimately, that was DJI’s Goal. Build a drone under 250 grams, so users do not have to register the drone with the FAA. Feels cheap, looks cheap and at $399-$499 is cheap.

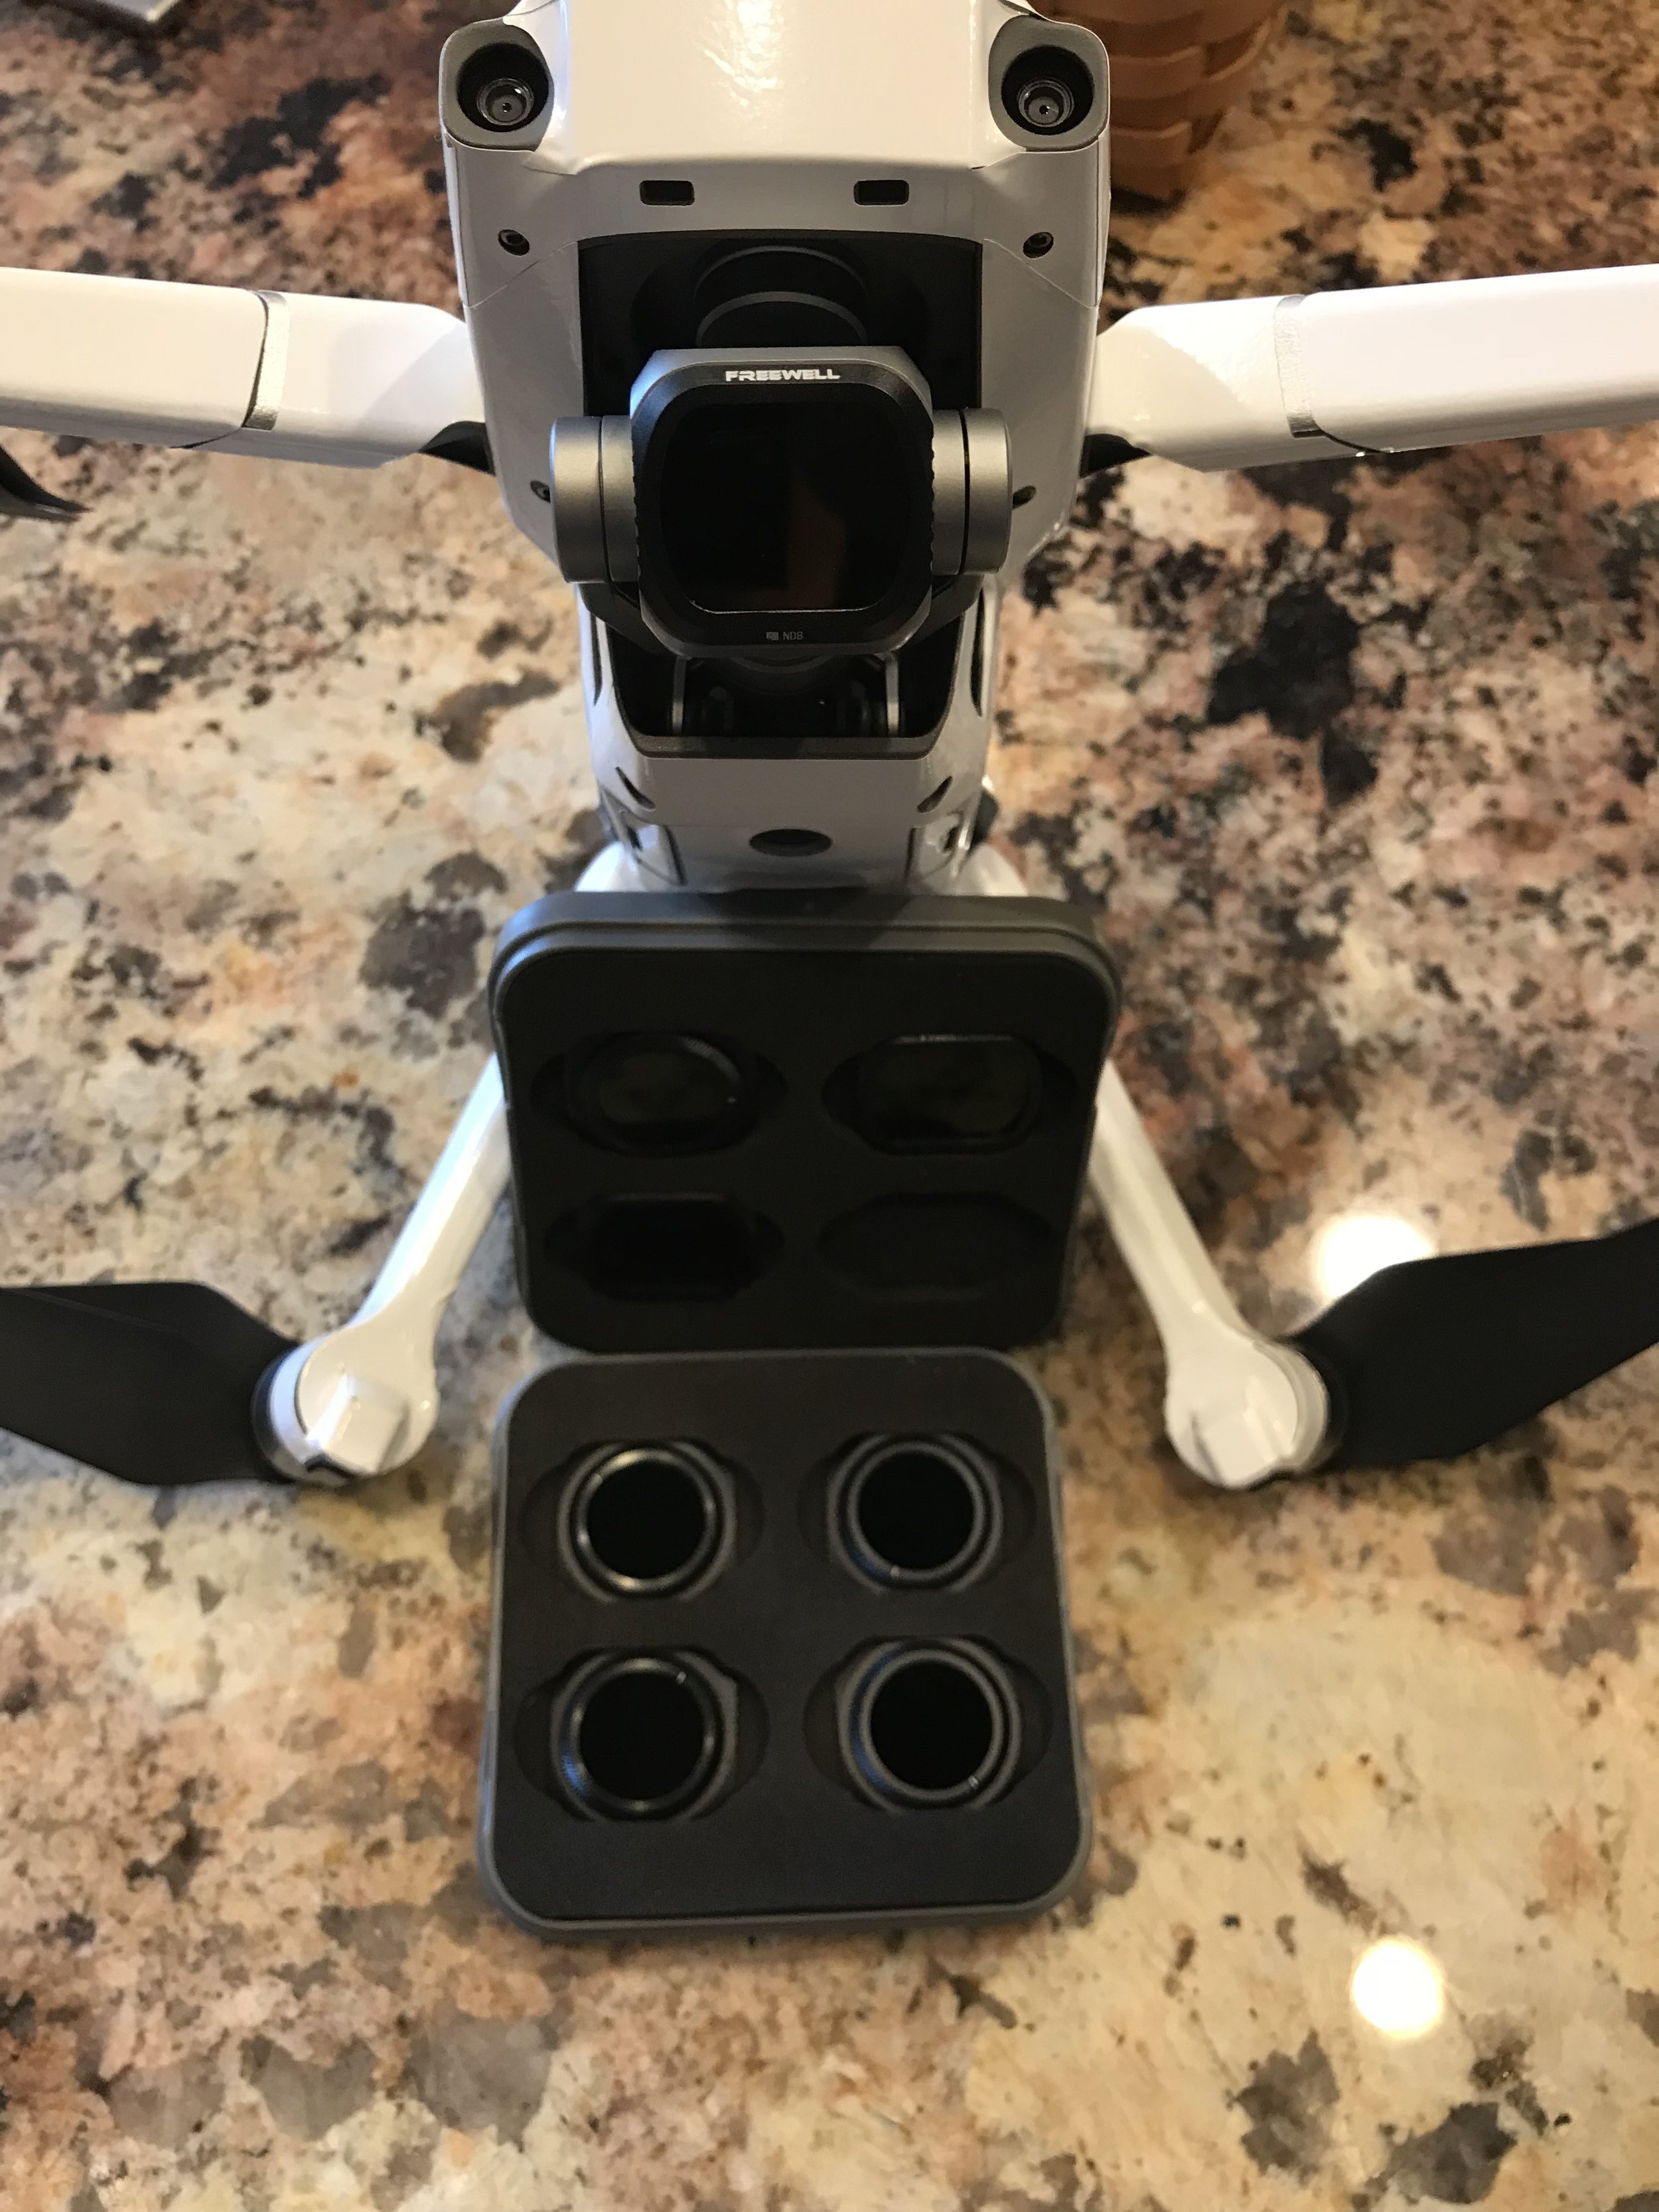
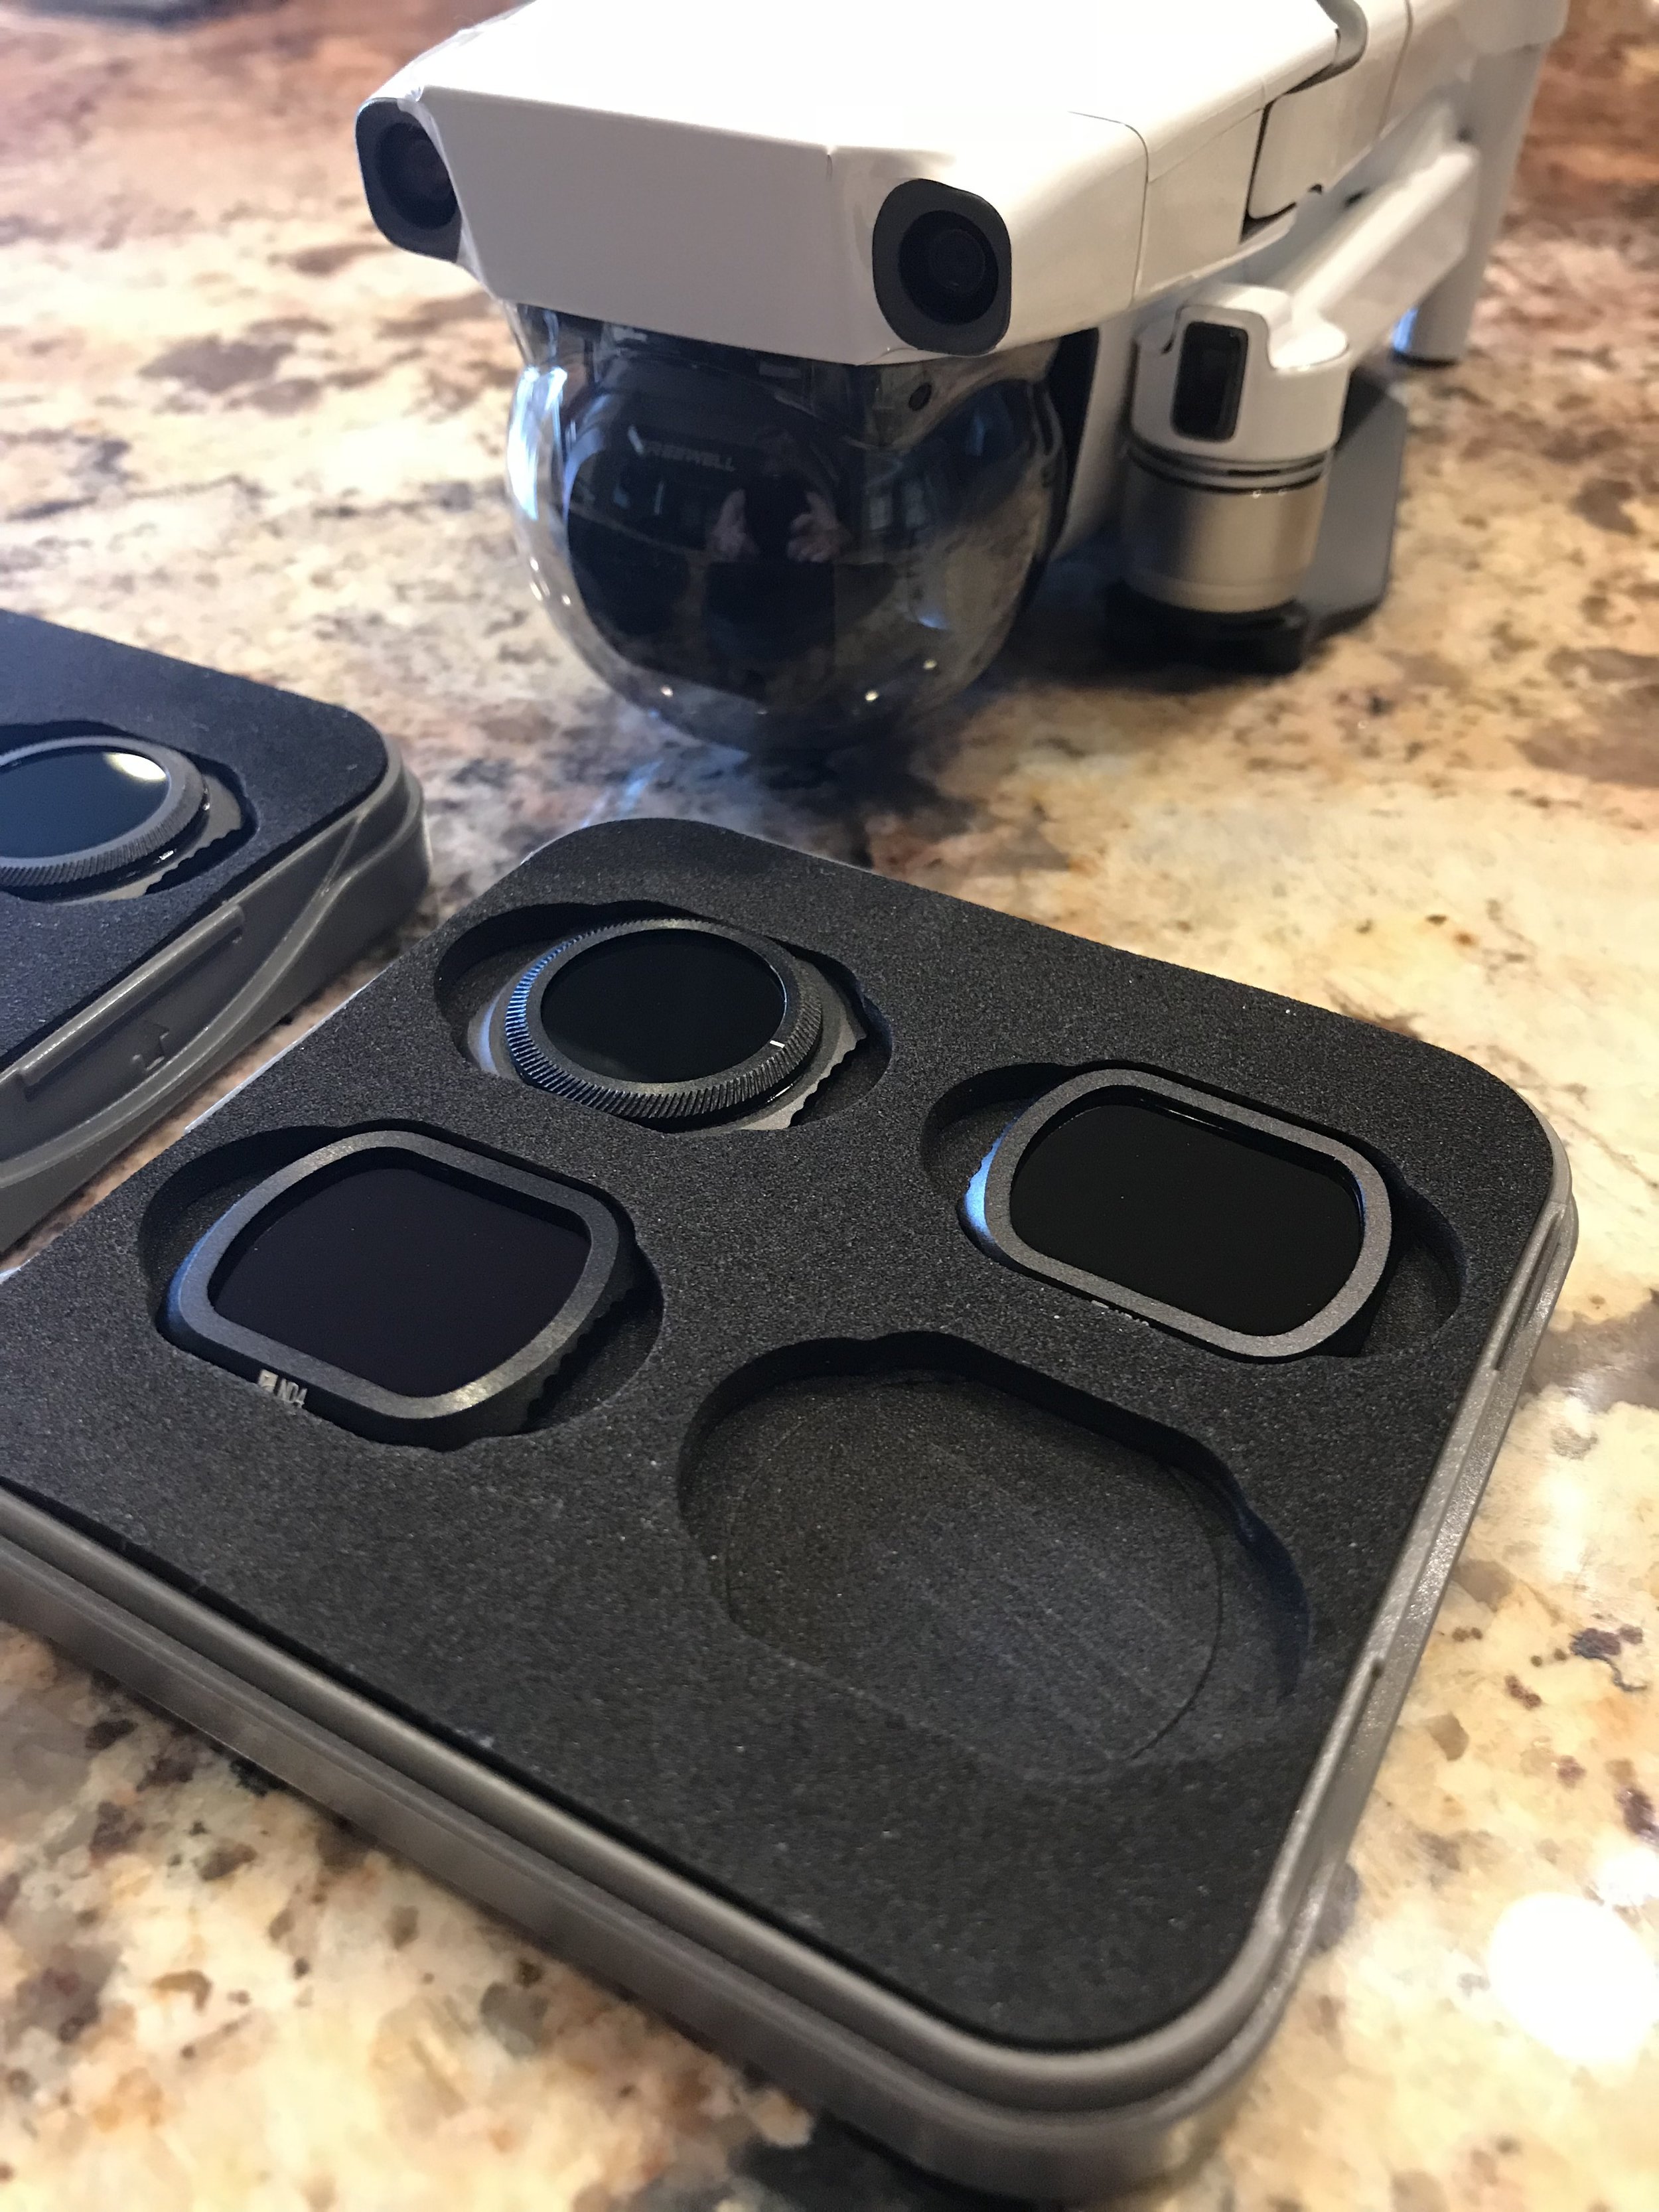
  3. Unsure about the Video - DJI has marketed the Spark as 1080p while the Mini can achieve 2.7k. I do not believe this as of now. Looking at the files from the Mini on a smart device, tablet, computer desktop screen, and a UHD/4k TV, the video seems relatively the same. A significant difference in color, too. I’ll get a video with some clips together soon. None of my flights included an on board ND or CP filter, which, by the way, would increase the take-off weight above 249 grams.

  4. Ground Clearance - Uh... This doesn’t exist. Please be aware you’ll need to take off and land from your hand or a completely flat surface. If you attempt to take off in any height of grass, the props will be ruined.

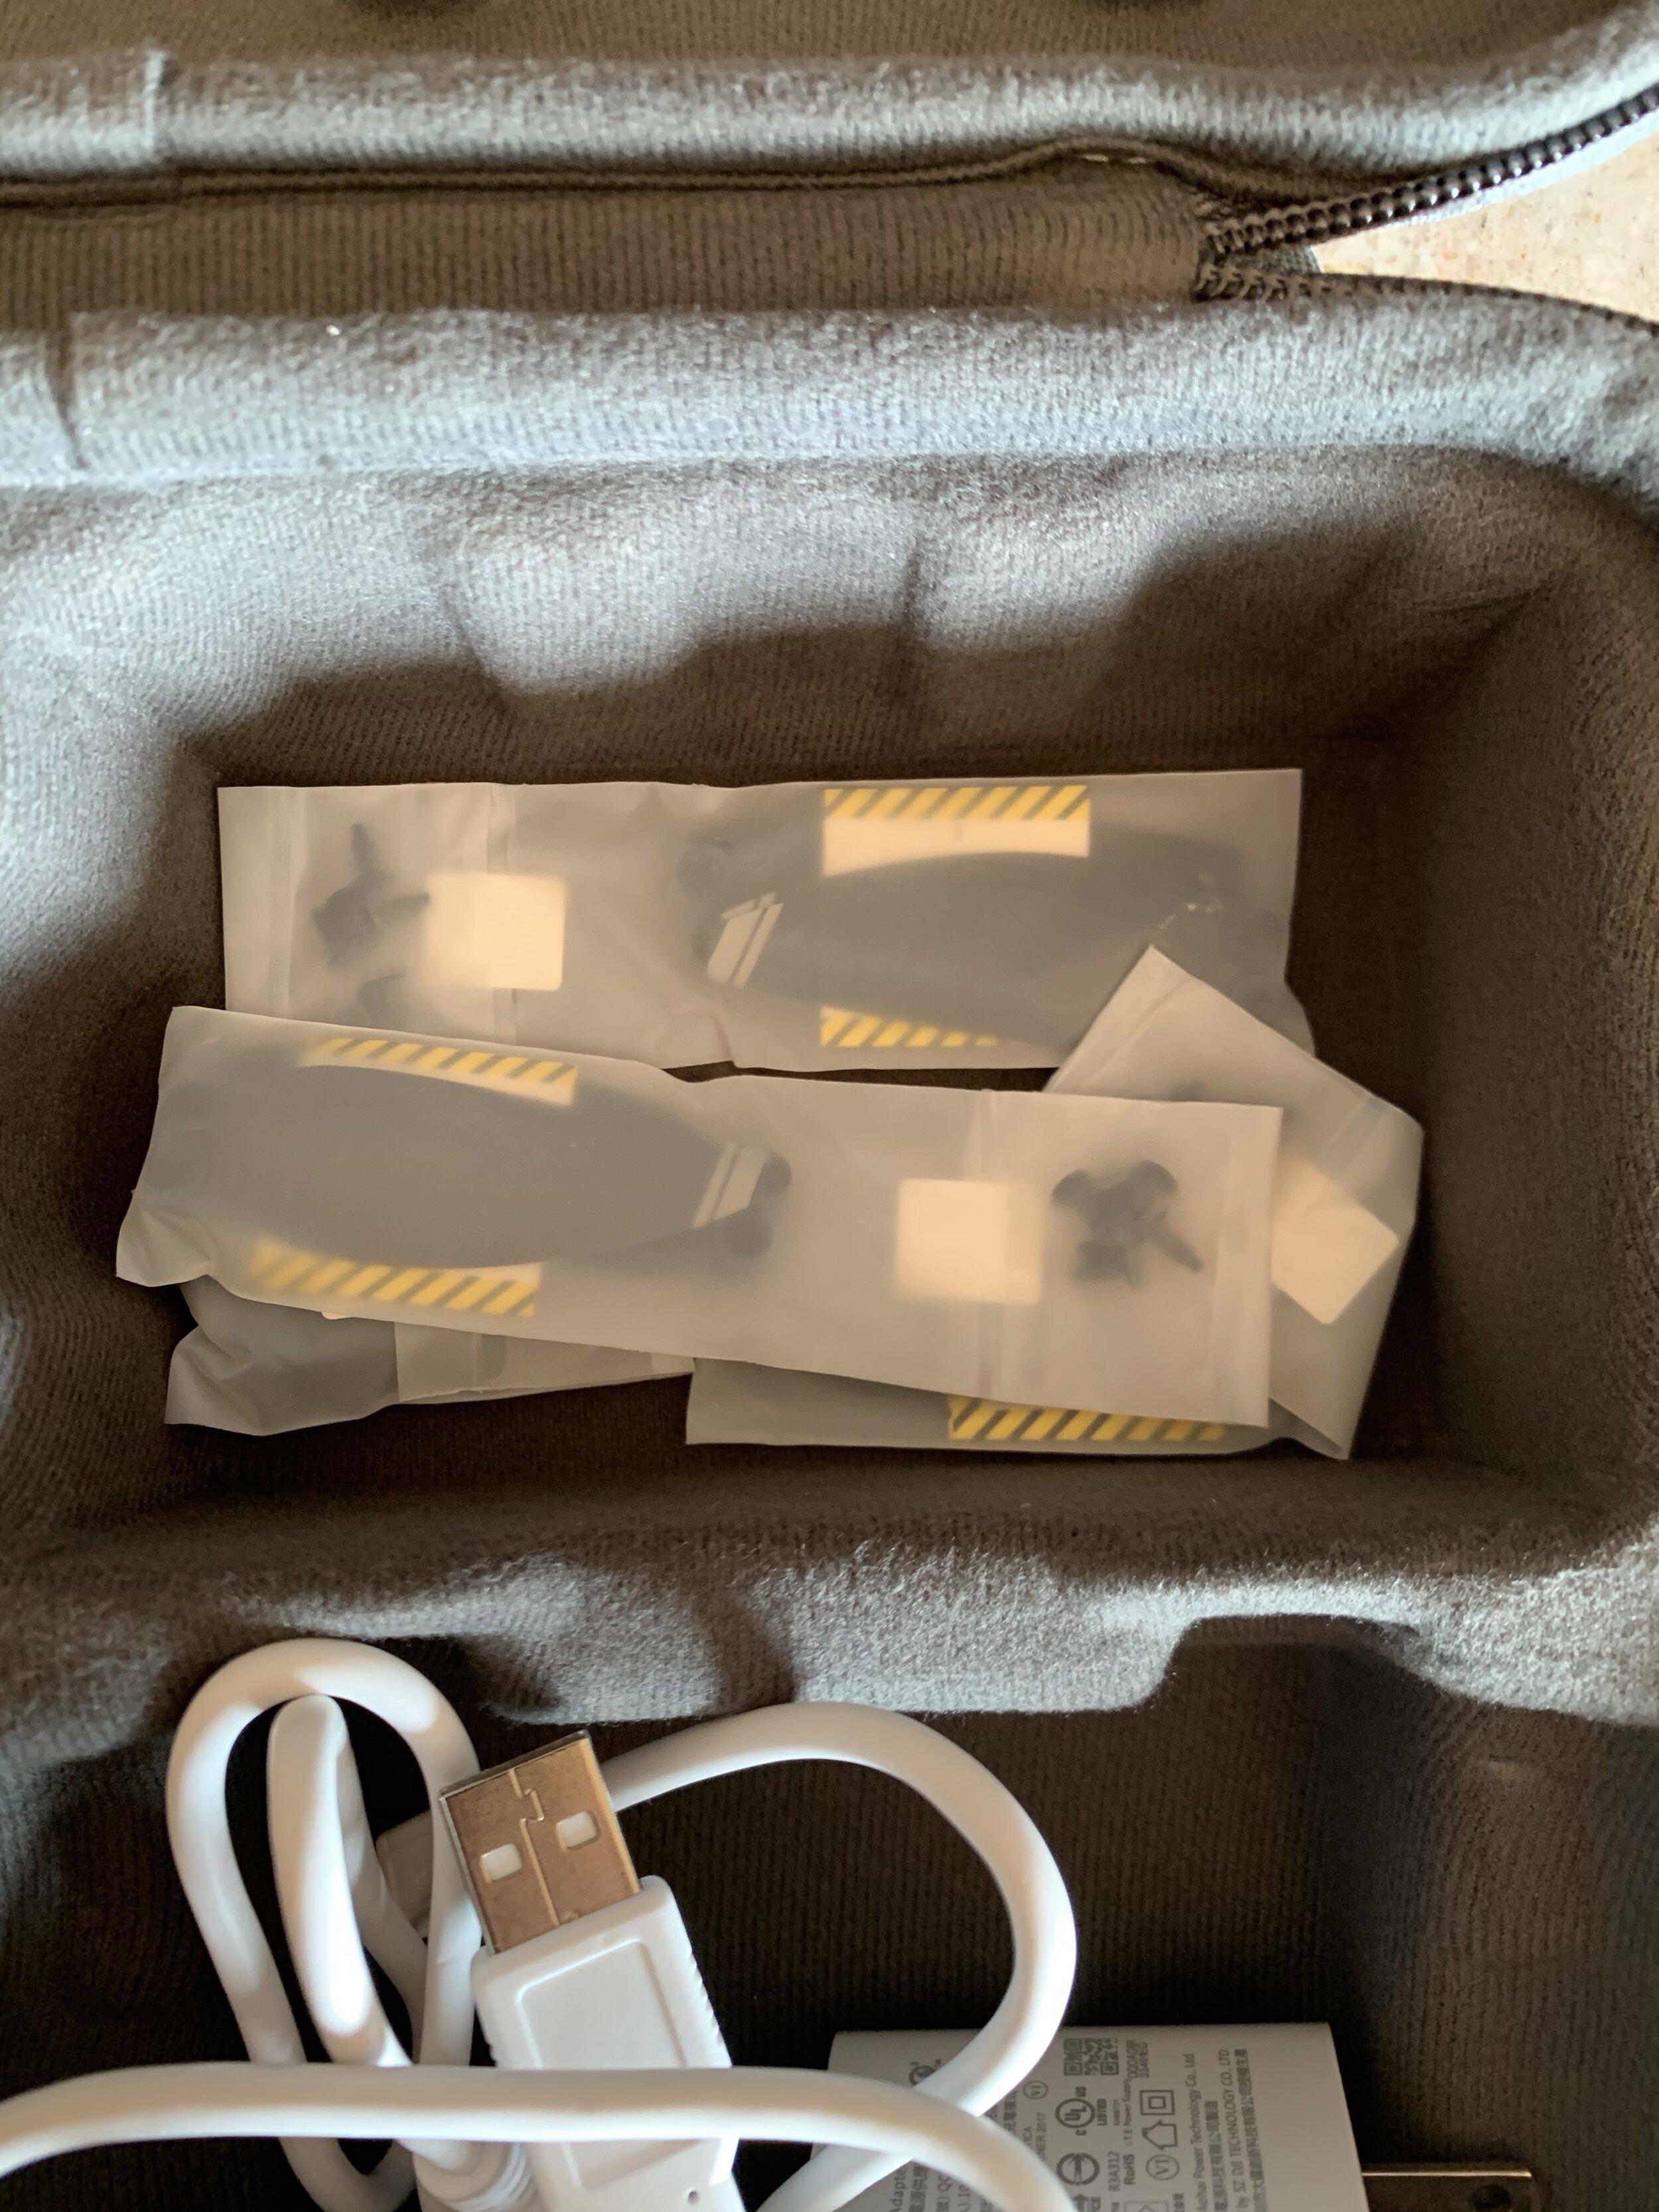
  5. Prop Replacement - I get it. The design is all about weight, but at the same time, if you lose the little screwdriver that is included, you’re SOL (shit outta luck). For some reason, DJI went back to the dark ages and decided a Phillips head screw would be better to hold the props to the motor instead of the spring-loaded props we’ve had since the Mavic Pro came out.

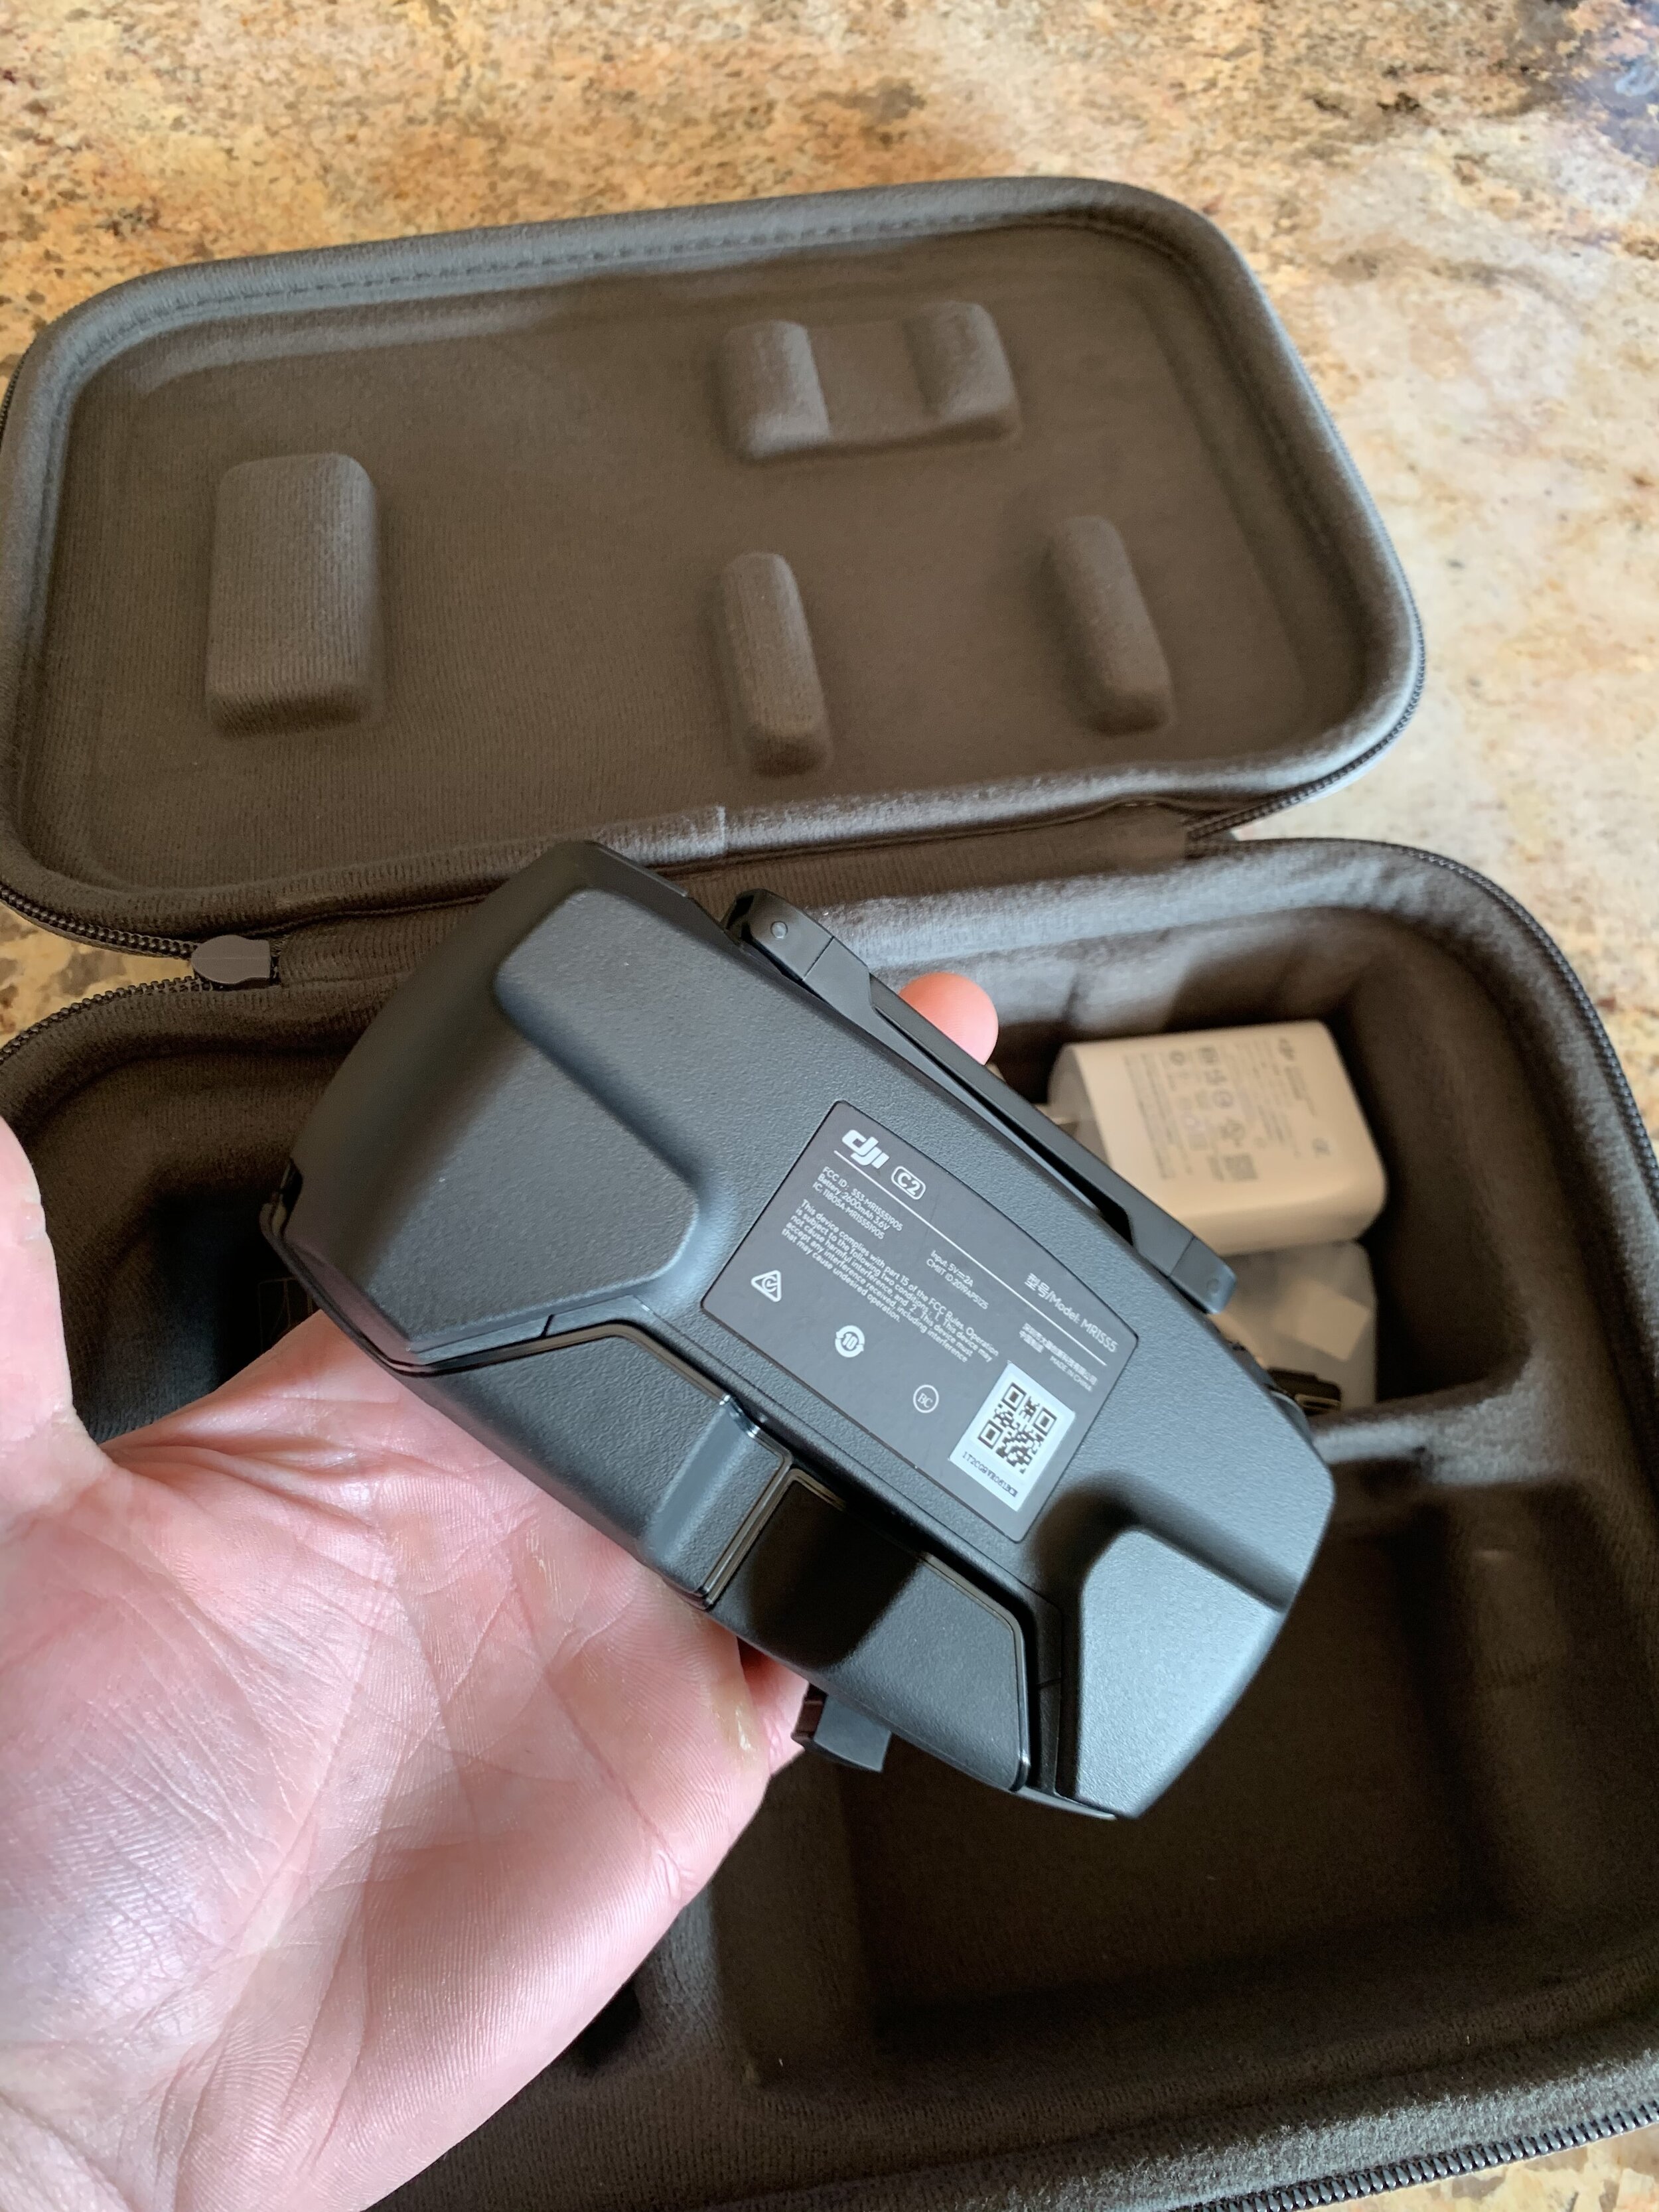
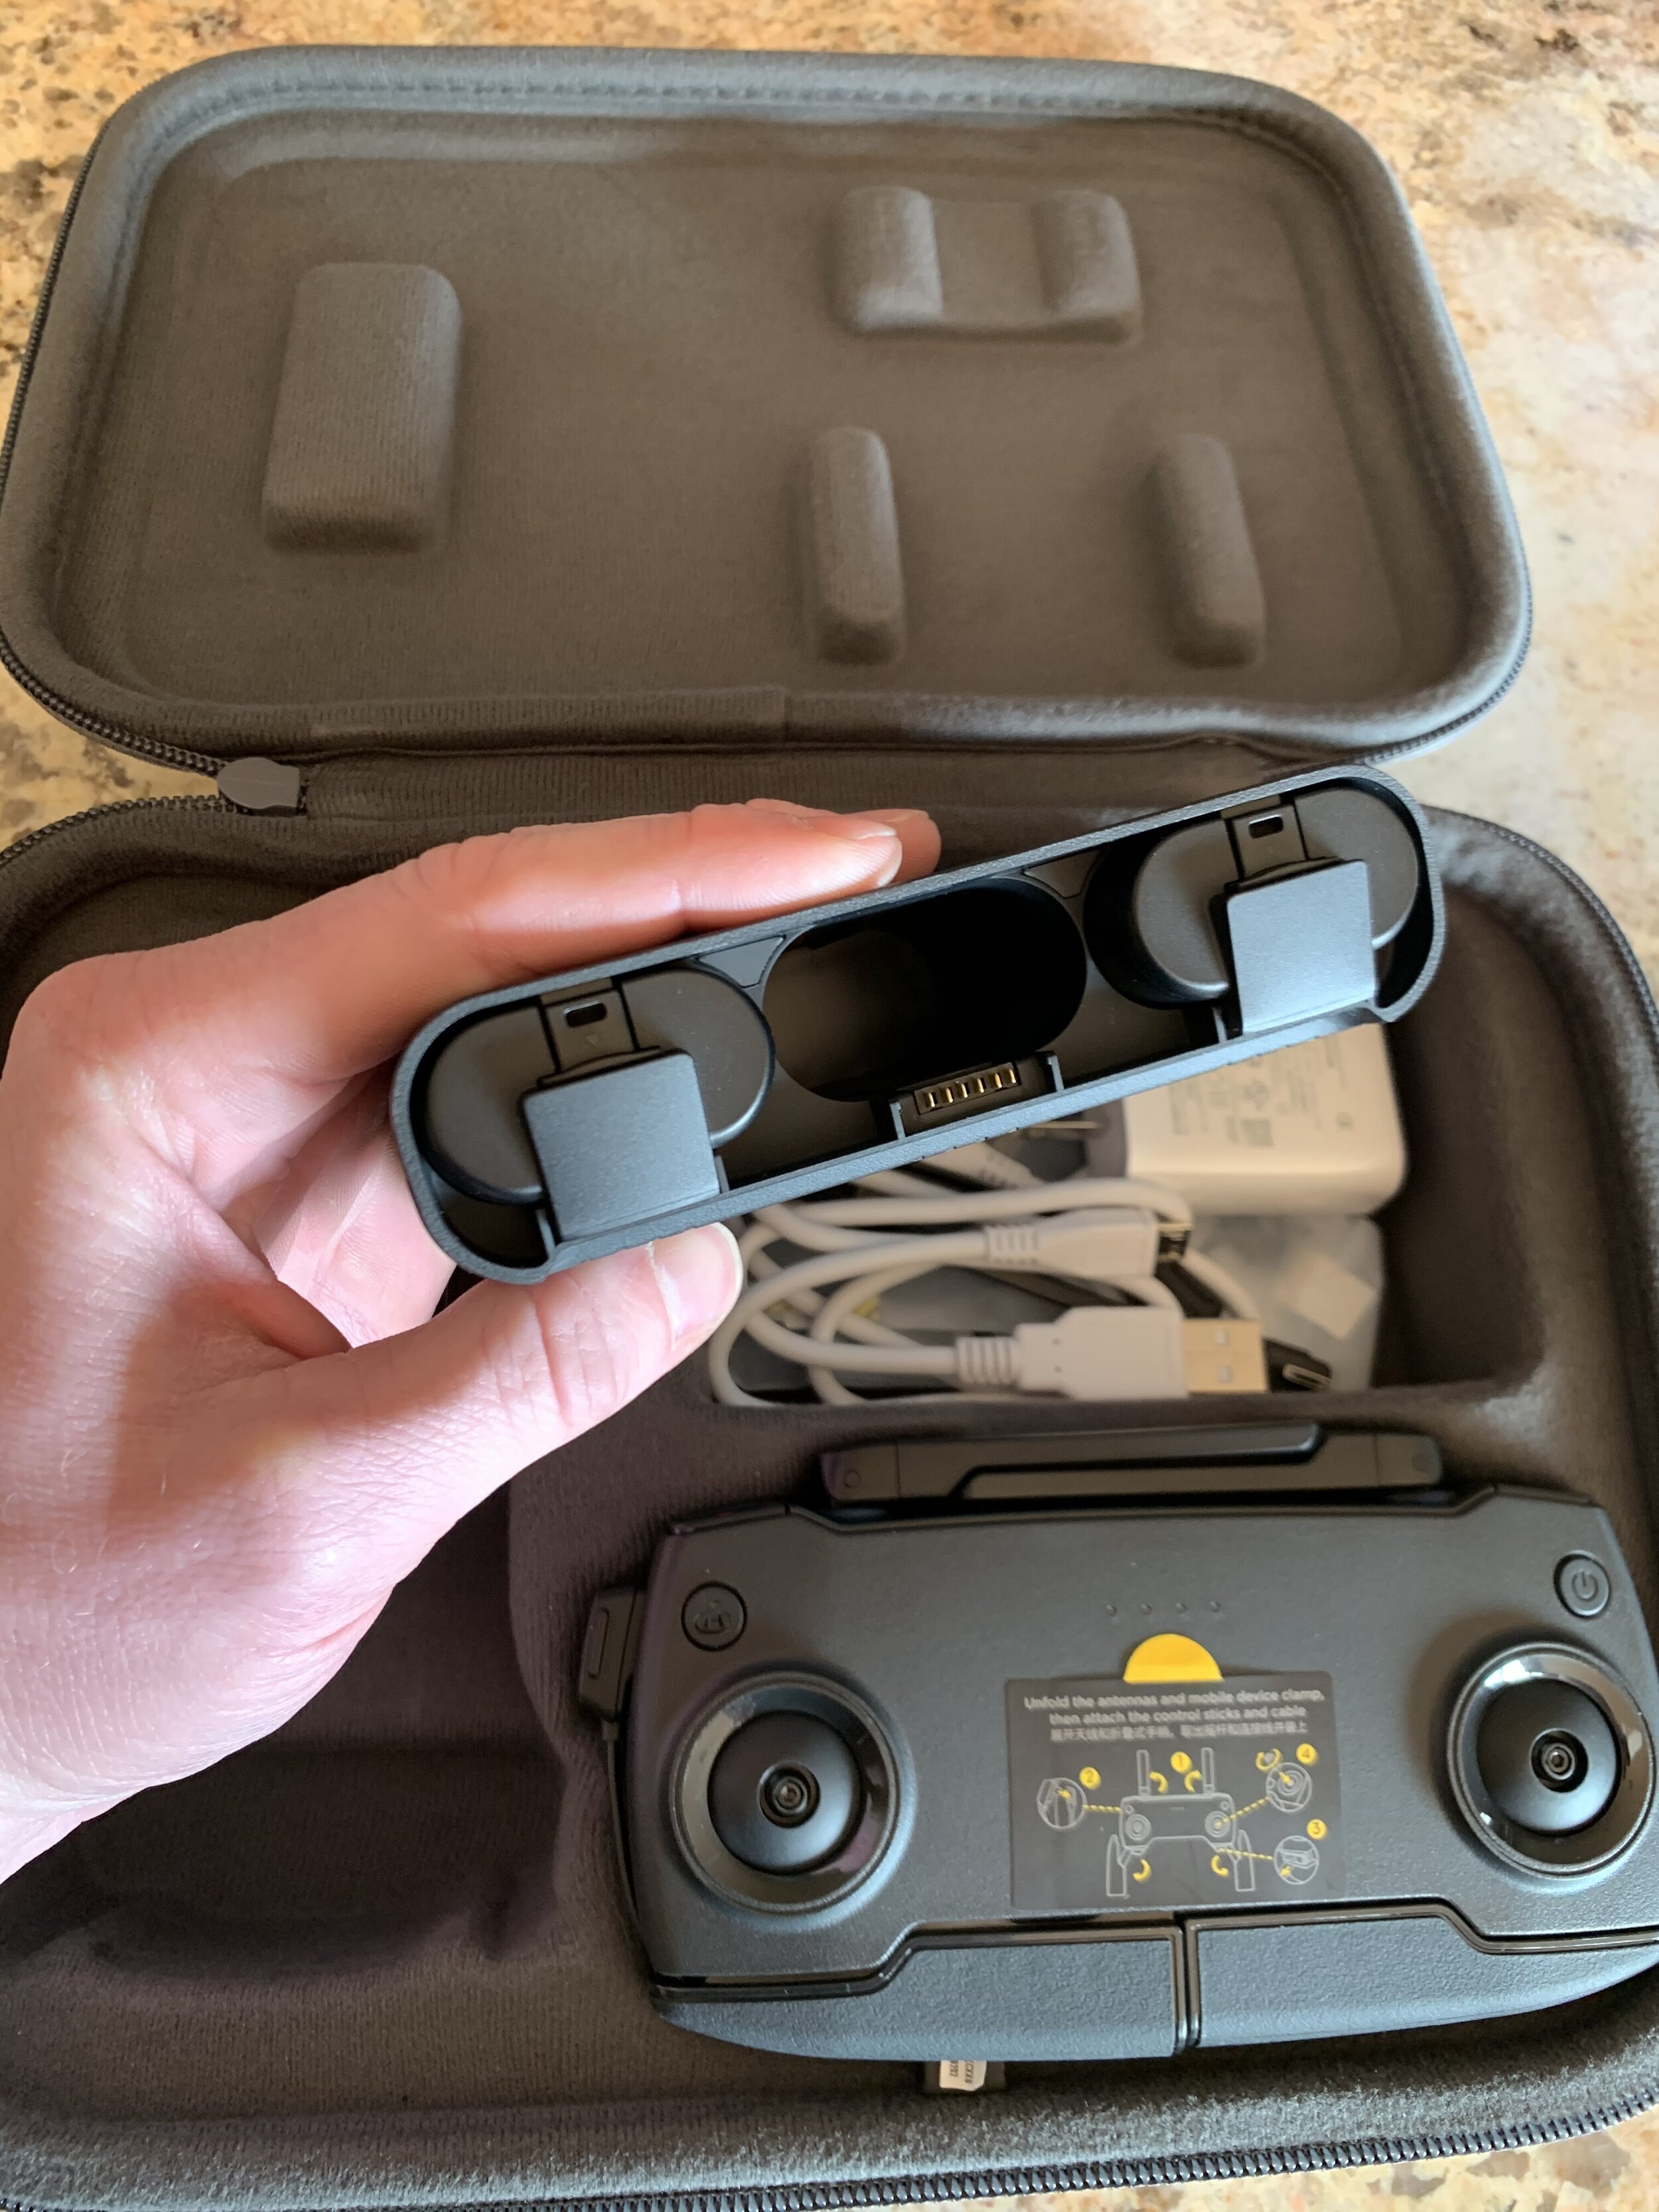
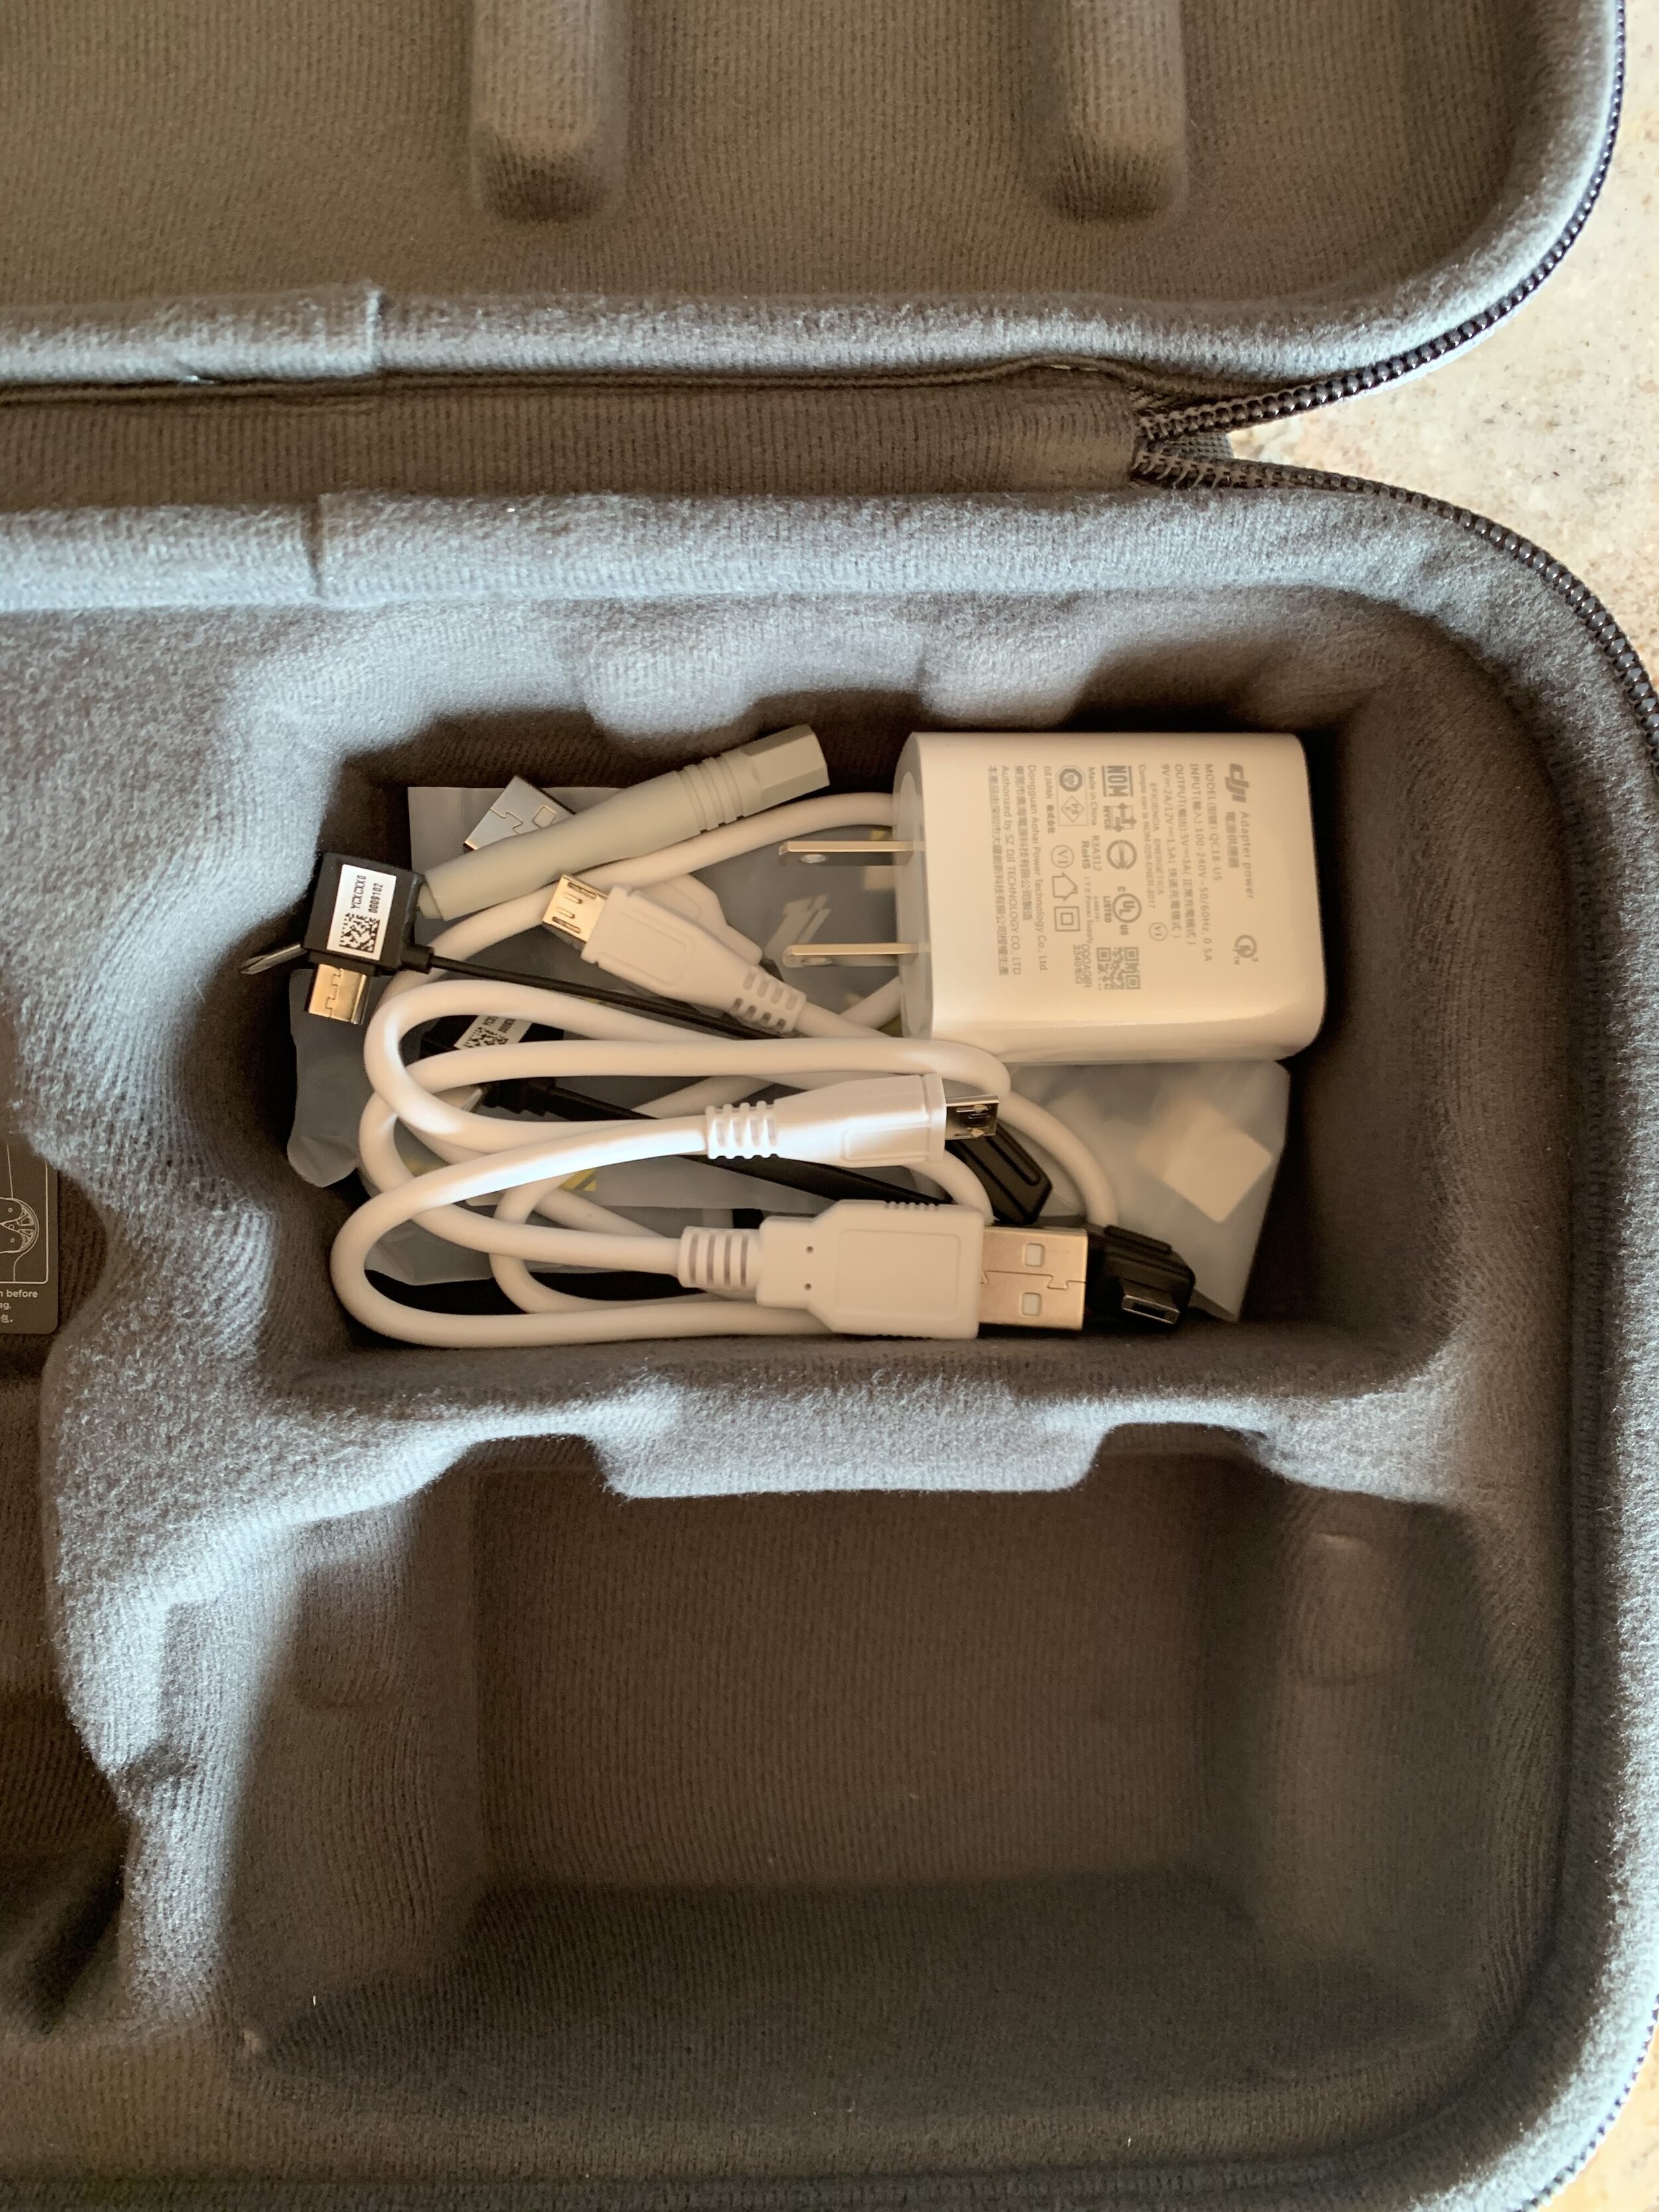
  6. Battery Charging System - Too complicated, there are wires everywhere, and honestly, it’s garbage compared to the Spark’s. If you watched my IG stories when unboxing the drone, I went over this. The batteries do not charge simultaneously with the remote controller. Besides, each battery is charged independently instead of all together as with the Spark.

Side by Side Camera Specs of the DJI MAVIC Mini and Spark (Mini specs in bold)

  • Camera

    • Sensor - 1/2.3” CMOS

      • 1/2.3” CMOS

    • ISO Range - 100-1600 Photo

      • 100-3200 (manual mode)

    • Video Resolution - 1920x1080 30p MP4

      • 2.7k 2720x1530 25/30p

  • Remote Controller Transmission

    • FCC: 1.2 mi (2 km)

    • FCC: 4 km

  • Intelligent Flight Battery (Aircraft)

    • 1480 mAh capacity - 11.4 Volts - LiPo 3s - 95 grams

    • 2400 mAh capacity - 7.2 Volts - Li-ion 2s - 100 grams

Sample JPG From Mavic Mini

Sample JPG From Mavic Mini

As you can see from the list above, these are the core traits that define each drone. DJI has doubled the battery capacity and moved from LiPo to LI-Ion. Each drone’s cameras are close; the difference is the processor, which makes the 2.7k video possible. The only attribute I can honestly say has a noticeable difference is the range, I have yet to see anyone get 4 km, but I have been able to achieve 1 km. I’m not sure how DJI’s R&D works, but I doubt 4 km will be able to be replicated, ever.

Can the MAVIC Mini Hold up in Wind?

In short, not much, however, the little drone can withstand maybe up to 10 mph winds and 15 mph gusts. While filming on a windy day, many shots needed to be recreated because the wind gusts would throw off the tracking. One time, the drone had a lot of trouble coming back (into the wind) to land. Always consider how much more wind there can be at higher altitudes. At the time, I was only 200 feet AGL, so I didn’t think much of it. But the heavy gusts going against the drone definitely gave me an uneasy feeling above water.

MAVIC Mini vs. Spark Which is Better?

This is dependent on your end goal. If you want something to keep up with your IG life and don’t care much for file quality as IG compresses anyway, this may be for you. If you’re a professional searching for a new backup drone to add to your toolbox, the Mini is not it. It’s cool, but it’s not production cool.
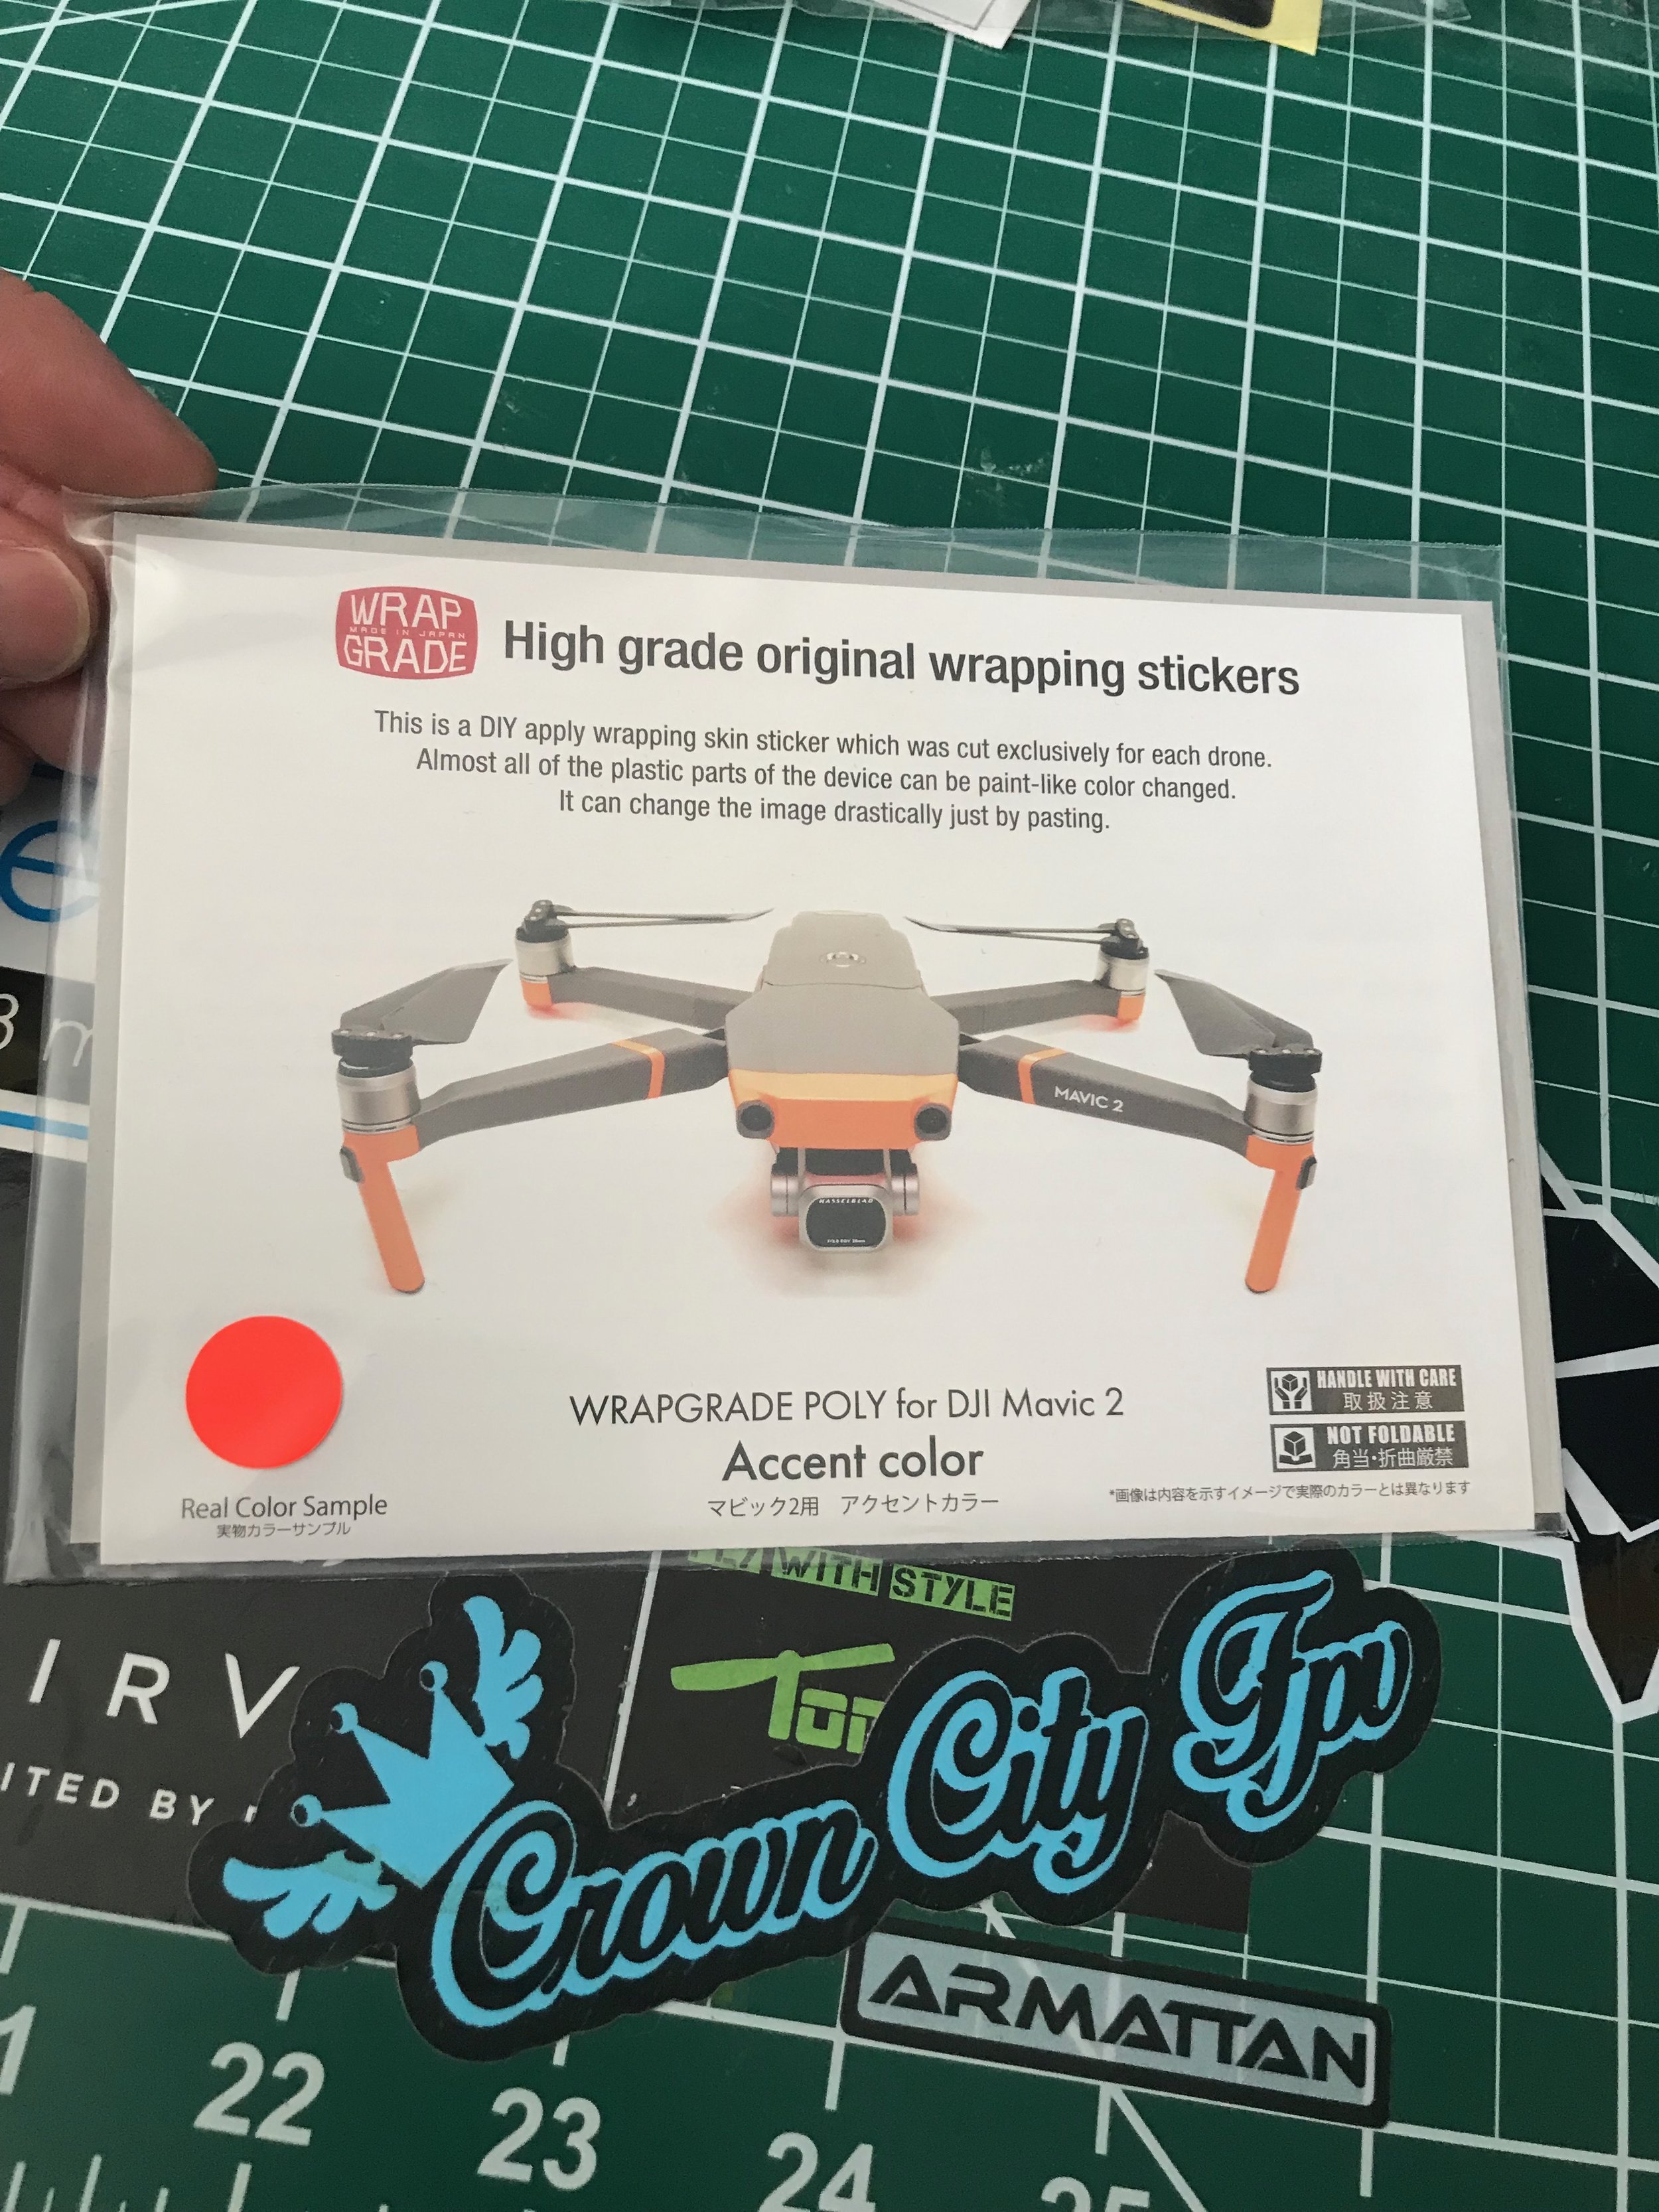
Some of you aren’t going to like this, but the Spark is my choice over the two. My main reasoning for this is build quality. Based on the demographics of the Spark and Mini users, there is a significant trend these users could be new to drones. This is absolutely fine, and these are entry-level systems, to begin with. In my opinion, the Spark is built better, far more durable, better in the wind, and more colorful. If you’re looking for a Mini wrap, Wrapgrade Japan will have some available.

Let’s also discuss the cost for a moment. Used fly more Spark packages are going for $200-300 on Facebook Marketplace and the forums. So for half the price, you could purchase a Spark kit; however, you won’t have the alleged 2.7k video or superior flight time duration. My suggestion is to find one close to $200 and buy more batteries with the leftover cash. Also, now is the time to buy because people are selling things to fund future Holiday purchases. If you’re considering buying something, feel free to send me the link and I can let you know if I think the price is fair.

Final Considerations about the Mini

Overall, the drone is cool but more delicate than I’d like. I can see this system being used in the classroom to help new users get a feel for the sticks before hopping onto an I2 or Phantom. Other than entry-level users and educational operators, I don’t see this drone ever being used for commercial purposes. I won’t call this a toy, though because even for how small it is, flying the drone does carry responsibility.

One thing I will mention is that unlike most of the other DJI drones I’ve bought when they’ve first been released, this one does not have any bugs. The Mavic 2 was extraordinarily buggy, but after a few firmware updates, the kinks were worked out. UX is solid with the Mini, and I give it an A+ for that category. Many people will find the DJI Mini is a drone to keep around for those we wish had our drones for. Keep one in the car, a backpack or purse, you never know when you’ll want to fly.

Notes

All values included in the post consisted of only my data. During every flight, weather characteristics included temperatures between 35 and 62 degrees Fahrenheit with wind speeds between 10-15 mph. Visibility was never less than 3 NM, with no precipitation and humidity between 35-55% humidity. Batteries were drained to approximately 10-15% each cycle.

Feel free to contact me with any questions you may have.

MC-Cases Explorer Edition DJI Mavic Pro 2 Case Review | Baltimore Aerials

MC-Cases Explorer Edition DJI Mavic Pro 2 Case Review | Baltimore Aerials

A few weeks ago, I was in the market for a new hard case for my DJI Mavic Pro 2 and all the accessories. I did what most people do- spent some time researching on Google. Thoughts ran through my head like “are you going to spend $300 on a damn drone case” or “you don’t need it, it’ll just add to the already cluttered drone room” but after all my questioning was over it made sense. So my goals transitioned, I was now looking for the best and most affordable case. However, there was a bigger problem. I couldn’t find a case which had the room or the proper case foam to secure both the standard RC and Smart RC.

AND THEN

I came across MC-Cases’ DJI Mavic Pro 2 and Zoom Explorer Edition Case, so I reached out. MC-Cases generously sent a case over for review, and I am excited to share my thoughts.

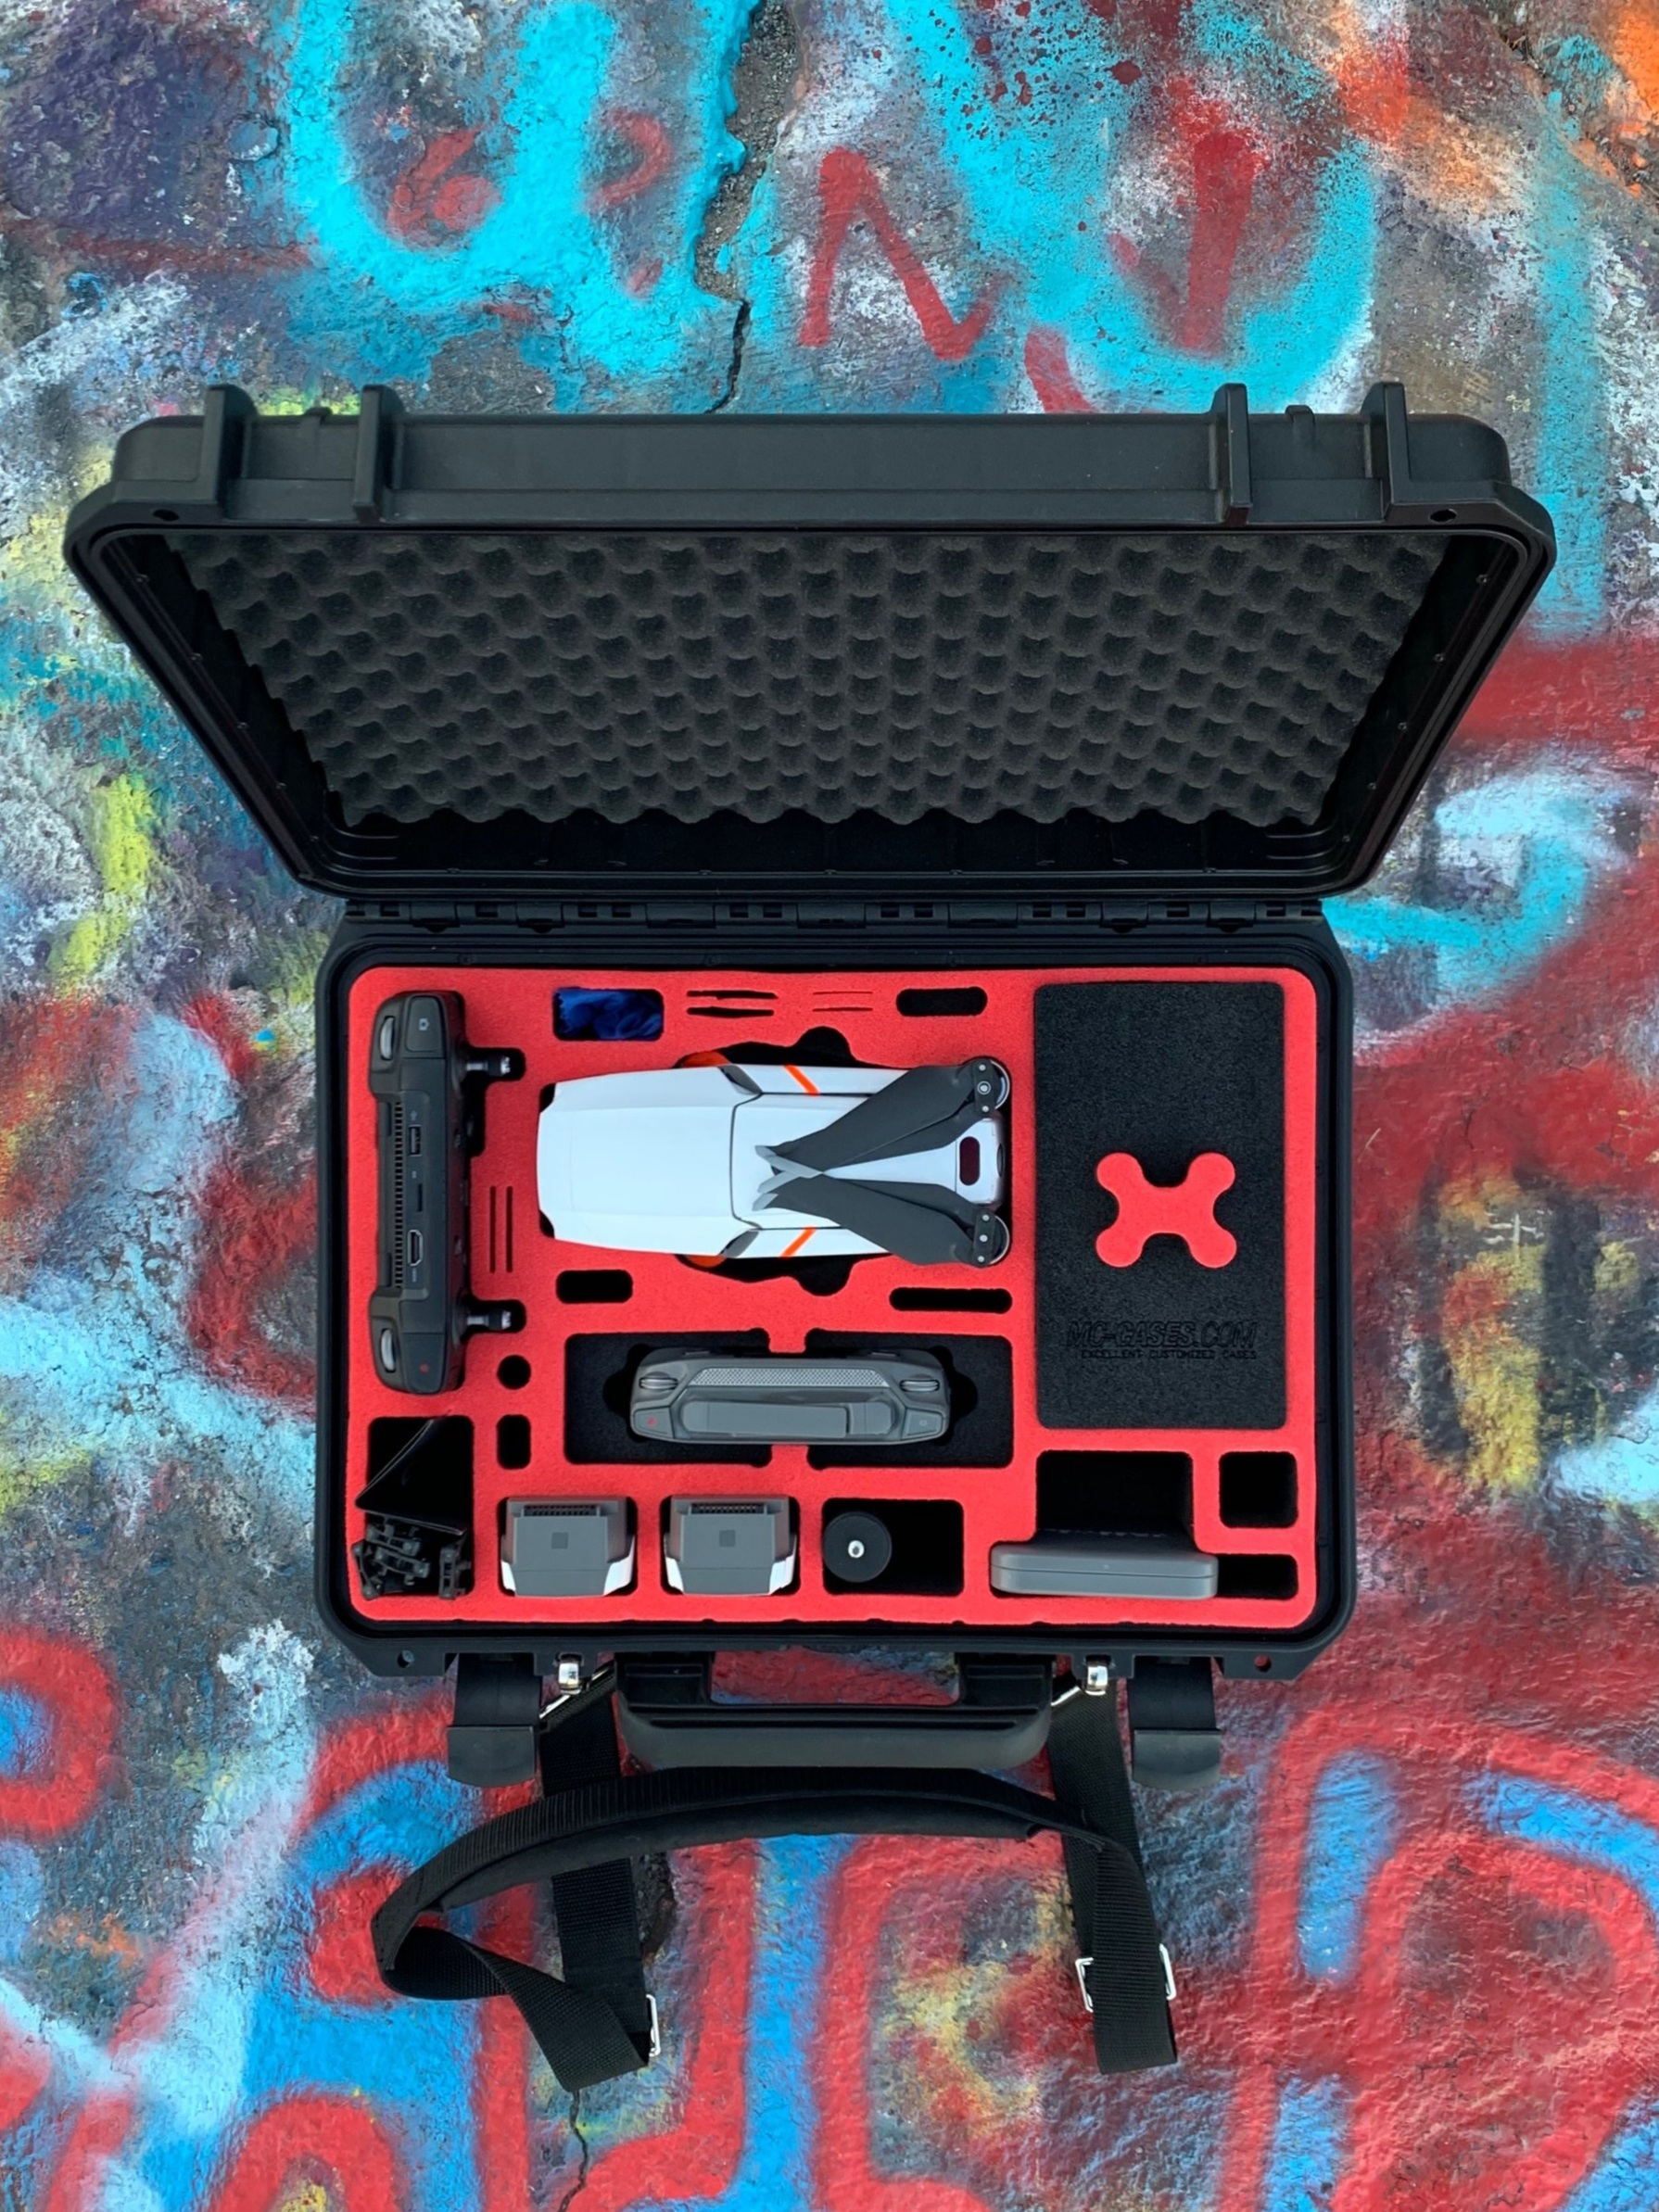
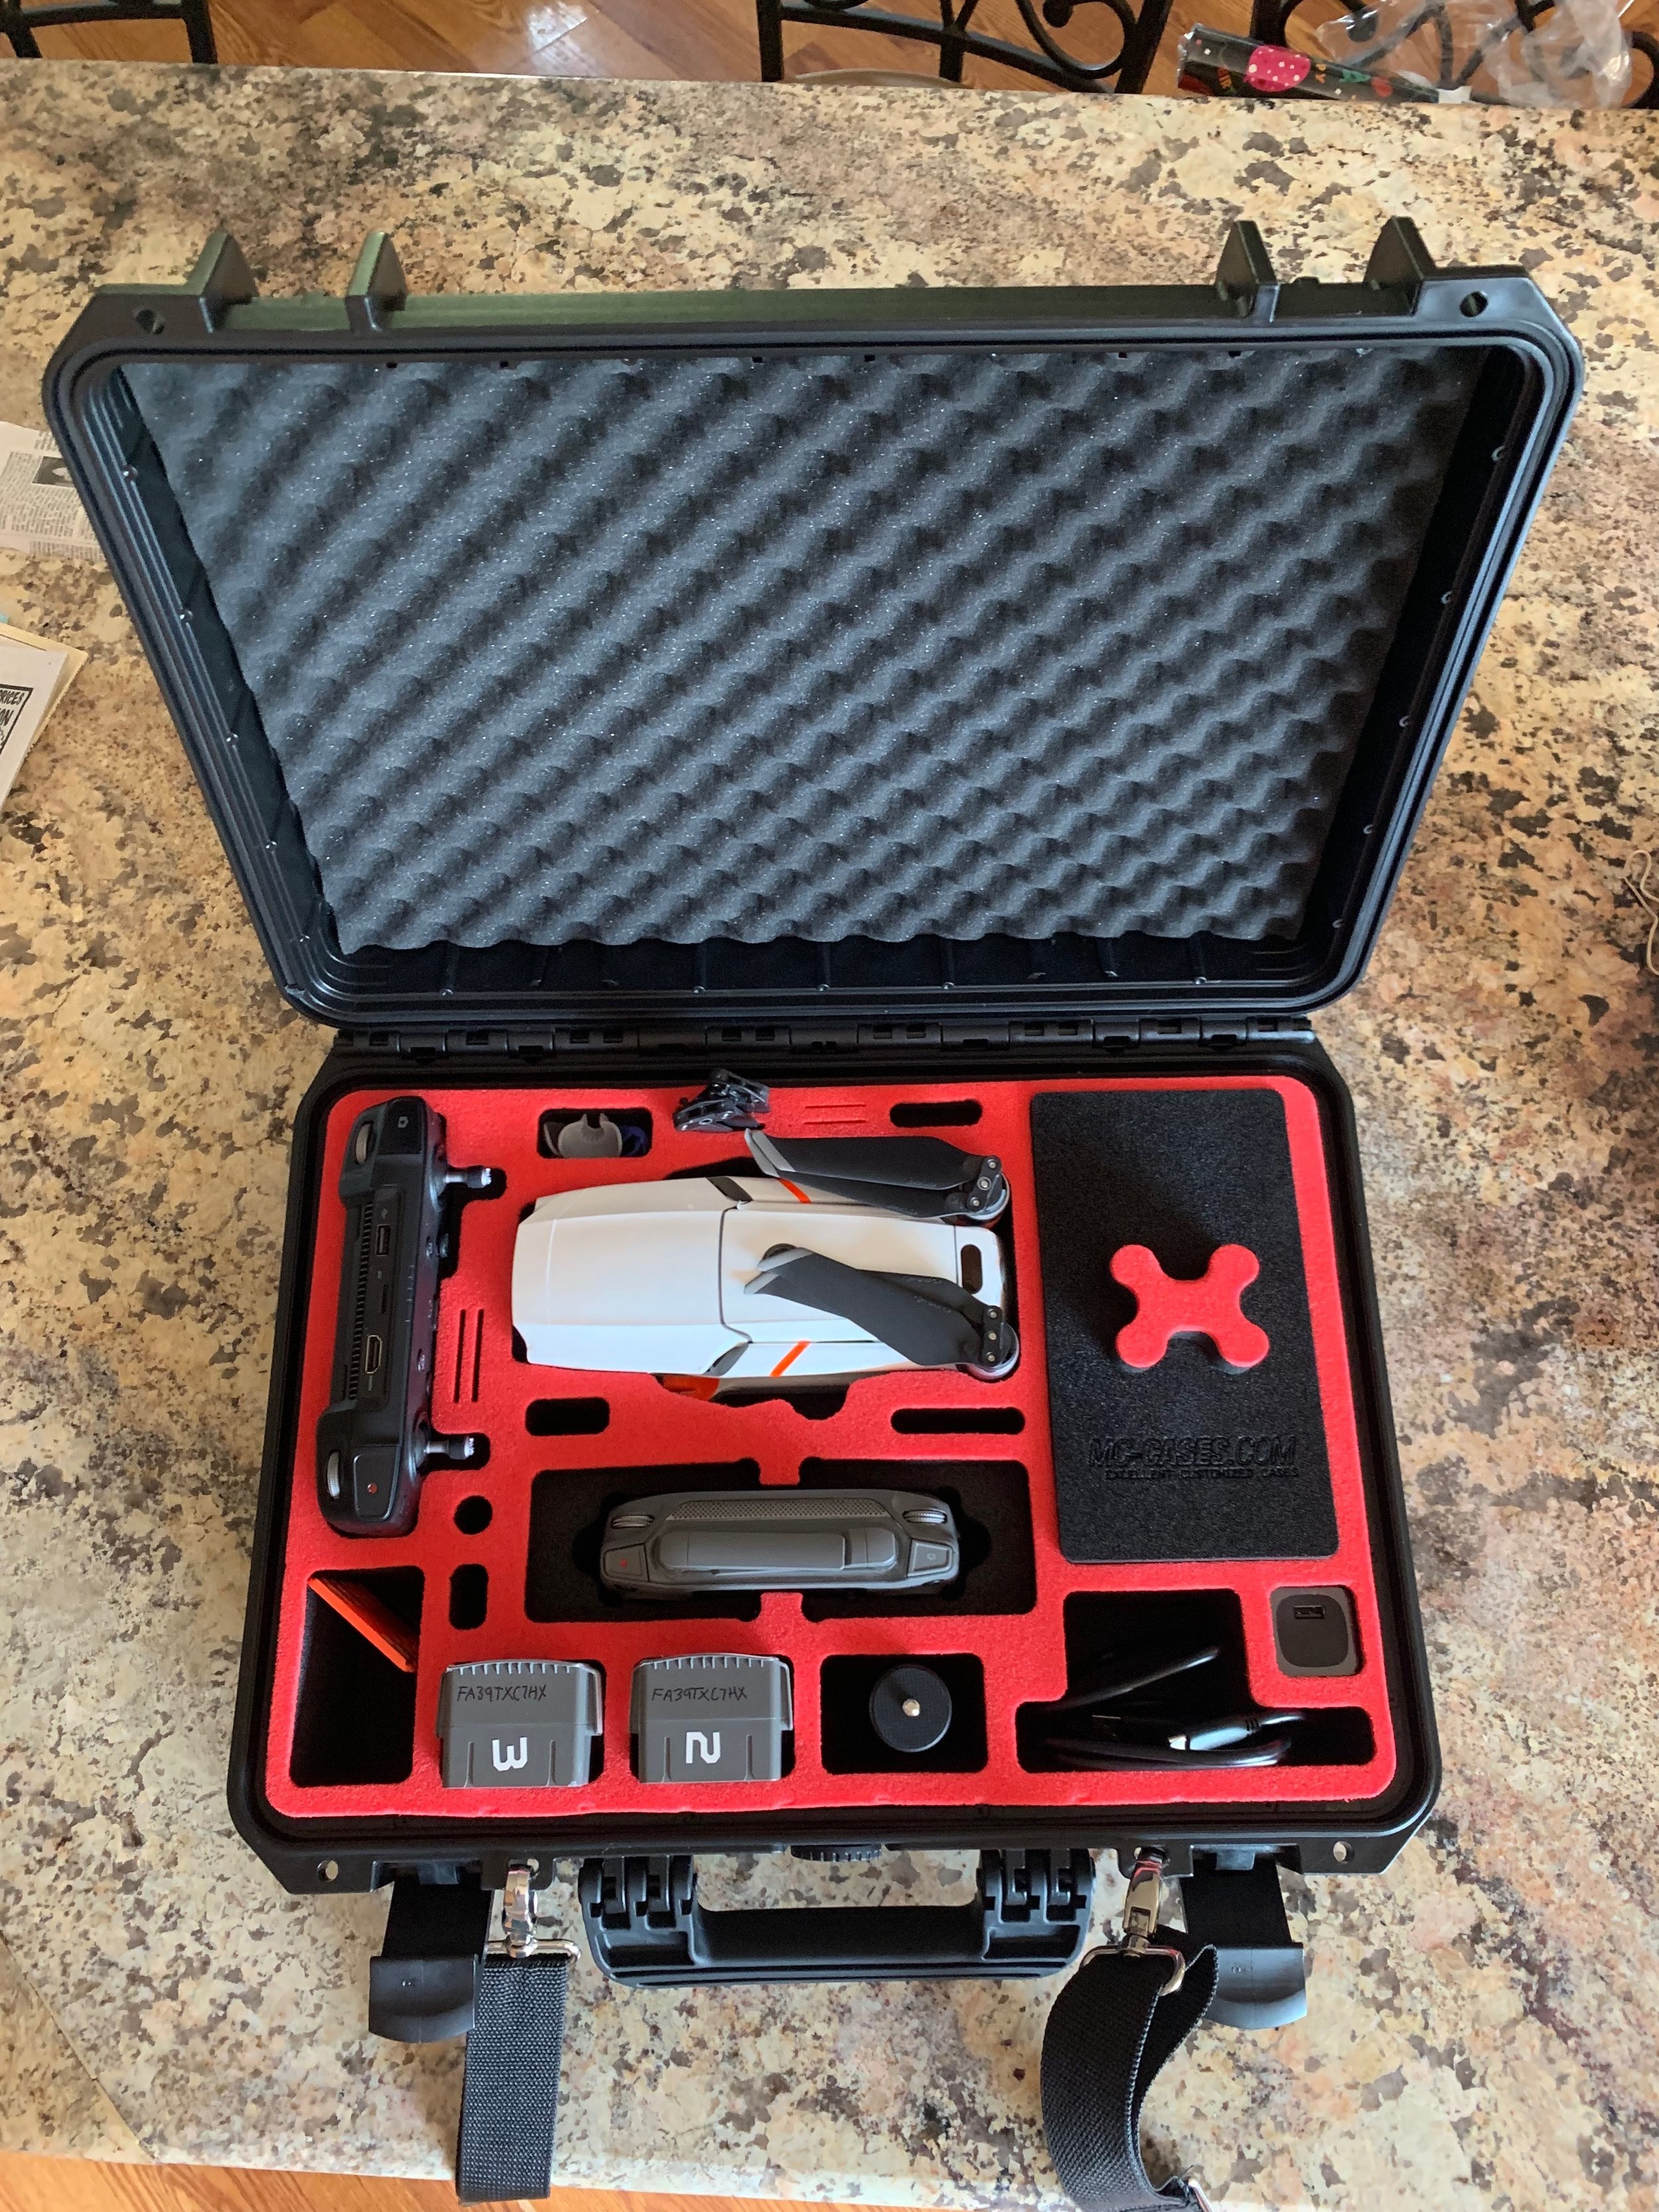
MC-Cases’ DJI Mavic Pro 2 and Zoom Explorer Edition Case Fits Everything

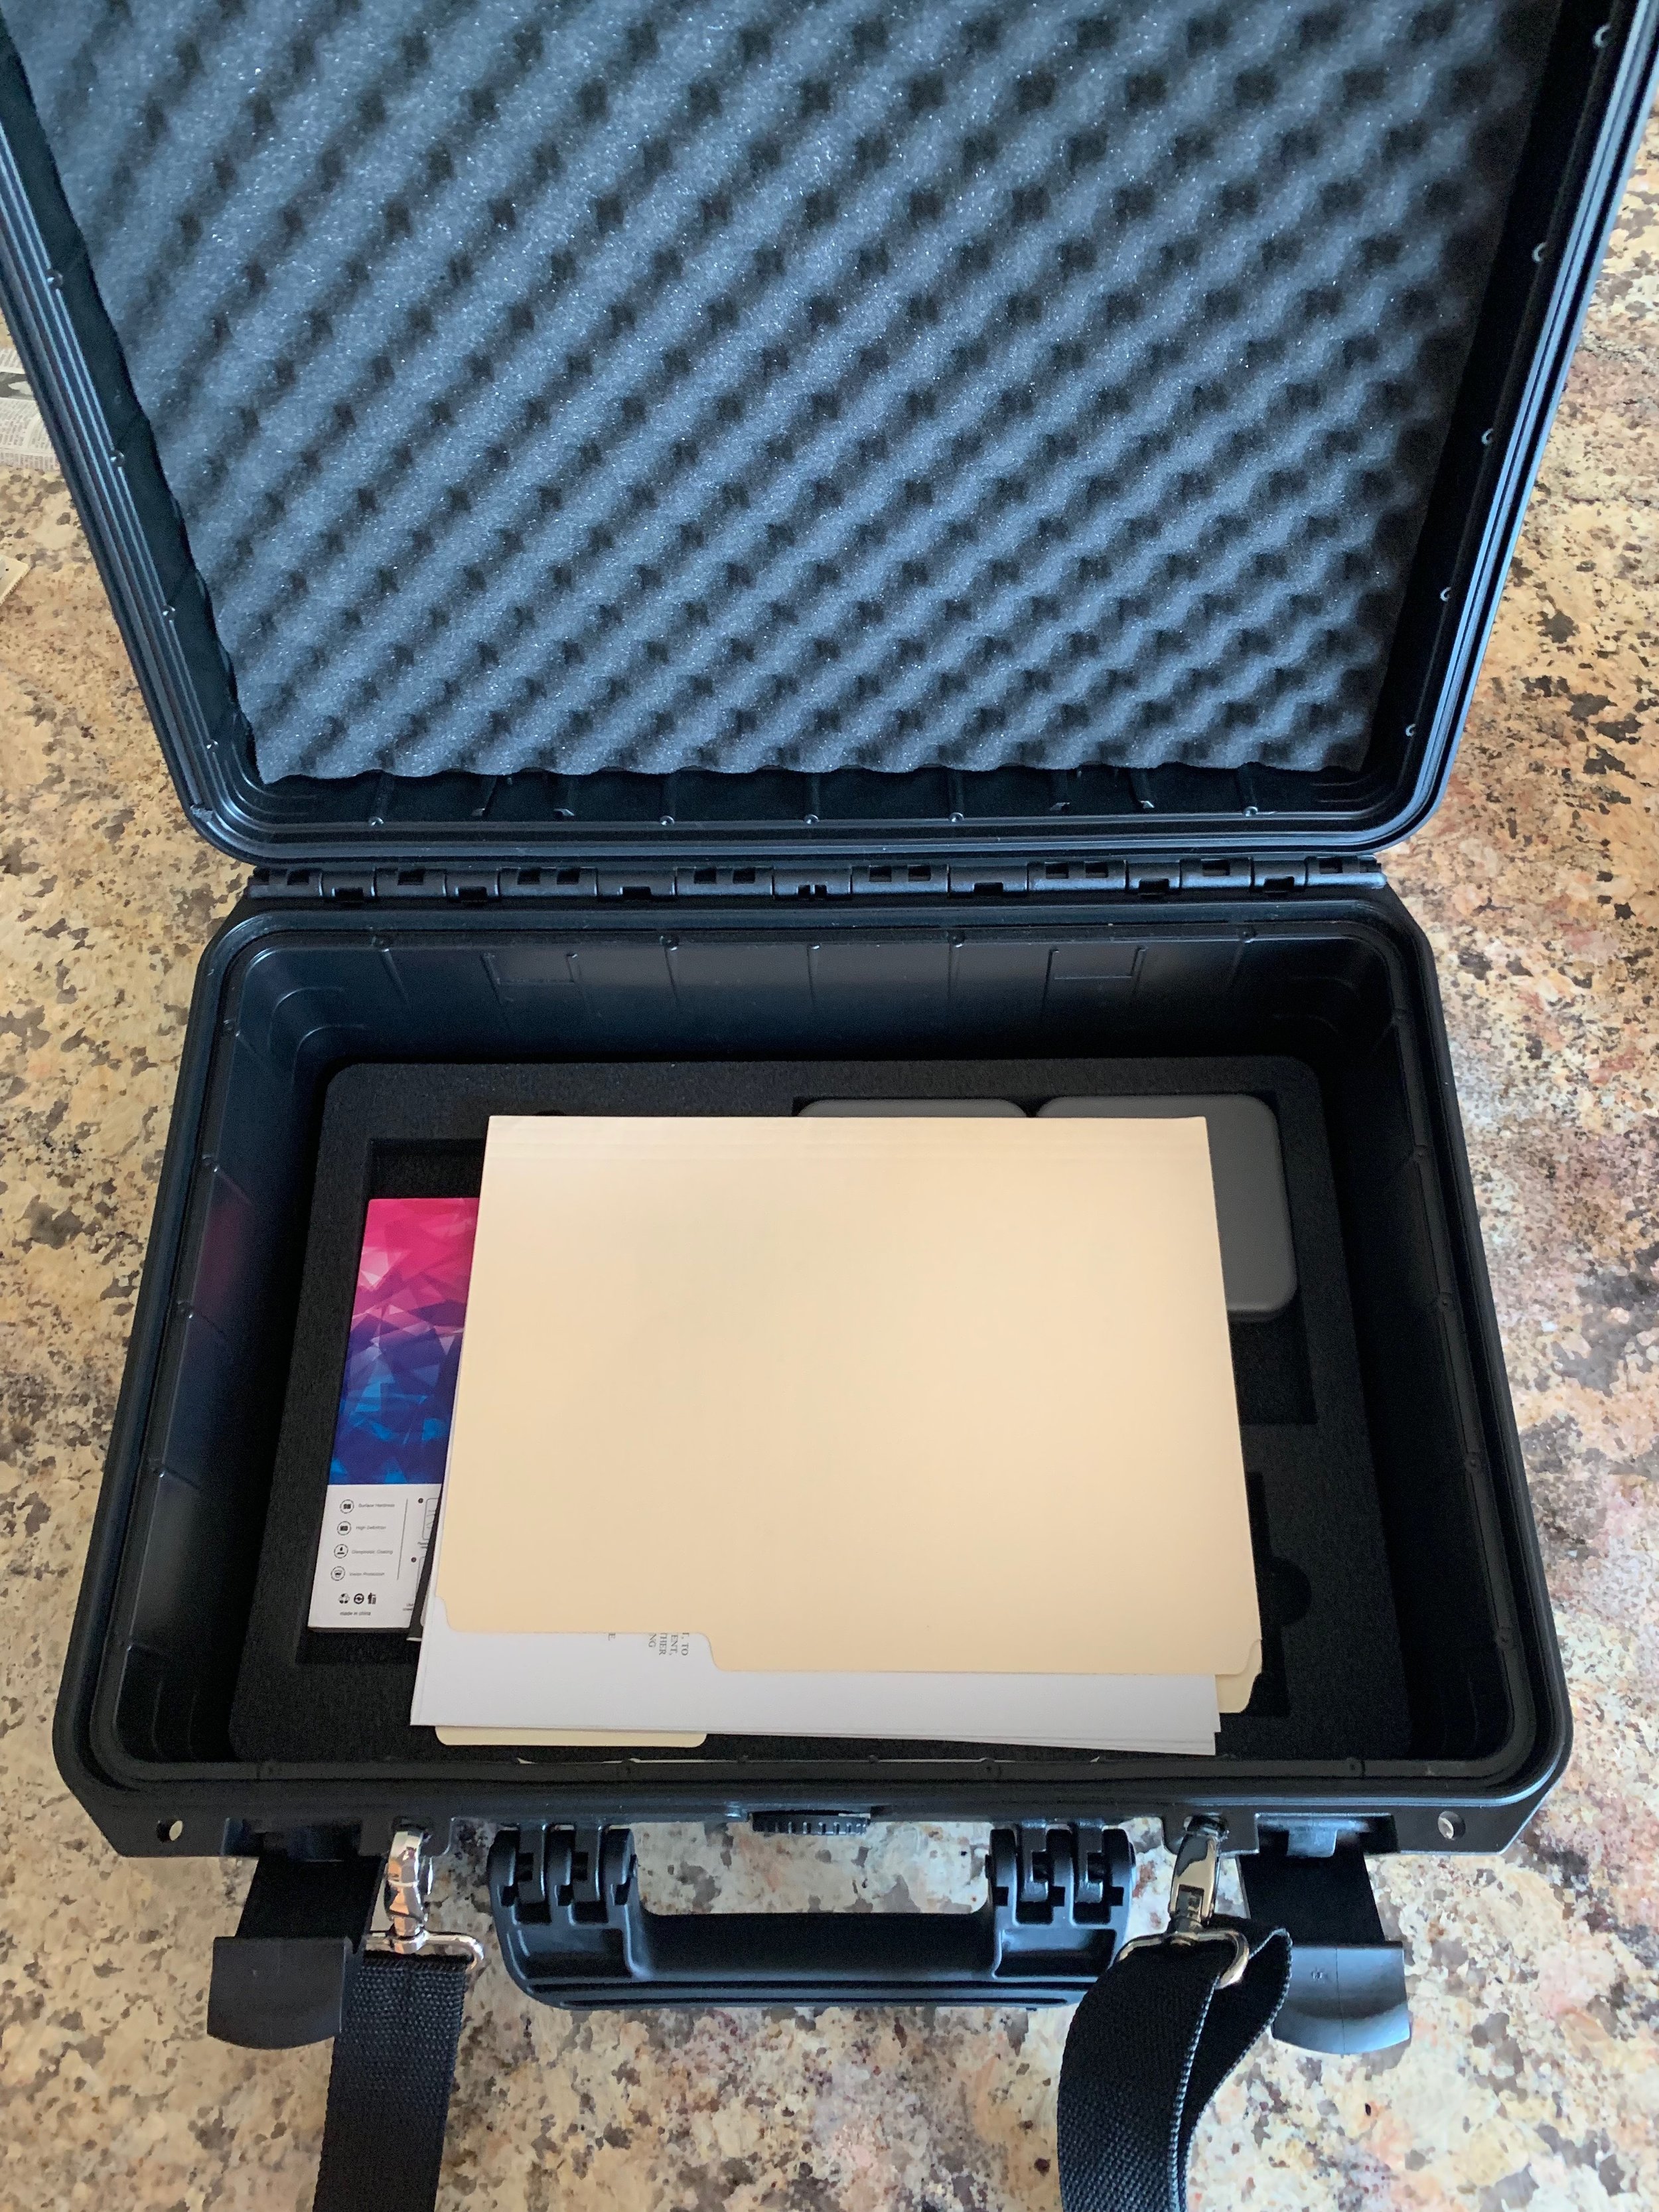
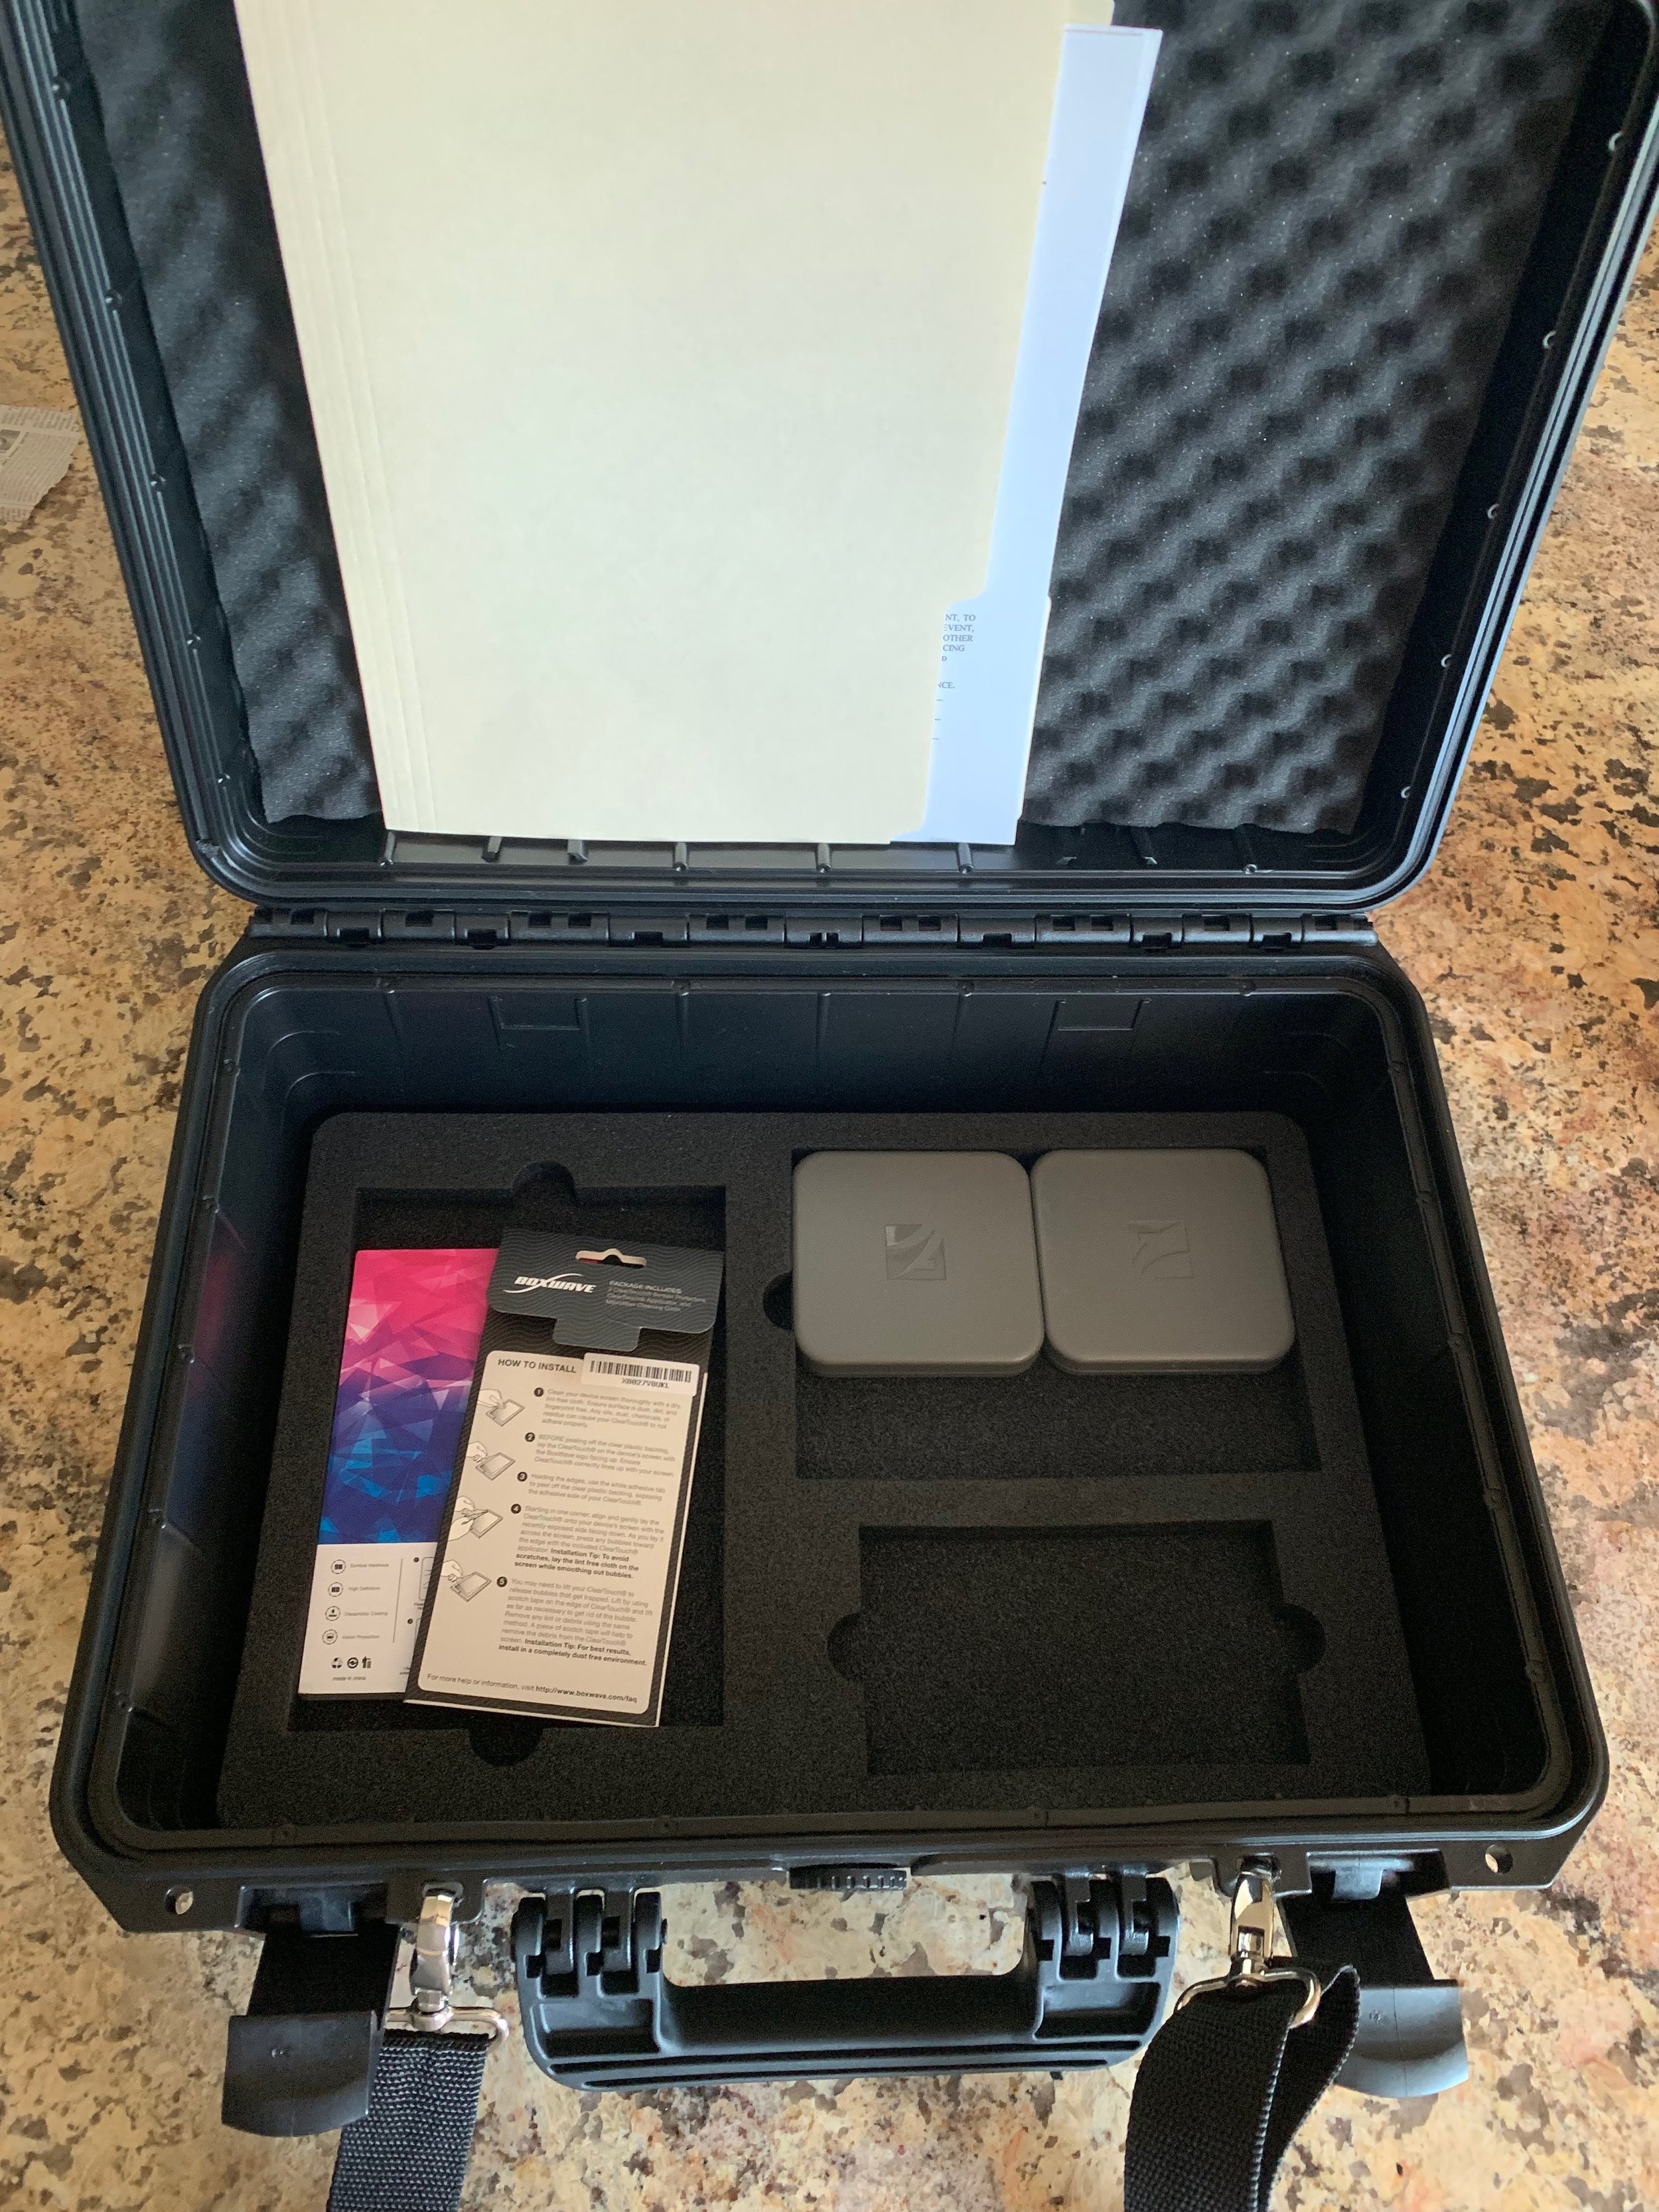
From spare SD cards to the ability to hold nine batteries, they used all the space well. There’s a bottom layer after the foam is removed where one could also store a DJI CrystalSky. Since I have sold mine, the additional room is used for paperwork and my ND filter collection.

From MC-Cases discussing their development: “During the development of the case, we took focus to make this case as best practical as possible. You have a close-able multi use compartment to store small items like memory cards, LED lights, Filters, etc. The great thing is you can remove the left foam to get more space for larger items/accessories. As extra, we added several useful compartments for all of your additional accessories. This case has hand luggage dimensions and can be used worldwide within the airplane. - This case is IP67 certificated and is waterproofed for 30 minutes under 1-meter water deepness.”

Complete list of case contents (for me)

MC+CASES+BALTIMORE+AERIALS+REVIEW.jpg
  • Standard RC

  • Smart RC

  • Mavic 2

  • 4 sets of extra props

  • Charging dock and wall adapter

  • Charging accessories for the Smart RC

  • 3 batteries

  • 16 ND Filters

  • Aerie Drone Knobs

  • Microfiber cloth

  • Controlled airspace and sUAS registration/107 Cert paperwork

  • Freewell fold-able landing pad

  • Moza Mini-S with detached stand

  • EVEN SOME ROOM FOR SNACKS

So, as you can see, the case holds everything a professional or serious hobbyist may need while out in the field.

A Mavic Pro 2 Case Built for the Elements

Whether the case is traveling with you to gigs or vacation, you’re covered. MC-Cases has produced a waterproof Mavic Pro 2 case which is rated for 30 minutes under 1 meter (3 feet) of water depth. I have yet to submerge the case, but depending on the contents it will also probably float. MC-Cases has also designed this case to be IP67 certificated which guarantee the waterproof capabilities in water up to 1 meter. Since the case can handle a couple of feet of water, sitting out in the rain will be no problem (not recommended though lol). This past weekend I traveled to a sunflower field in rural PA which tested the dust and debris capabilities of the case. Well, other than the one time I was being silly and forgot to close the case, no dirt or debris managed to enter the case although it was not locked airtight. To me, this is quite impressive because most of the time, the prop wash when launching on top of a case will force particles in. MC-Cases designed this well; I have no complaints at all. At this point, the case has laid in cornfields, sunflower fields, Baltimore City alleys, mud, light rain (test from garden hose), painted concrete (slippery when wet), and survived general wear & tear moving from airport to construction site to rural dirt roads of America- you know, just livin’ the #dronelife.

The Best Case for the DJI Mavic Pro 2

I have seen many cases for the MP2 at this point, including GPC and Nanuk, but this is the best overall. One simple reason, it fits the standard and Smart RC. This attribute is only applicable to me or others that use both, so let me give you a few more. Lifetime warranty, waterproof, and under waterproof. More? Their customer support is unlike any other company I have worked with. While they are in Germany, I received a reply within 12-24 hours depending on the time of day.

Criticism and Conclusions

I’ll start with the criticism as it will be one sentence. The locking mechanism for the carrying strap can make it tough to shut the case if you’re not paying attention. Other than that, I have only positive comments. MC-Cases has spent some time with the design of the case and interior foam. It’s nice to see this level of effort going into a product. As you can tell from the pictures, no space was left unused. As mentioned prior, this is the only case I know of that safely supports both the standard and Smart RCs.

As always, feel free to reach out to me on IG or through email with any questions or concerns. Thank you MC-Cases for providing the Explorer Case to review.


Moza Mini-S Smartphone Gimbal Review | Baltimore Aerials

Moza Mini-S Smartphone Gimbal Review | Baltimore Aerials

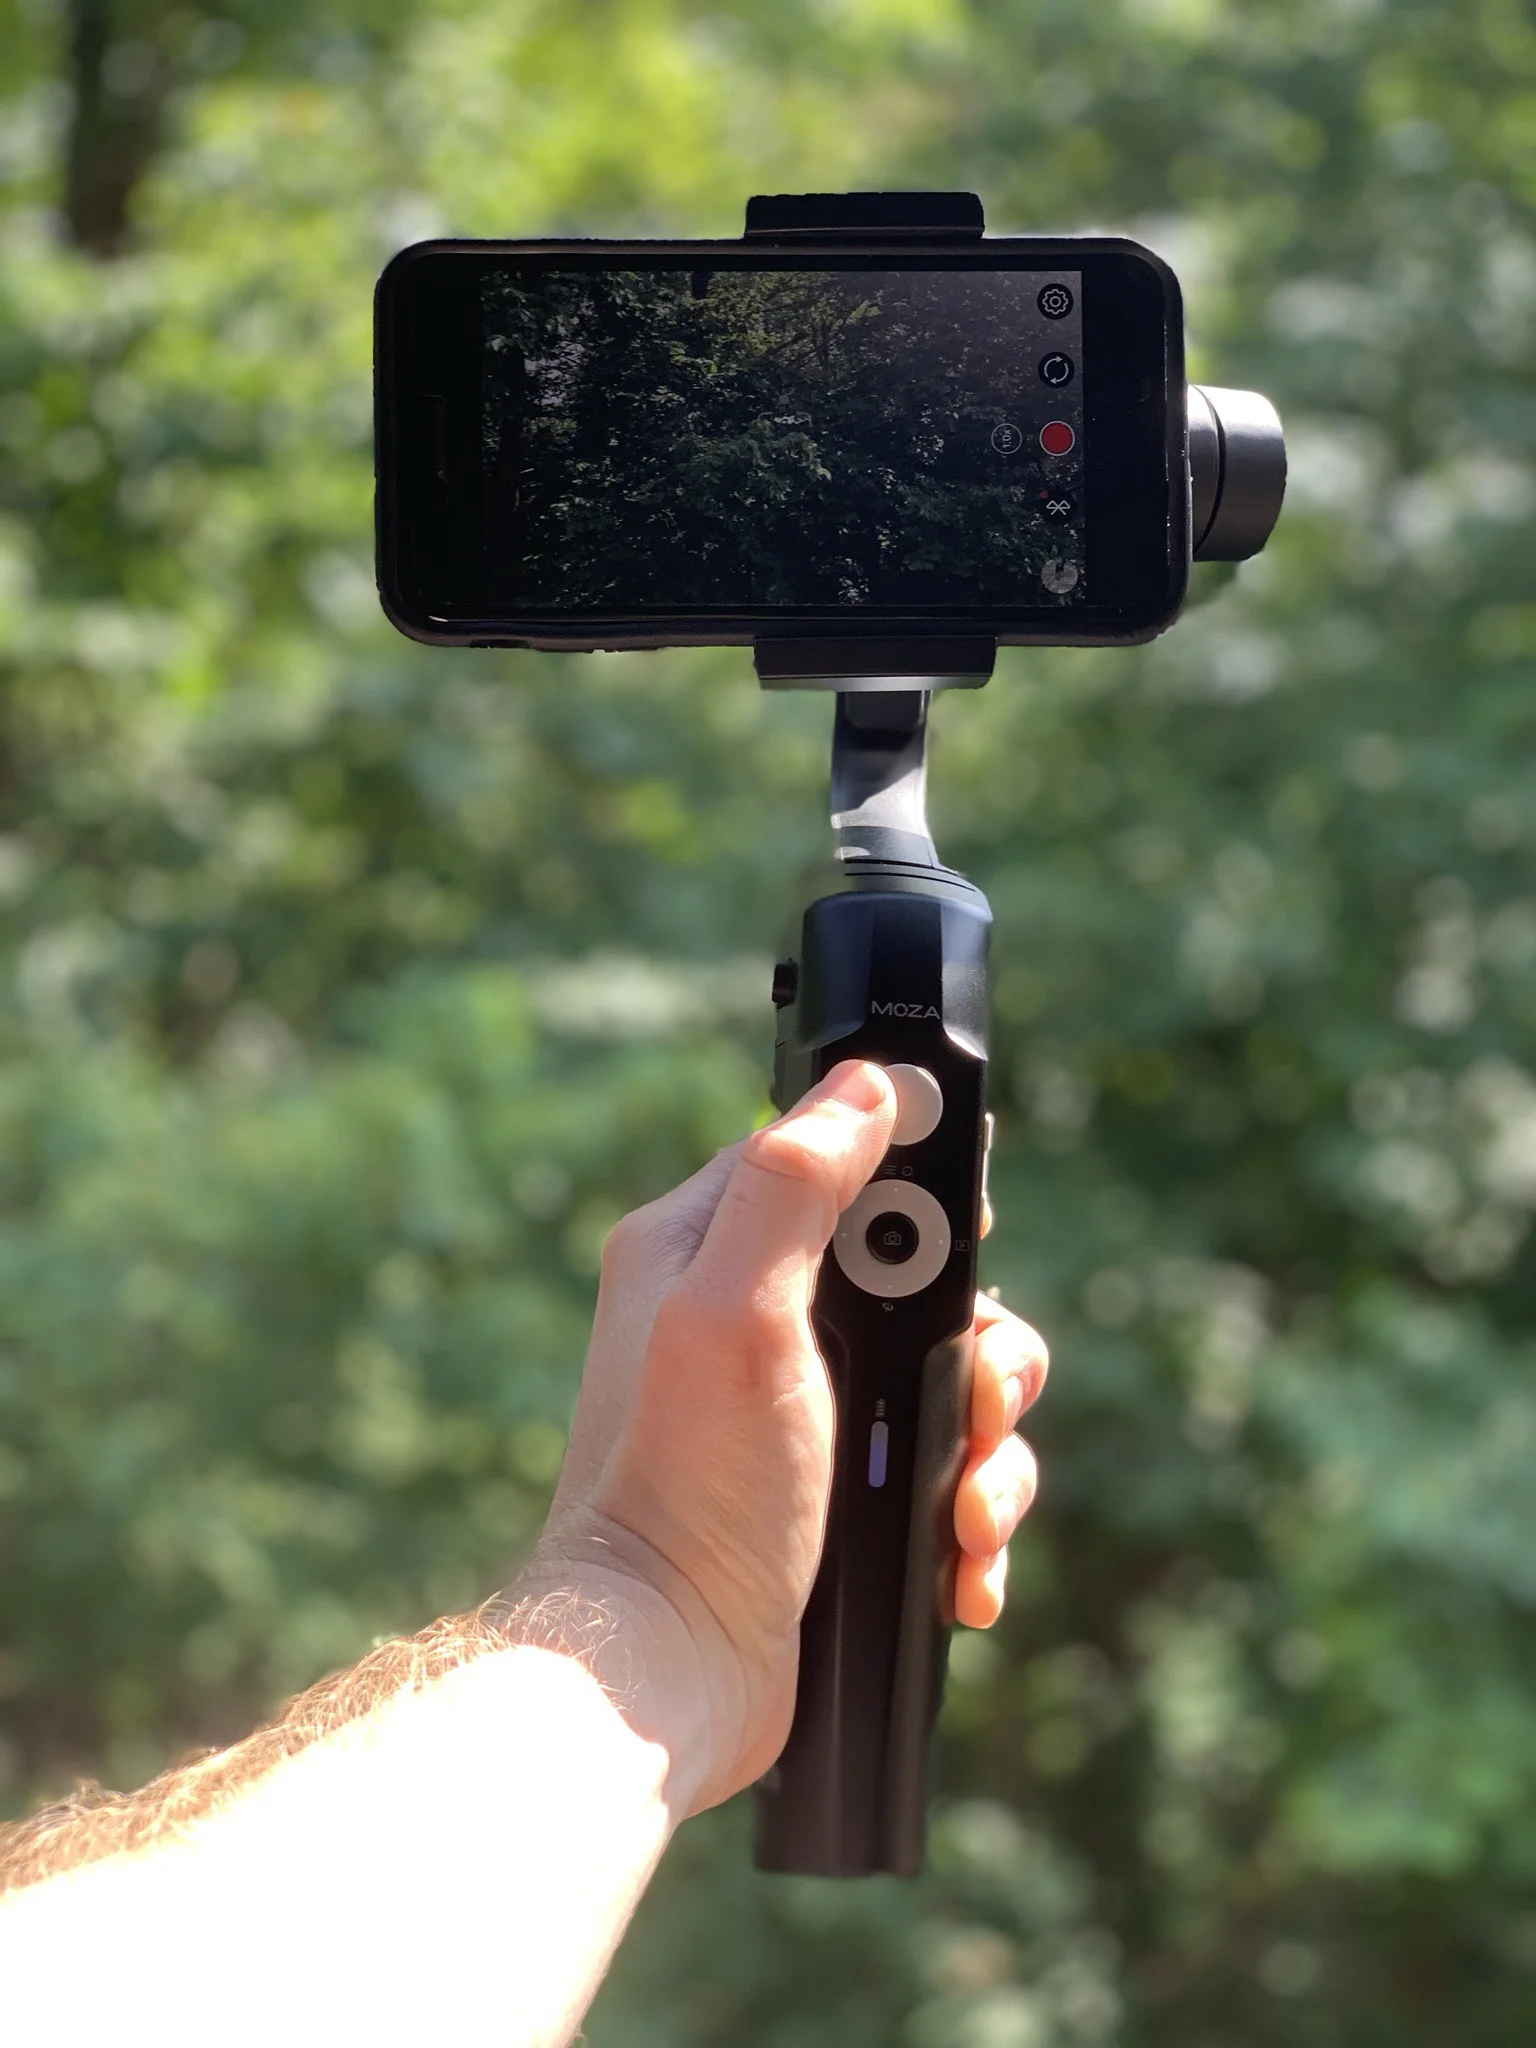
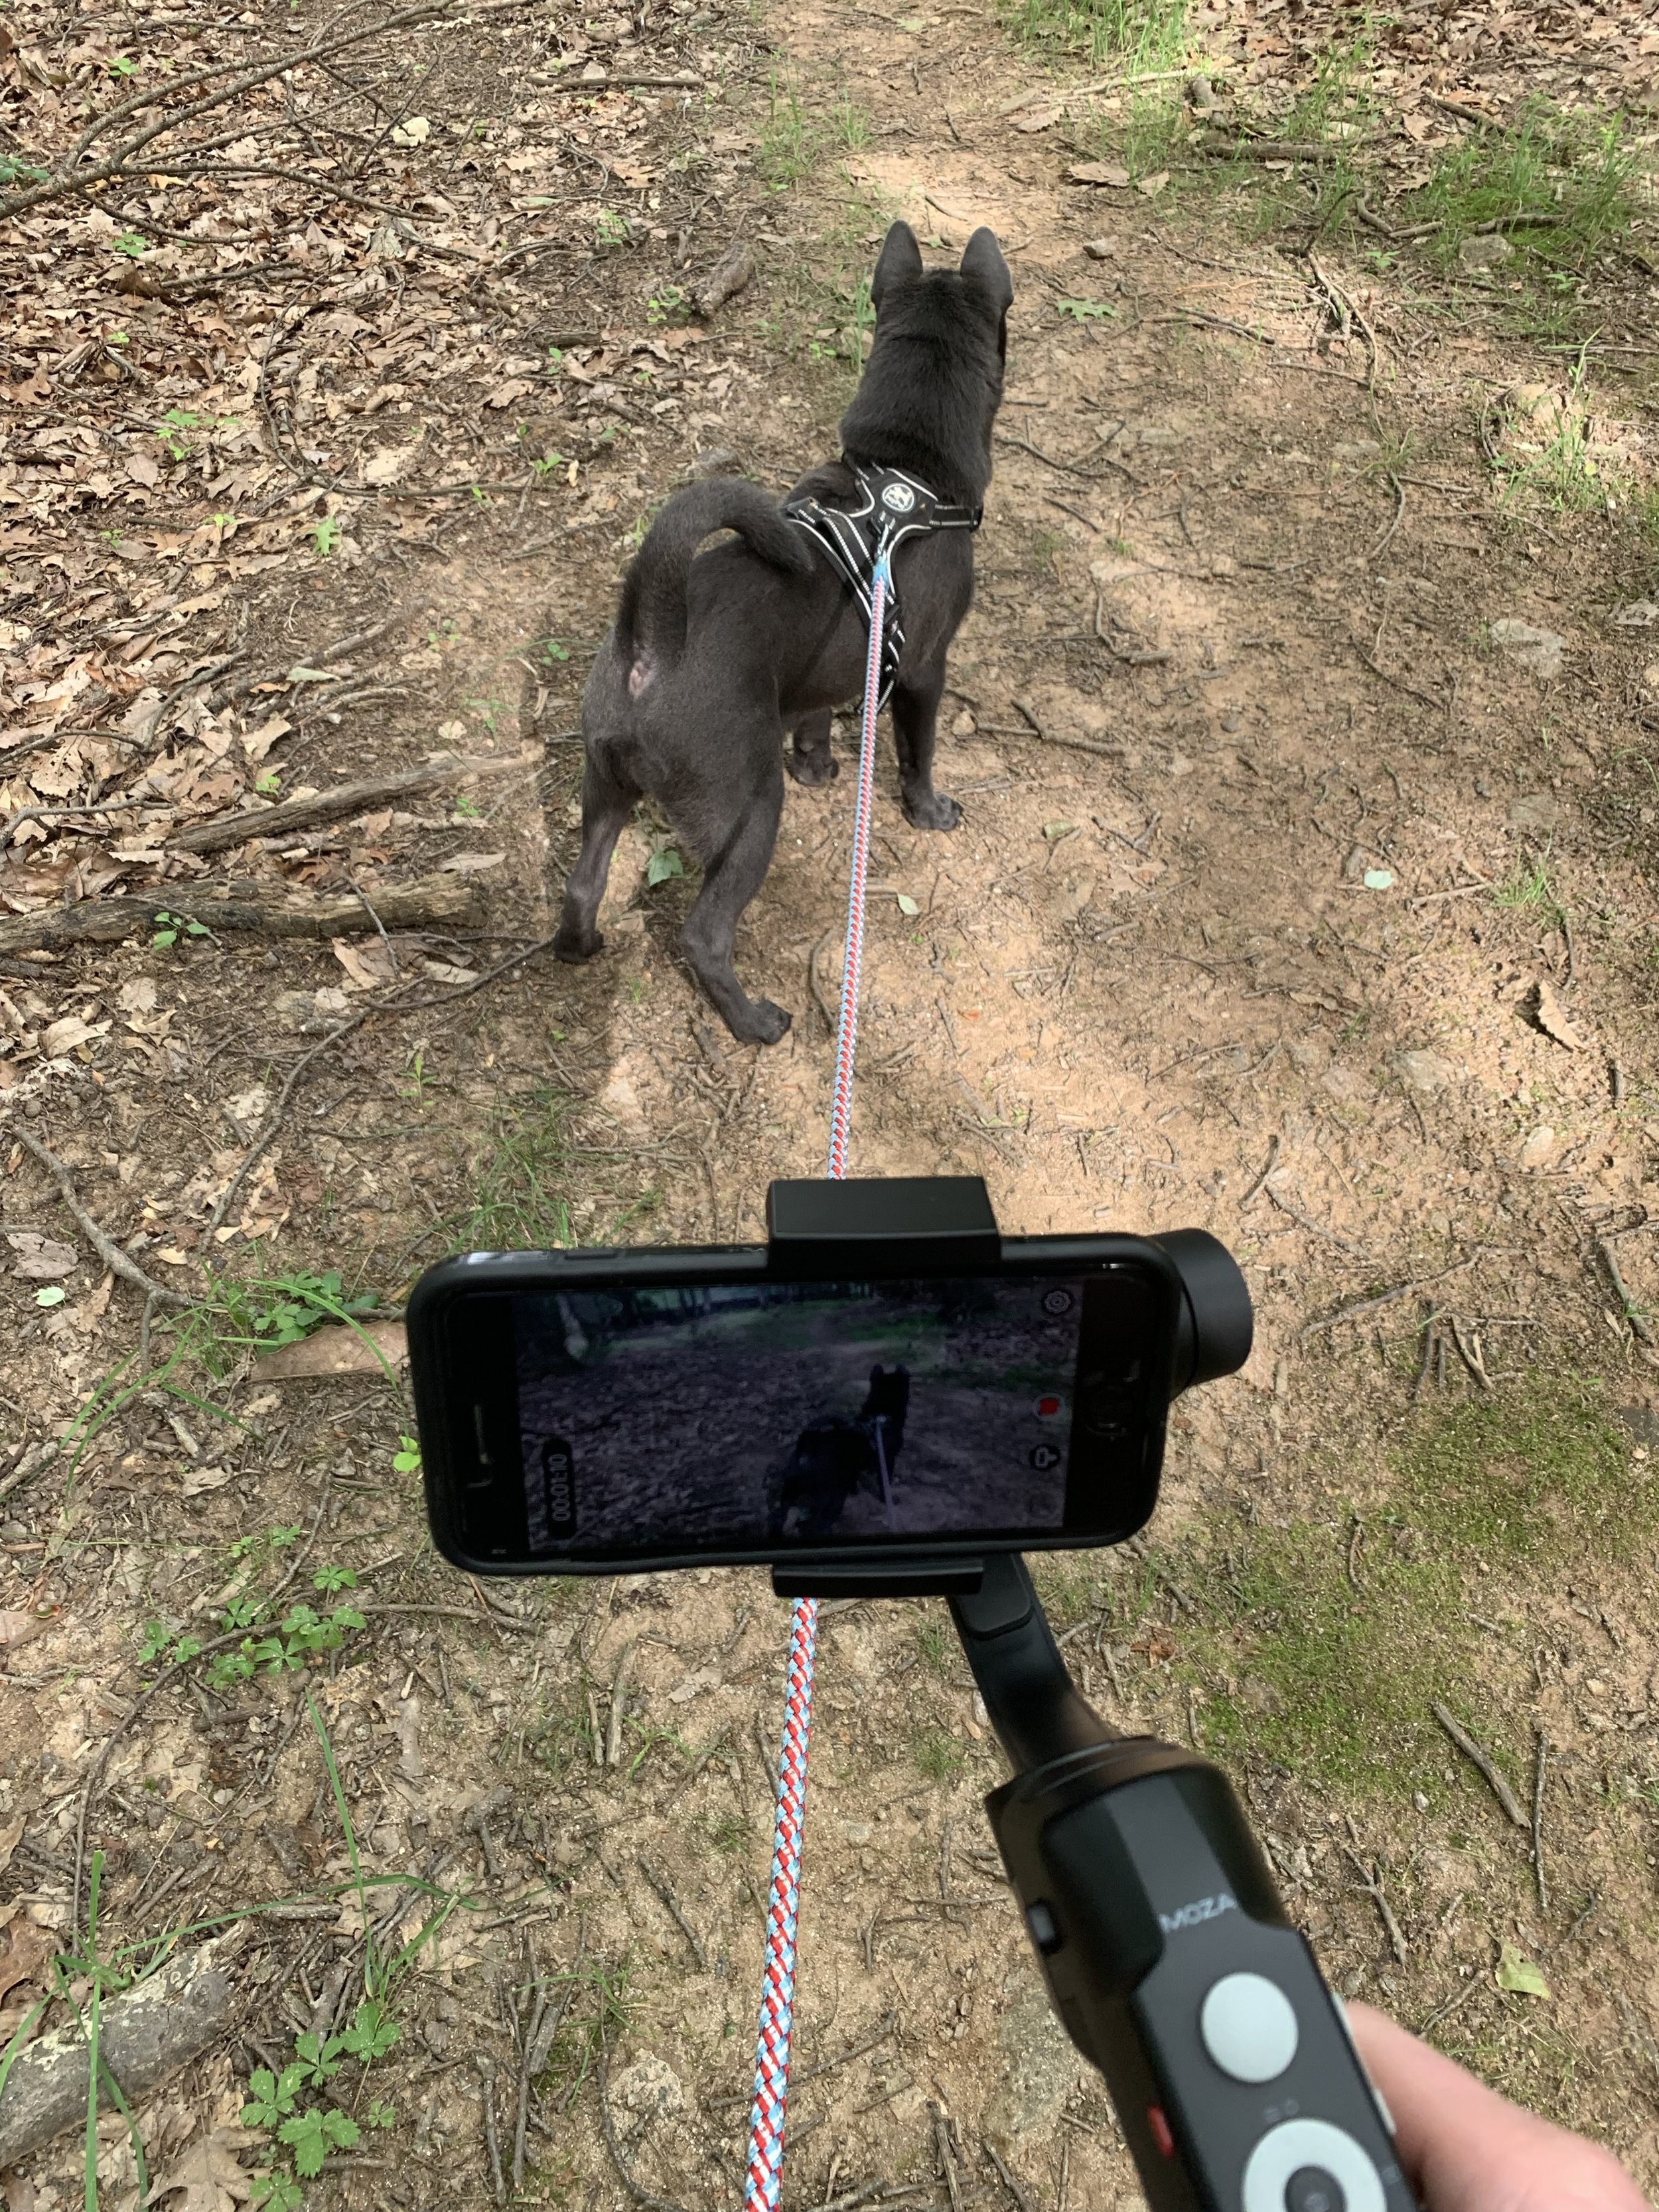
The MOZA Mini-S is light, durable, and easy to use. I brought it with us to hang out with some friends over the weekend, and it was a hit! Once the phone is mounted to the gimbal properly and is connected with the Moza Genie App, you’re on your way to creating content. One of my favorite features of this gimbal is its ability to fold into a small footprint (5.12x2.68x7.68 inches), which is about the same size as my iPhone. Ultimately, my favorite part of this gimbal was how easy it was for others to use that had no previous experience. Overall, for $80 USD, this gimbal is a great value.

What’s in the box:

  1. MOZA Mini-S

  2. Charging cord

  3. Instructions and warranty info

  4. Gimbal Stand

The MOZA Mini-S is Extremely Easy to Use

IMG-9251.JPG
IMG_1936.jpeg

Once you have received the Mini-S, charge up the battery and download the Moza Genie App from either the Apple store or Google Play store. When the red light is on, the Mini is charging, and once the red light is gone, you’ll know the Mini is charged up. When powered on, however, the light on the stick will be blue. After you have downloaded the app and the Mini-S is fully charged, connect the app with your device. This is all done through Bluetooth and is effortless because of the Genie App.

After the phone and gimbal are connected through the app, complete the gimbal calibrations to ensure your Mini-S is optimized for the specific device you are using. For example, I let my friend use the gimbal with his Samsung S9, but since the weight and size of this phone are different from mine, I need to redo the calibrations with the iPhone. The point of these gimbal motors is to compensate for gravity in a sense. Leaving your phone on its correct axis, just floating so the calibrations are vital if you want the best user experience.

Ok, so you’ve got your phone on the gimbal and want to start taking pictures and video. My advice is to play around with the app and familiarize yourself with the different settings between still photographs and video. The Genie App comes with four video modes built in- timelapse, object tracking, vertigo shot (dolly zoom), and inception mode (camera rolls on its axis) which helps when creating unique content.

Helpful tutorials from MOZA

After I messed around with the gimbal, I passed it around to get some feedback. Overall, the gimbal was easy to pick up, and others were able to operate it within five minutes or less. The joystick was the only obstacle. A few reactions of the gimbal were “I need this for vacation” and “this thing is lighter than I expected,” which made me realize this gimbal could fit so many applications.

Smartphone Gimbal meets Performance

IMG_1958.jpeg

I couldn’t believe how long the battery was lasting in the heat this past weekend. With a temperature around 85 Fahrenheit and in direct sunlight the battery only trickled away as we had fun. MOZA suggests the battery life will last eight hours with only a 1.5 hour charging time. This measurement sounds about right, we used the gimbal for 2 hours, and just above 70% battery life remained.

Mechanical Endpoint Range

  • Pan Axis - 270 degrees 100 degrees more than OSMO MOBILE 2

  • Roll Axis - 315 degrees 155 degrees more than OSMO MOBILE 2

  • Tilt Axis - 200 degress 80 degrees more than OSMO MOBILE 2

As you can see above, the MOZA Mini-S has far more motor range than DJI’s OSMO MOBILE 2 which is considered a direct competitor. In addition, the Mini-S is nearly half the cost at $80 compared to the OSMO MOBILE 2 at $140.

Battery Specs

  • Capacity - 2200 mAh

  • Life - 8 hrs

  • Charging time - 1.5 hrs

Overall Size and Weight

  • Weight - 1.1 lbs or 498 grams

  • Max payload (largest device possible) -.57 lbs or 260 grams

  • Gimbal dimensions unfolded - 4.6”x3.7”x12.5” (WxDxH)

  • Dimension folded - 5”x2.7”x7.7” (WxDxH)

MOZA’s Mini-S Supports many Phones

While using the Mini-S so far, we have used the Samsung Galaxy, iPhone 7+ and iPhone XS MAX and all of them worked flawlessly. Here is a list of supported devices from MOZA:

  • iphone X,8Plus,8,7Plus,7,6s Plus,6S,6Plus,6,5s

  • HUAWEI P10,P10 Plus, Mate 10 Pro,Mate 10

  • Samsung Galaxy S8, Note 8

  • Xiaomi Mi MIX 2, Mi

The phones we used were not listed by MOZA, but again, they worked fine. If you have any questions about whether or not your device will work with the Mini-S, I’d suggest contacting MOZA here.

Great Value, Portable, Easy UX, My New Go To Smartphone Gimbal

IMG-9248.JPG

Overall, MOZA Mini-S is a fantastic little phone, stabilizer. For $80 you can’t beat it. I’ll be going on a trip next week when I’ll be able to compare this gimbal directly against the OSMO MOBILE 2 in the field. Based on the reactions and comments from this weekend, I can say this is a gimbal that most people will enjoy bringing with them on content generation trips or in daily life. I only have two issues. The first is out of my control, and that is for the gimbal to expand more like a selfie-stick. I saw this option in a few early YouTube reviews, but I guess MOZA decided against this when they rolled out the production model. Second, this should have come with a case. It’s not a big deal since it’s small and fits nearly in a back pocket, but for hiking, I’d like the gimbal to be more secure.

iFlight Cinebee 75HD 2S-3S Whoop Review | Baltimore Aerials

iFlight Cinebee 75HD 2S-3S Whoop Review | Baltimore Aerials

iFlight CineBee 75HD 2S-3S Whoop Review

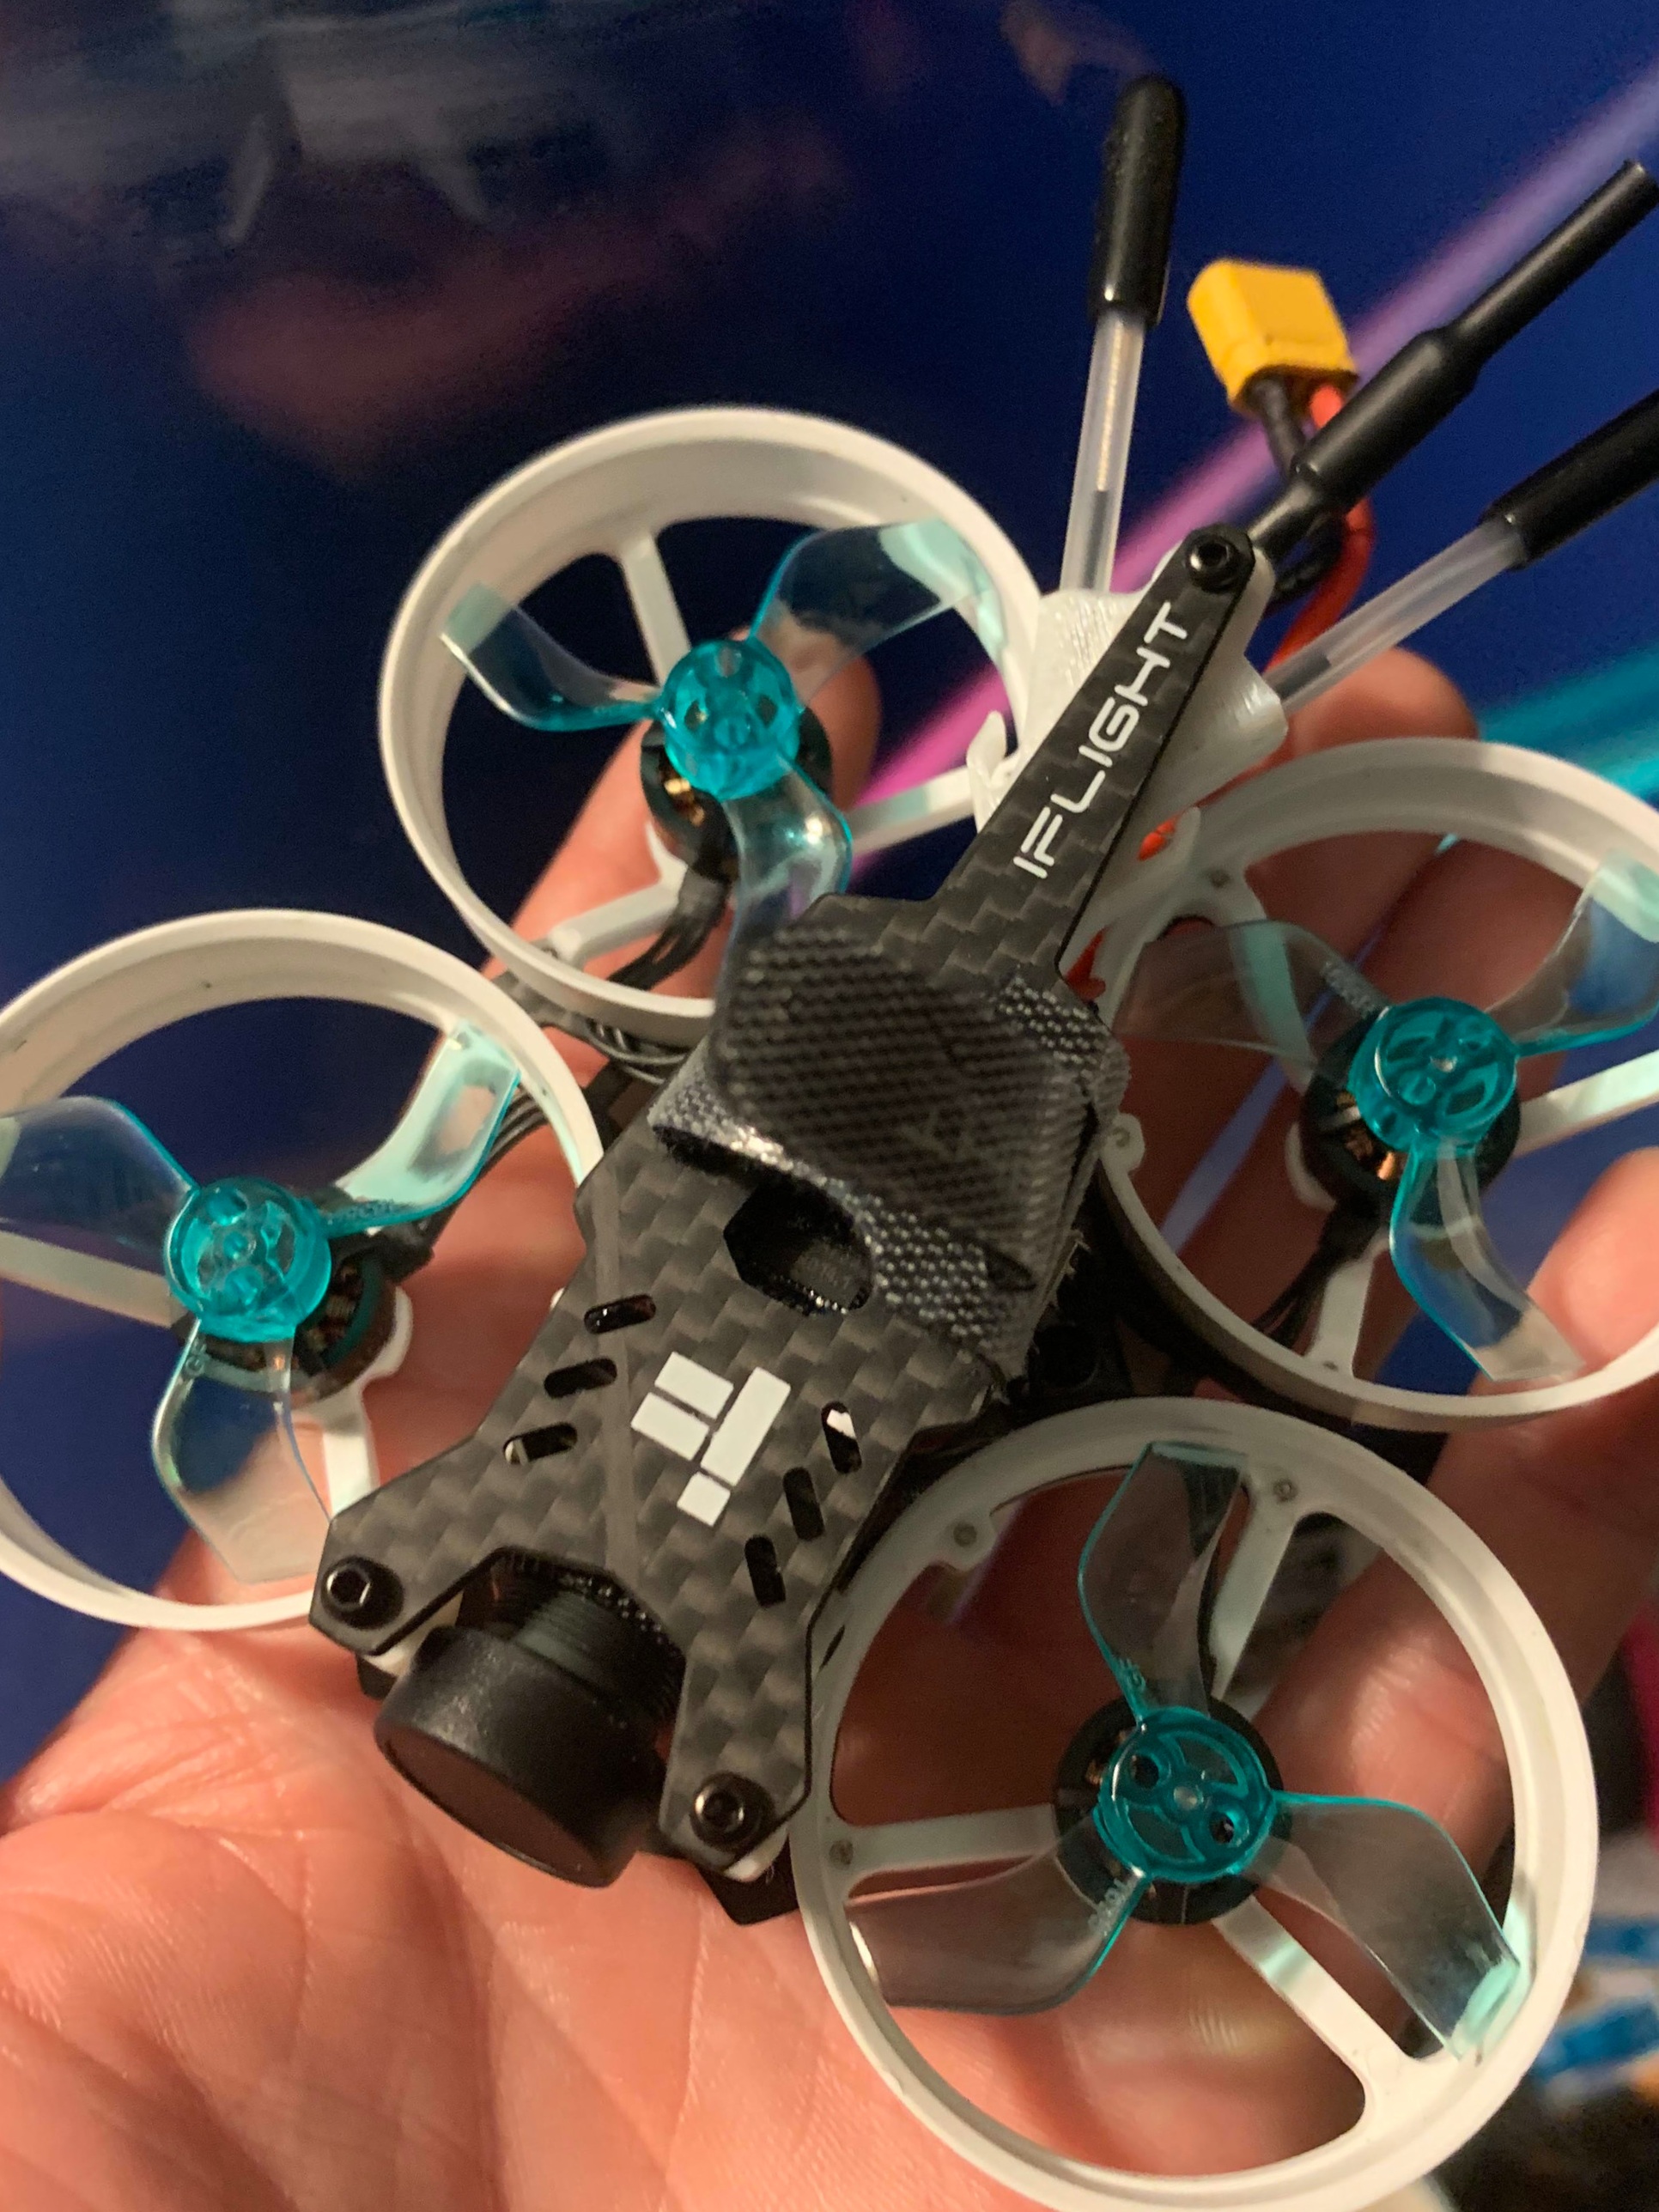
So far this 75mm brushless cinewhoop style quad has been awesome to fly around. While the 2s 300mah batteries I am using don’t provide that much flight time, the camera makes up for it. Plus, I need to upgrade to the 2s 450 mah batteries anyways. We’ll get more into the batteries later. Overall, iFlight has done an excellent job for a sub $200 BNF brushless mini quad.

CineBee 75HD Footage Example

iFLight has used the Caddx.us Turtle v2 HD FPV cam which shoots 1080p video at 60 FPS. The onboard DVR footage is pretty impressive. Here is an example:
Top Camera Specs:

  • 1/2.7” CMOS Sensor

  • Resolution outputs

    • 1080P @ 60FPS

    • 1080P @ 30FPS

    • 720P @ 60FPS

  • 1.8mm Turbo Eye Lens

  • Audio support

  • 12 grams

Flight Performance of iFlight’s CinebBee 75HD

I purchased Tattu’s 300mah 45C batteries for the CineBee and so far, I like the results. I will be upgrading to the 450mah 95C lipos to see if there is an improvement in flight duration. Since there is an additional 150mah on the next battery, I can guarantee better flight times. I am not sure if this will improve performance, however. Since the 450mah is longer and slightly heavier, tight maneuvering may be affected. If you bought a CineBee or are thinking about it, we both know being able to maneuver in close areas is critical.

Keep in mind, this quad fly’s like a whoop in angle mode, and I wouldn’t recommend this for acro flying at all. With the ducts, the quad has more drag with less space for the props to pull surrounding air. Thus really only for flying slow and cinematic.

This Drone Holds Up Well

First flight, I crashed out at full speed right into a bush then deflected into the grass. The white ducts turn green from the props chopping up the grass even with an immediate motor disarm. Once I checked out the damage, I was surprised as only two ducks cracked, but the CineBee was fully flyable still. After about 20 flights, the same factory (Gemfan) props are still on. iFlight includes two different props with the drone — a set of 40mm tri-blade Gemfans and a set of HQs. iFlight recommends the Gemfans for general flying and the HQs for cinematic footage. I agree with this; the HQs are fragile, you can read that all over Facebook and the forums.
On the other hand, the Gemfans are solid. The video posted above is using the Gemfans, and I only experienced minor jello at high altitude with a significant breeze. Moving forward with testing, I am going to use the HQs for video. However, I’ll be carrying a few sets because they have a reputation to be a one-time use. AKA if you crash, you trash them.

Conclusions for the CineBee 75HD

iFlight designed and produced a fantastic quad for slow and steady cinematic footage. One double-edged sword is the sd slot. They’ve added an extra clip to secure the card but at times the card is hard to remove. In any case, I’d rather struggle to remove the card than have it fly out from trauma during a crash. If you want balls to the wall HD micro brushless, a Mob 7 is what you want. If capturing video in a new way is your goal, I highly recommend the CineBee.


Wrapgrade Japan's Accent Color for DJI Mavic Pro 2 Review | Baltimore Aerials

Wrapgrade Japan's Accent Color for DJI Mavic Pro 2 Review | Baltimore Aerials

My Mavic Pro 2 is always changing colors, it’s kinda like a chameleon these days. Thanks to Wrapgrade, I have been able to test the seasonal color - Ruby and the accent color Orange so far. I usually wrap my Mavics white because I like the clean look and can easily pick mine out of the bunch at a meet. Since my Mavic has a white base, both accent colors looked great on the bird.

Wrapgrade Provides Excellent Instructions

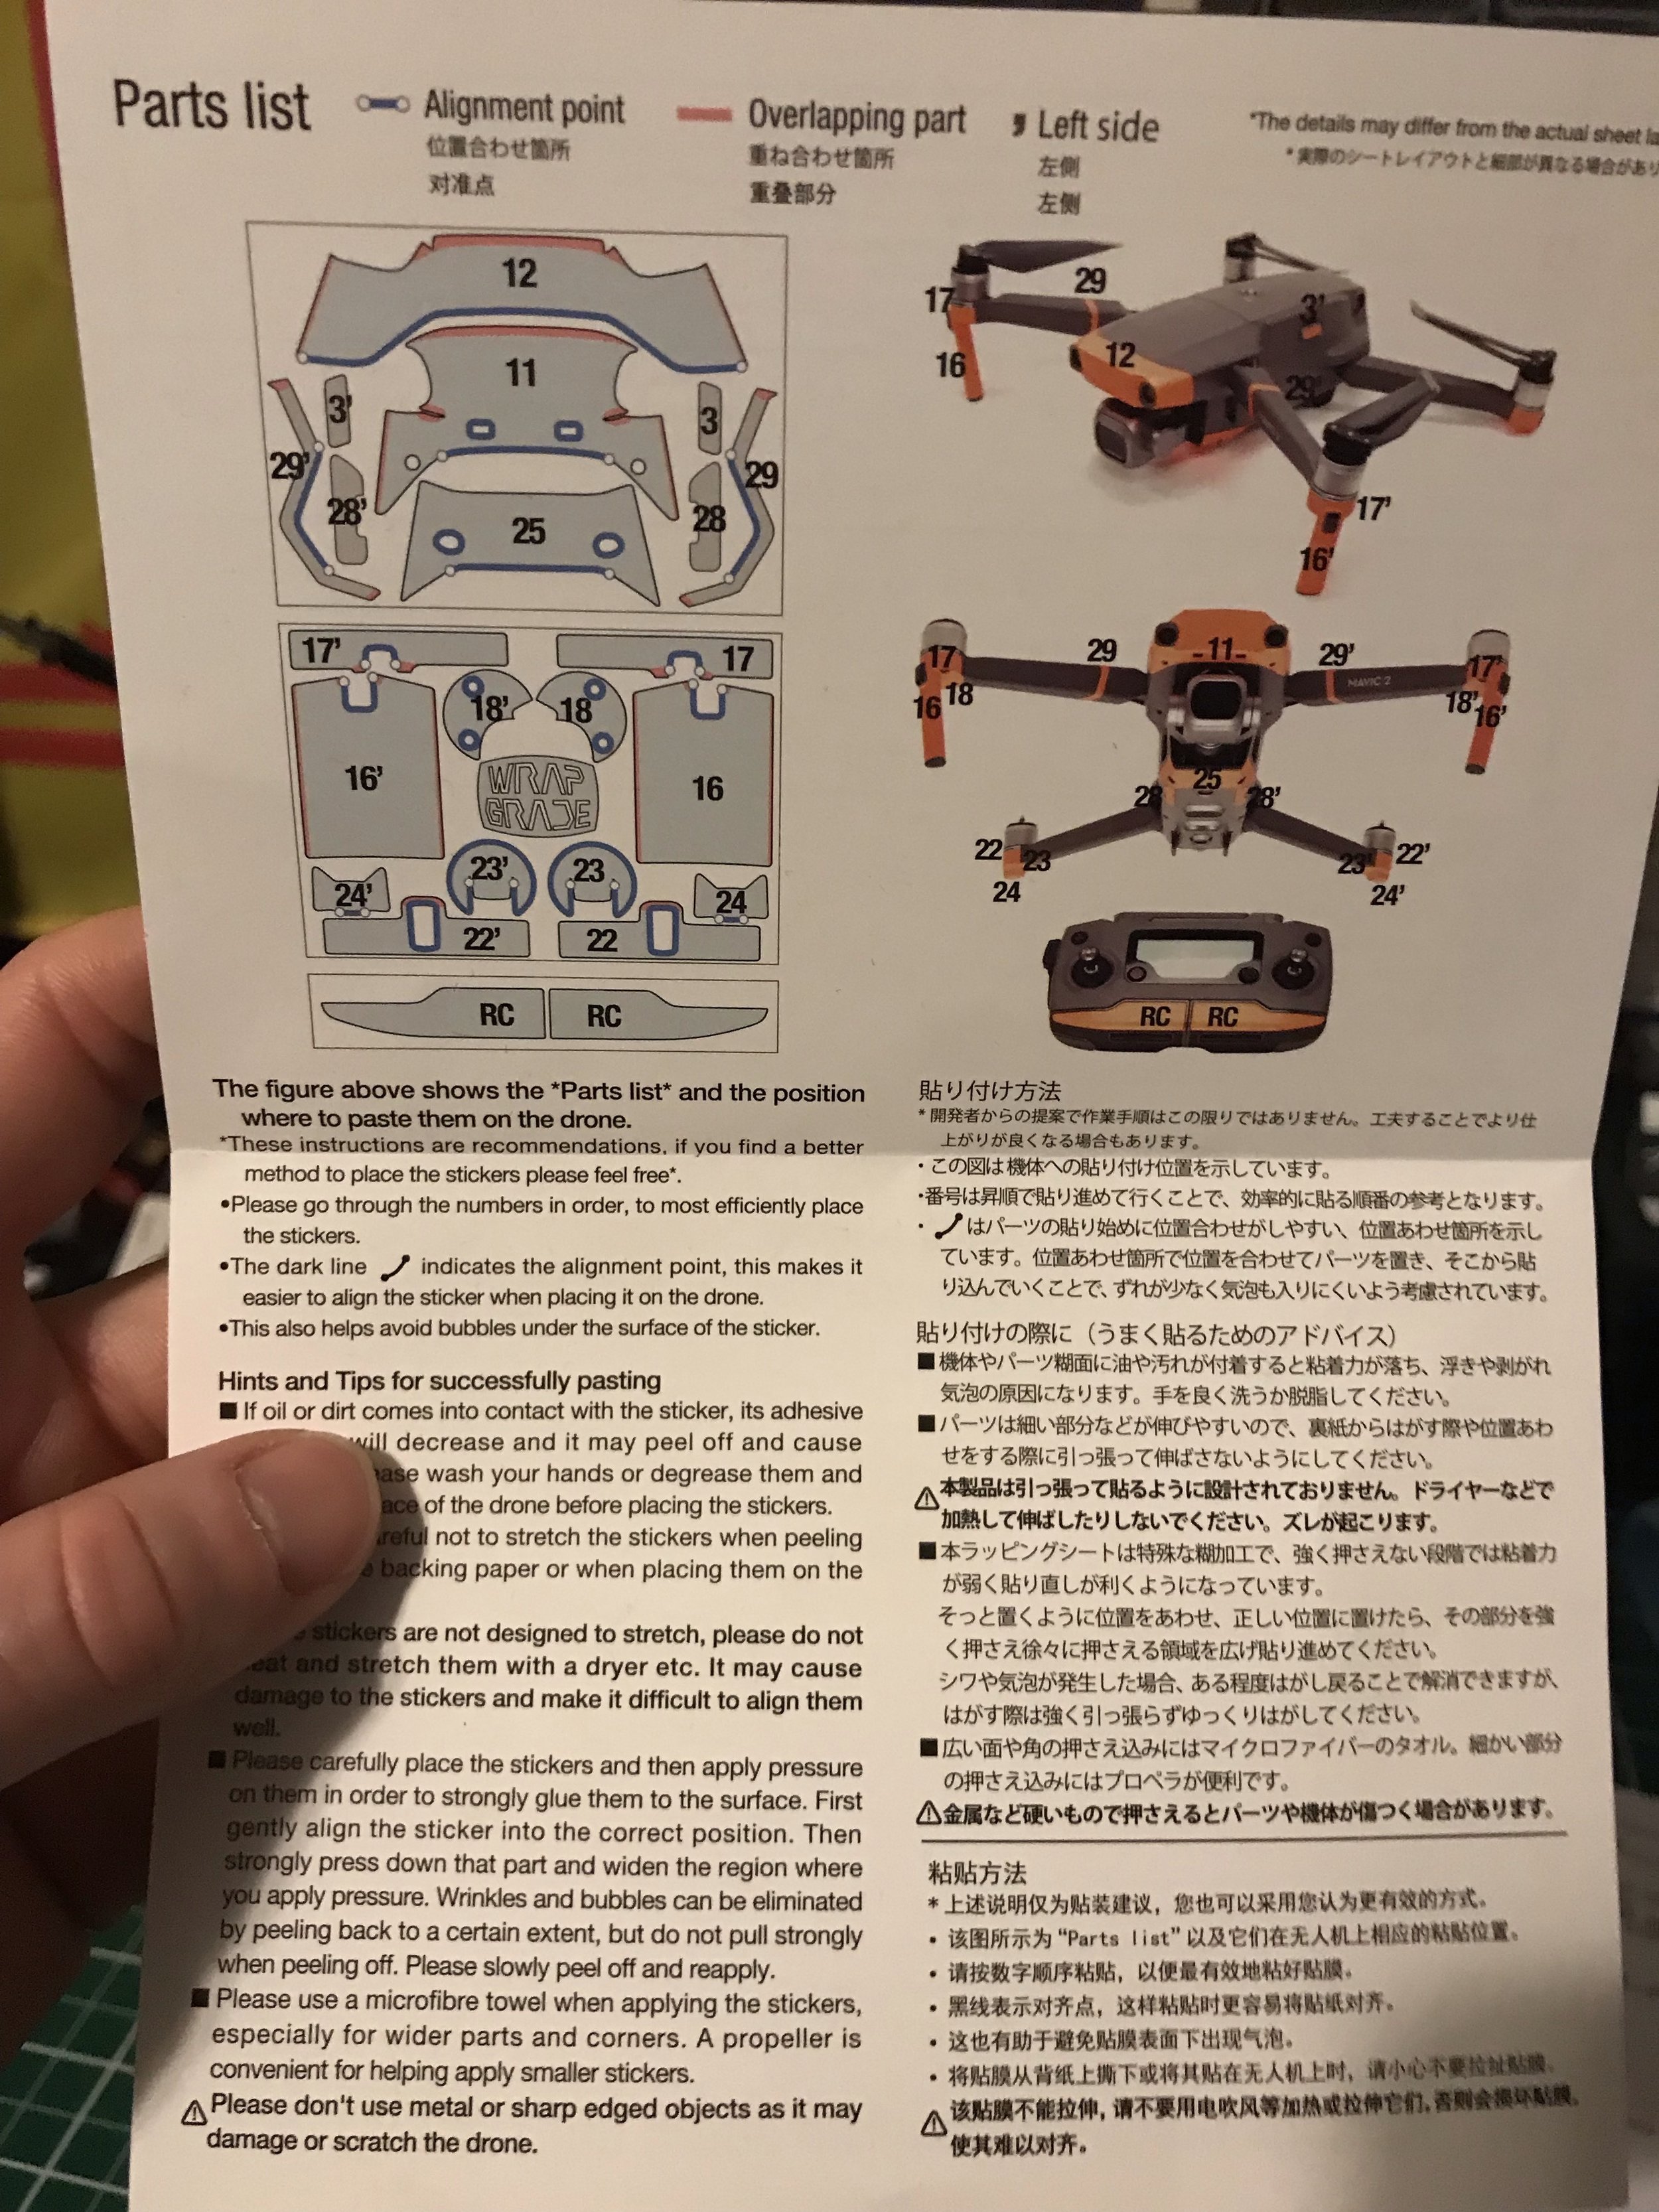
Sometimes adding the wraps can be confusing and some people get frustrated when the wrap doesn’t go on flawlessly. The good news is, Wrapgrade provides excellent instructions that are so detailed each fold is outlined. Alignment and folding points are given in addition to a numbered guide. Remember to always follow the directions when applying a wrap.

A few tips to help with your wrap application

  1. always take care to remove any dirt and debris from the drone

  2. wash your hands to degrease your fingers (sometimes I will wear non latex gloves)

  3. do not stretch the stickers, this will decrease the strength of the adhesive

  4. follow the directions in order

Wrapgrade Drone Wraps Withstands the Elements

I had one wrap on my MP1 which came from Wrapgrade over two years ago. The drone was flown in the rain, ice, and snow with no issues (knock on wood lol). Having the wrap added an additional layer of protection from the elements and also allowed me to have a white Mavic before DJI released the Alpine White Mavic 1. I actually like the glossy look of my skin more than DJI’s dyed plastic but I am still envious of those white props. Picture of this MP1 is below.

baltimore aerials mavic pro 2 wrapgrade accents

I have yet to fly the MP2 in any precipitation, but I feel the time will be here soon. Ideally, you never want to fly in anything but clear weather for a few reasons such as decreased visibility, water and electronics don’t mix well and less battery life. For more information about flying drones in the cold or rain, check out this article. However, emergencies do come up and a sending a drone is far less risky than subjecting human life to harm.

Just like the full wrap kit, the accent colors wrap is fantastic. I’d recommend to any drone enthusiast as a way to customize and protect your drone.

Top 3 Places to Fly your Drone in Philly

Top 3 Places to Fly your Drone in Philly

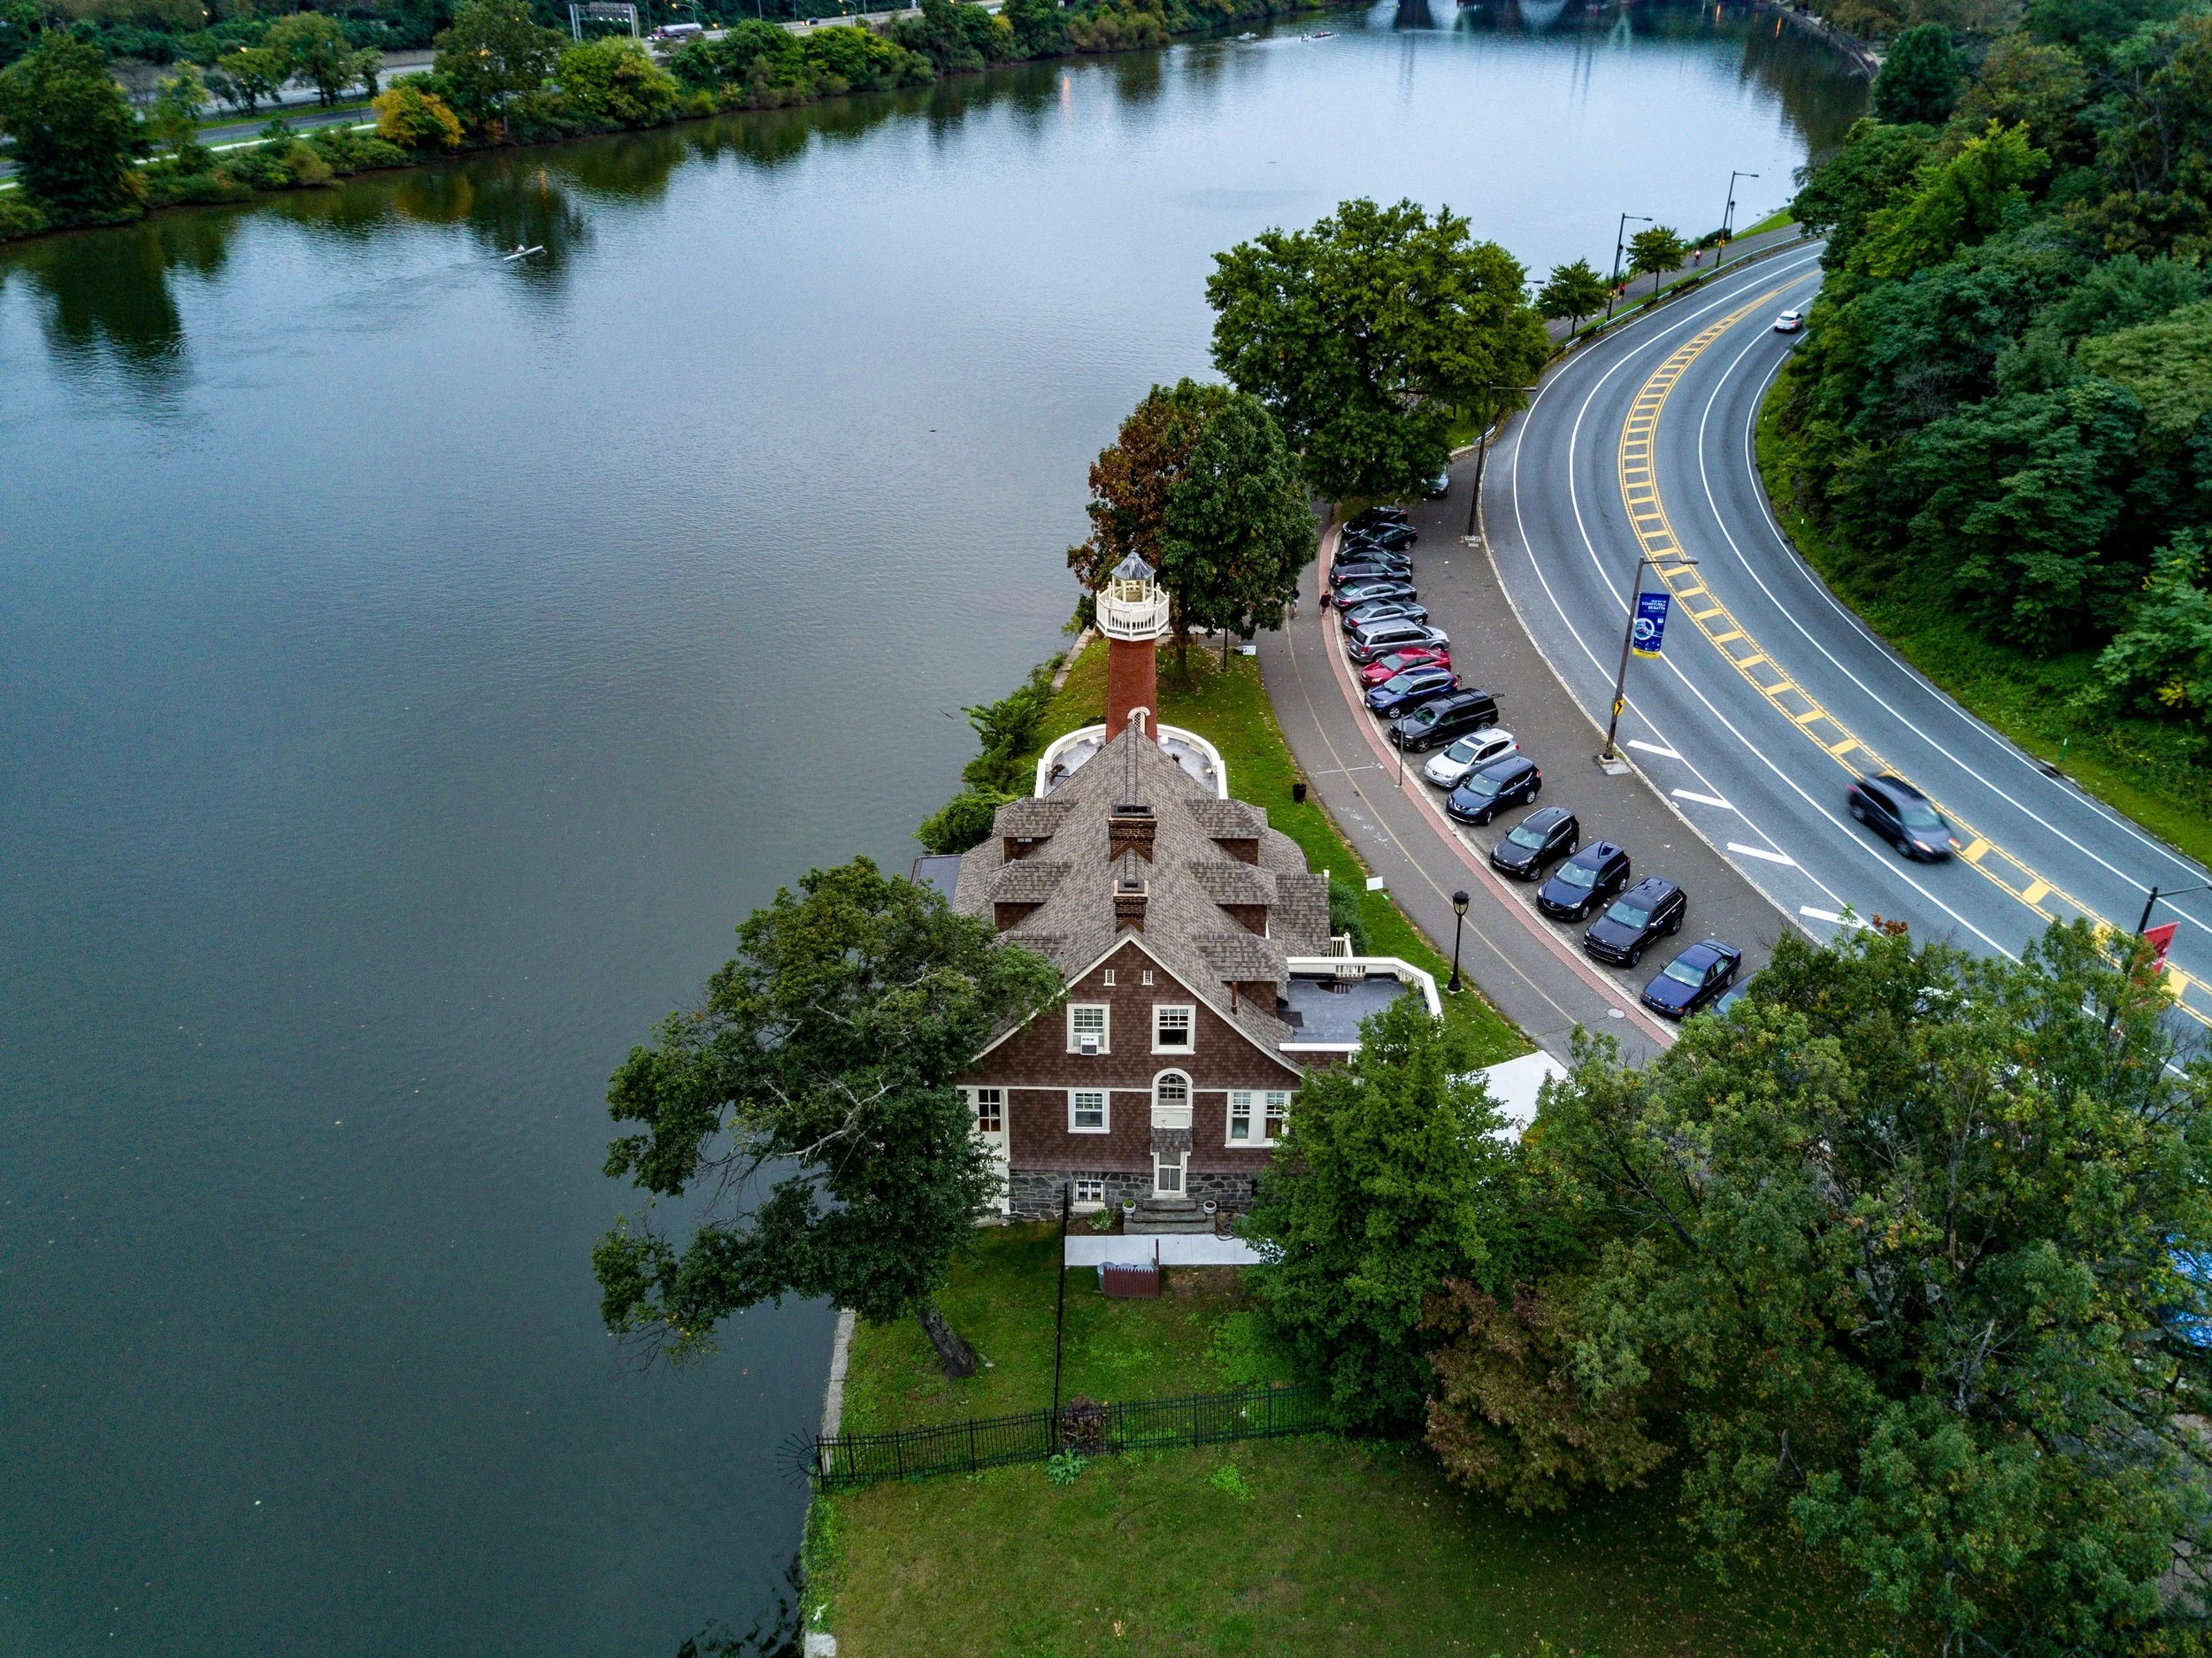
We recently traveled to Philly for a long weekend trip with the DMV Droners. Wow! Philadelphia is incredible, a great place to fly with rich architecture and history. I think my favorite place to fly was boathouse row. I am not sure if it was because of the people we met there, or it was just a tranquil area to fly with early morning crew teams headed down the river. Downtown and the parks were fun too, especially the parks that are on the water which allows for great VLOS flying with some cool old industrial buildings around. Here are my top 3 favorite spots to fly:

Boathouse Row

Boathouse Row provides excellent skylines views and safe VLOS flying

Boathouse Row provides excellent skylines views and safe VLOS flying

Boathouse Row is a fascinating area where the public and college crew enthusiasts cruise down the river during the early morning hours. We woke up around 0500 to catch the teams starting to warm up around 0600. We stayed in Fishtown during our time in Philly so traveling around the city was not difficult until Sunday; a Philadelphia Eagles home game LOL. I think the reason why this location stood out the most was because of the people we met. Most were college student parents, but others were just onlookers or runners passing by wanting to check out the drone view.

There was a group of five women, three of whom had binoculars. Their daughters were on a crew team together, but we had no idea at the time. After we put two and two together, I headed over with another droner to start up a conversation. These crew parents have never seen their daughters compete up close. We changed that. I walked back over to our little landing area and told everyone what was going on. We knew how to fix the problem right then. With a fresh battery, Marc and I tracked the crew team’s boat at various angles and altitudes so the parents could watch their kids within fifteen feet instead of 250 feet. The coach didn't like the buzzing of the drones while they were making calls, but the pics we took made up for it I think :)

Eastern State Penitentiary

eastern state penitentiary baltimore aerials

This place was interesting for sure. We didn’t have time to take the ghost tour inside, but we did have time for an aerial tour. This was a location we flew Sunday, making it a quick flight before the stadium TFR kicked in. While we were not inside of the TFR, it’s best not to fly to avoid any issues with local LEOs. Most police are still uninformed about sUAS rules and regulations. For example, they may be aware of what a TFR is and understand no drones should be flying while one is in place. However, these same officers may not realize the TFR covers a specific area, not the whole city.

Once in the sky, we could understand the sheer size of this old prison. The colors from above contrasted greatly between shades of grey and red. We were fortunate to shoot this spot before the rain came in, you can see the extreme overcast sky in the picture above.

Fly Where You Eat

Who goes to Philly without eating the local grub? During our stay, our diet could have been broken down into just three categories: donuts, steak subs, and tacos. All of which was great although it is a little eerie most food vendors in Philly only accept cash. While this is no big deal, I wonder why the food trucks are required to have electronic currency transfer, but brick and mortar spots do not. This is all an assumption of course, but out of the seven places we went in total throughout the city only one took cards - this was the donut shop LOL. Which by the way, try Federal Donuts. Fresh and moist, the customer service is A+, and the shop was CLEAN.

Tony Luke’s is the spot in South Philly!

Tony Luke’s is the spot in South Philly!

We tried three steak sub shops, and my favorite was Tony Luke’s. The way they chopped up the steak into medium sized pieces was fantastic. We tried one shop who just beat the meat so hard it turned into fine particles, and the flavor was lost over the cheese and mayo.

In conclusion, Philadelphia is a great place to visit and fly. The people make this place unique with a warm, inviting culture without judgment.

Feel free to contact me with any questions about flying Philly!

Evoke Tactical's Spec-Ops Backpack is the Ultimate Drone Bug Out Bag

Evoke Tactical's Spec-Ops Backpack is the Ultimate Drone Bug Out Bag

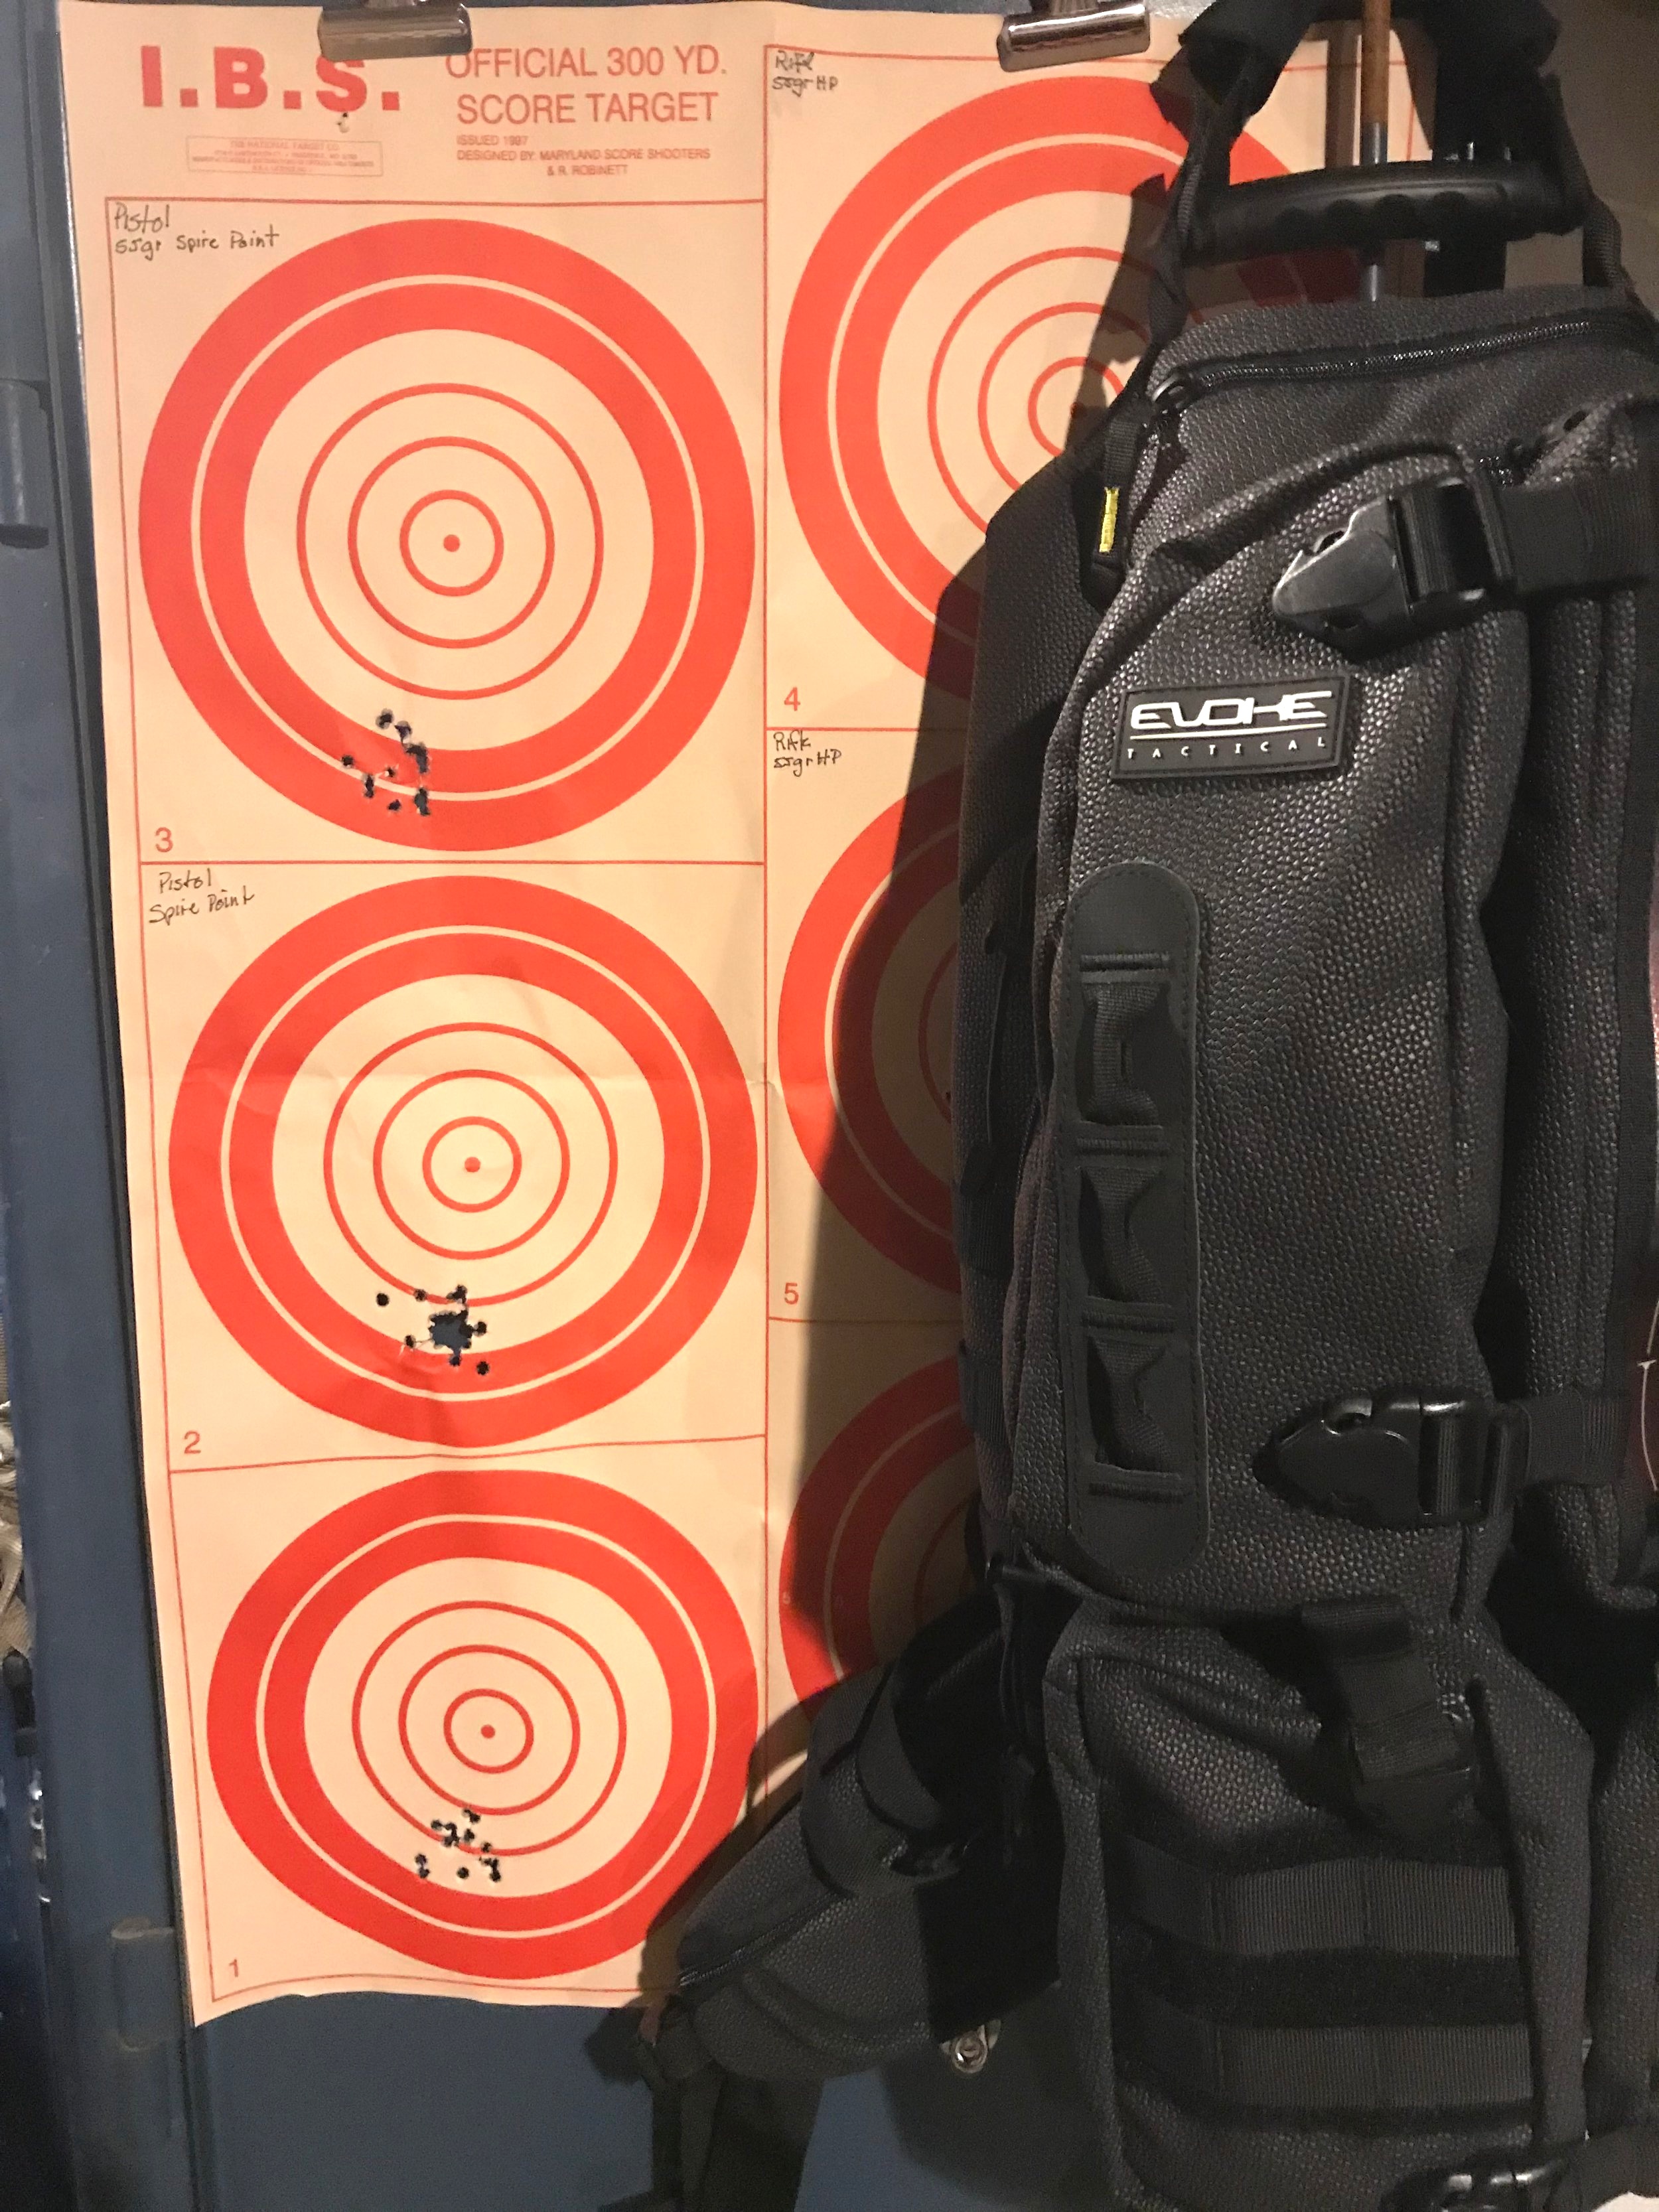
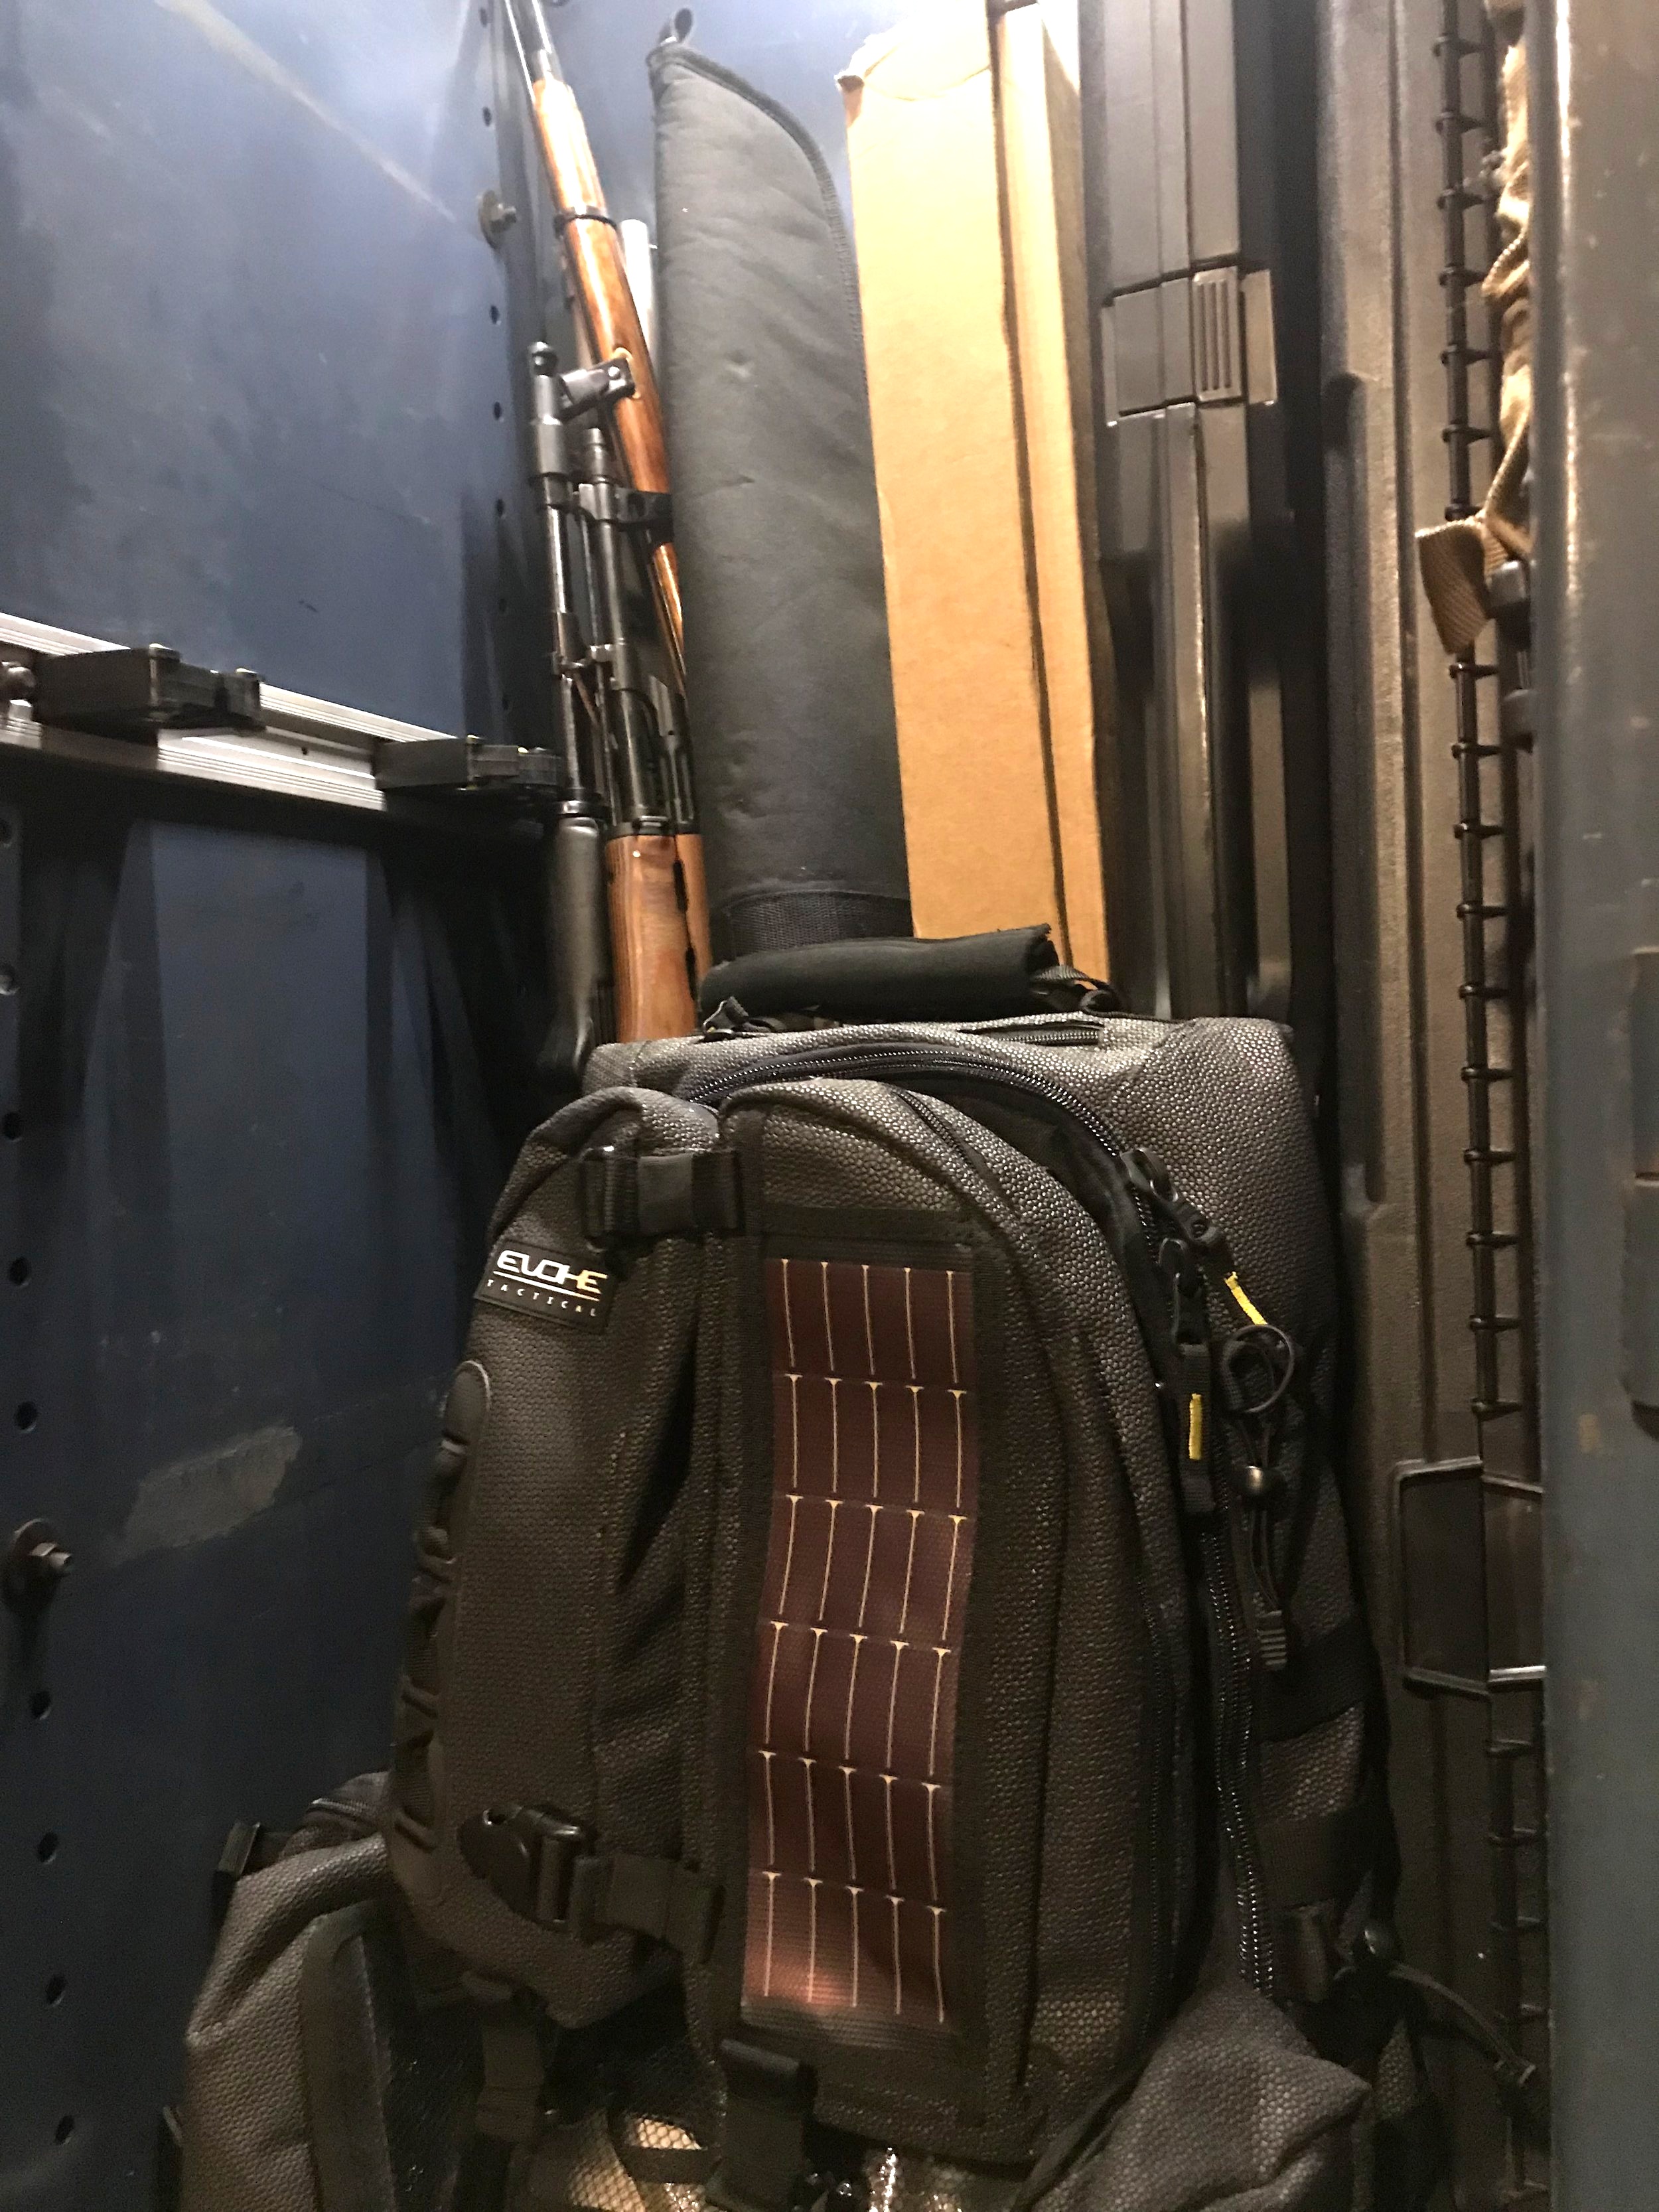
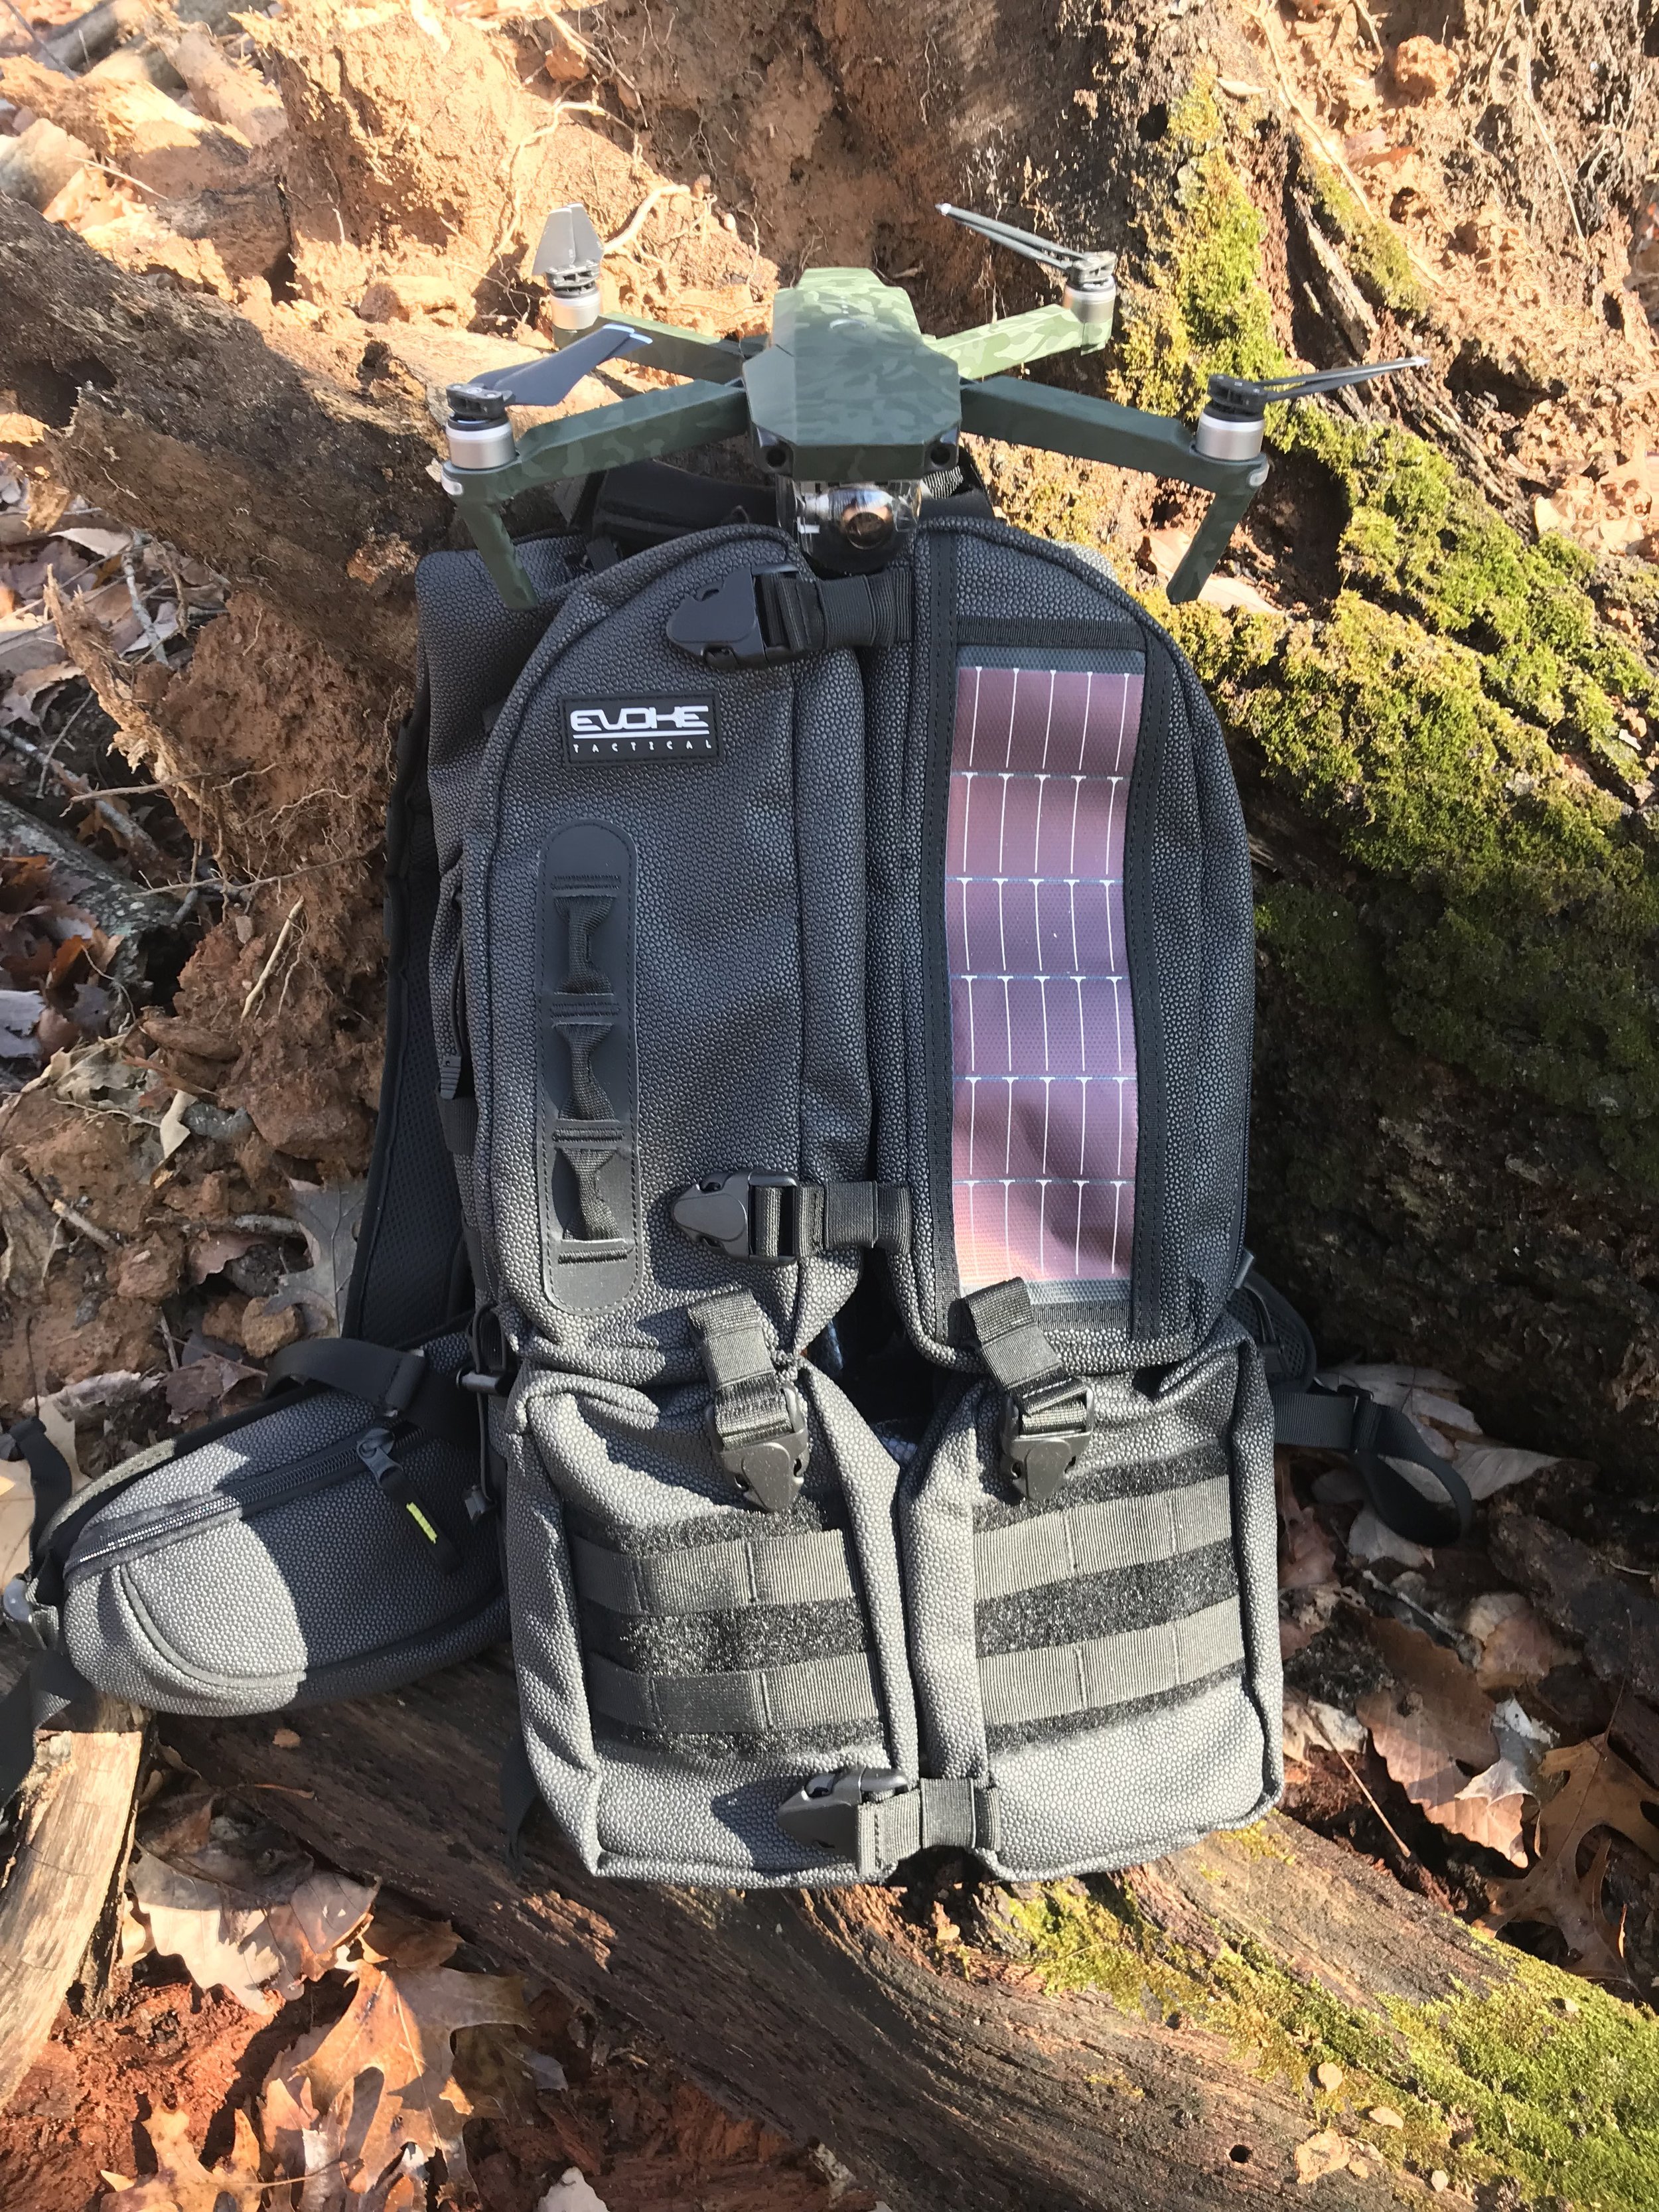
Evoke Tactical’s Spec-Ops Bag is perfect for the outdoor adventurer. This bag holds food, drones, extra clothes, 2.5 L of water, has a solar panel for charging electronics and so much more. Personally, this bag some become my new traveling pack for hikes and emergencies.

The Aegis Spec Ops Bag Holds Everything

evoke tactical baltimore aerials 1

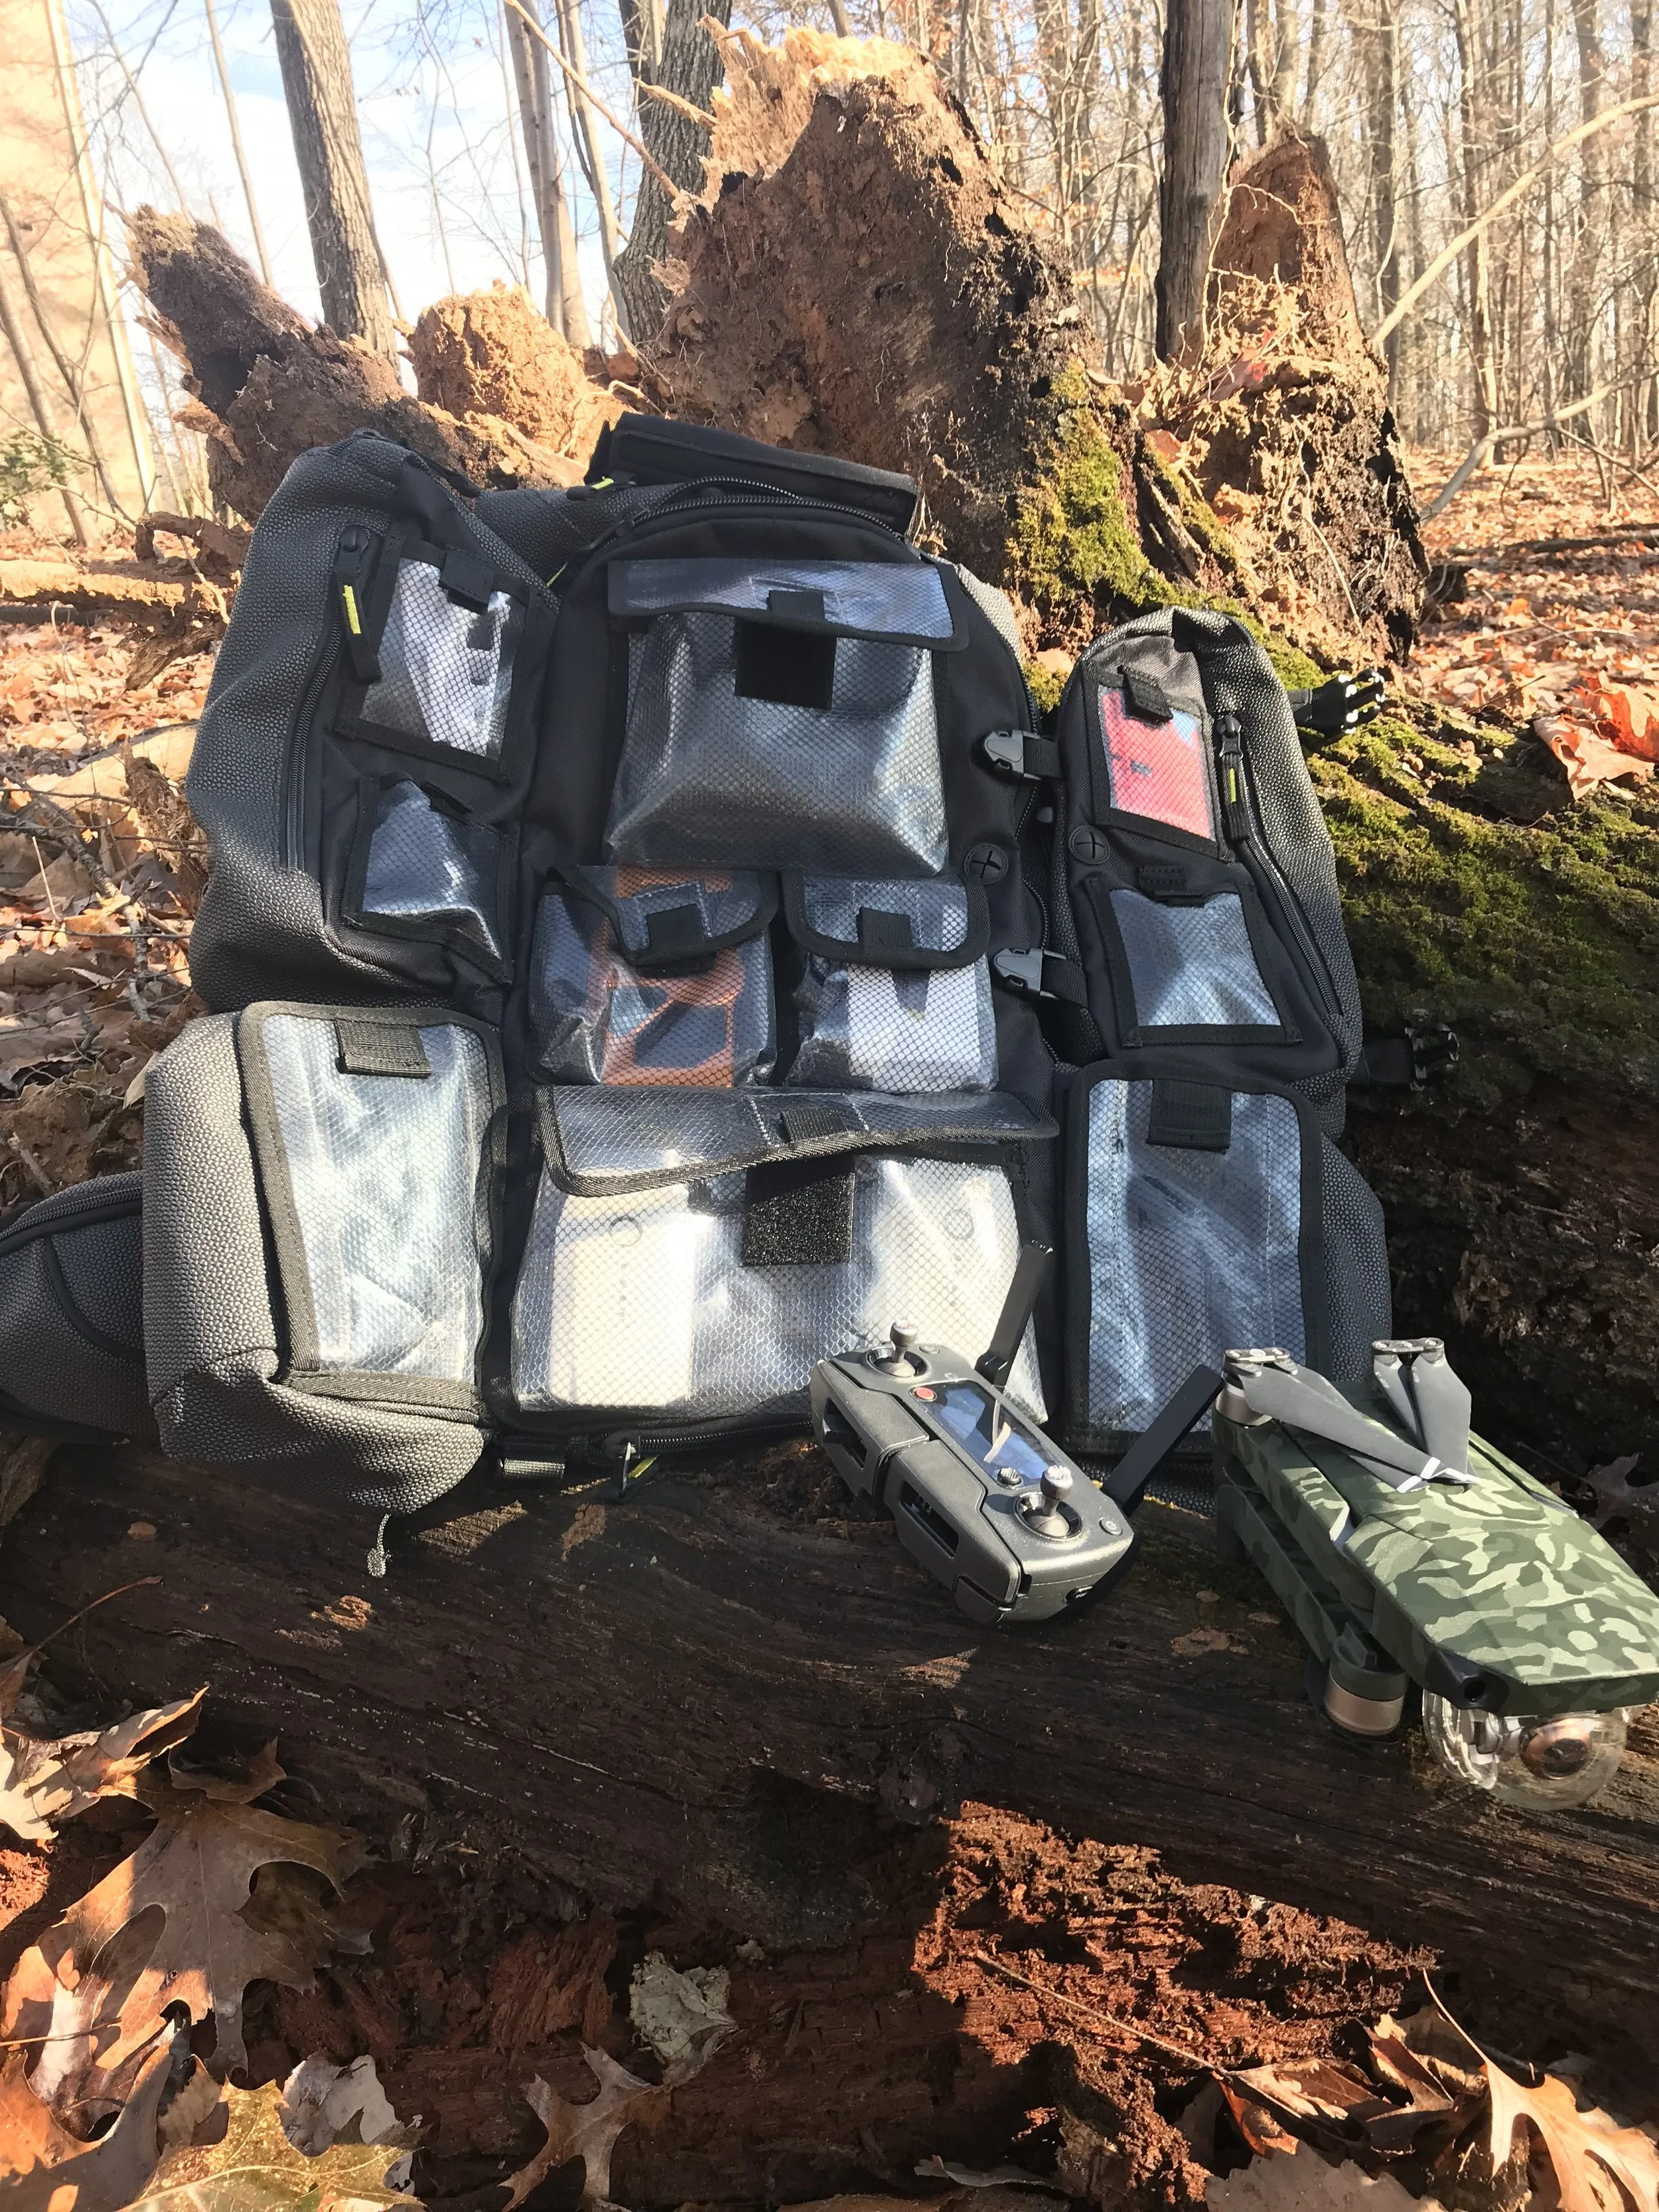
Right now, the bag is loaded with a full DJI Mavic Pro, Fly More Combo, and a significant amount of flying accessories. In addition to all the drone stuff, I have a full set of spare clothes, MRE rations, emergency radio scanner, 17” laptop, blanket, supplies to build a fire and makeshift sleeping arrangements. This pack can do it all.

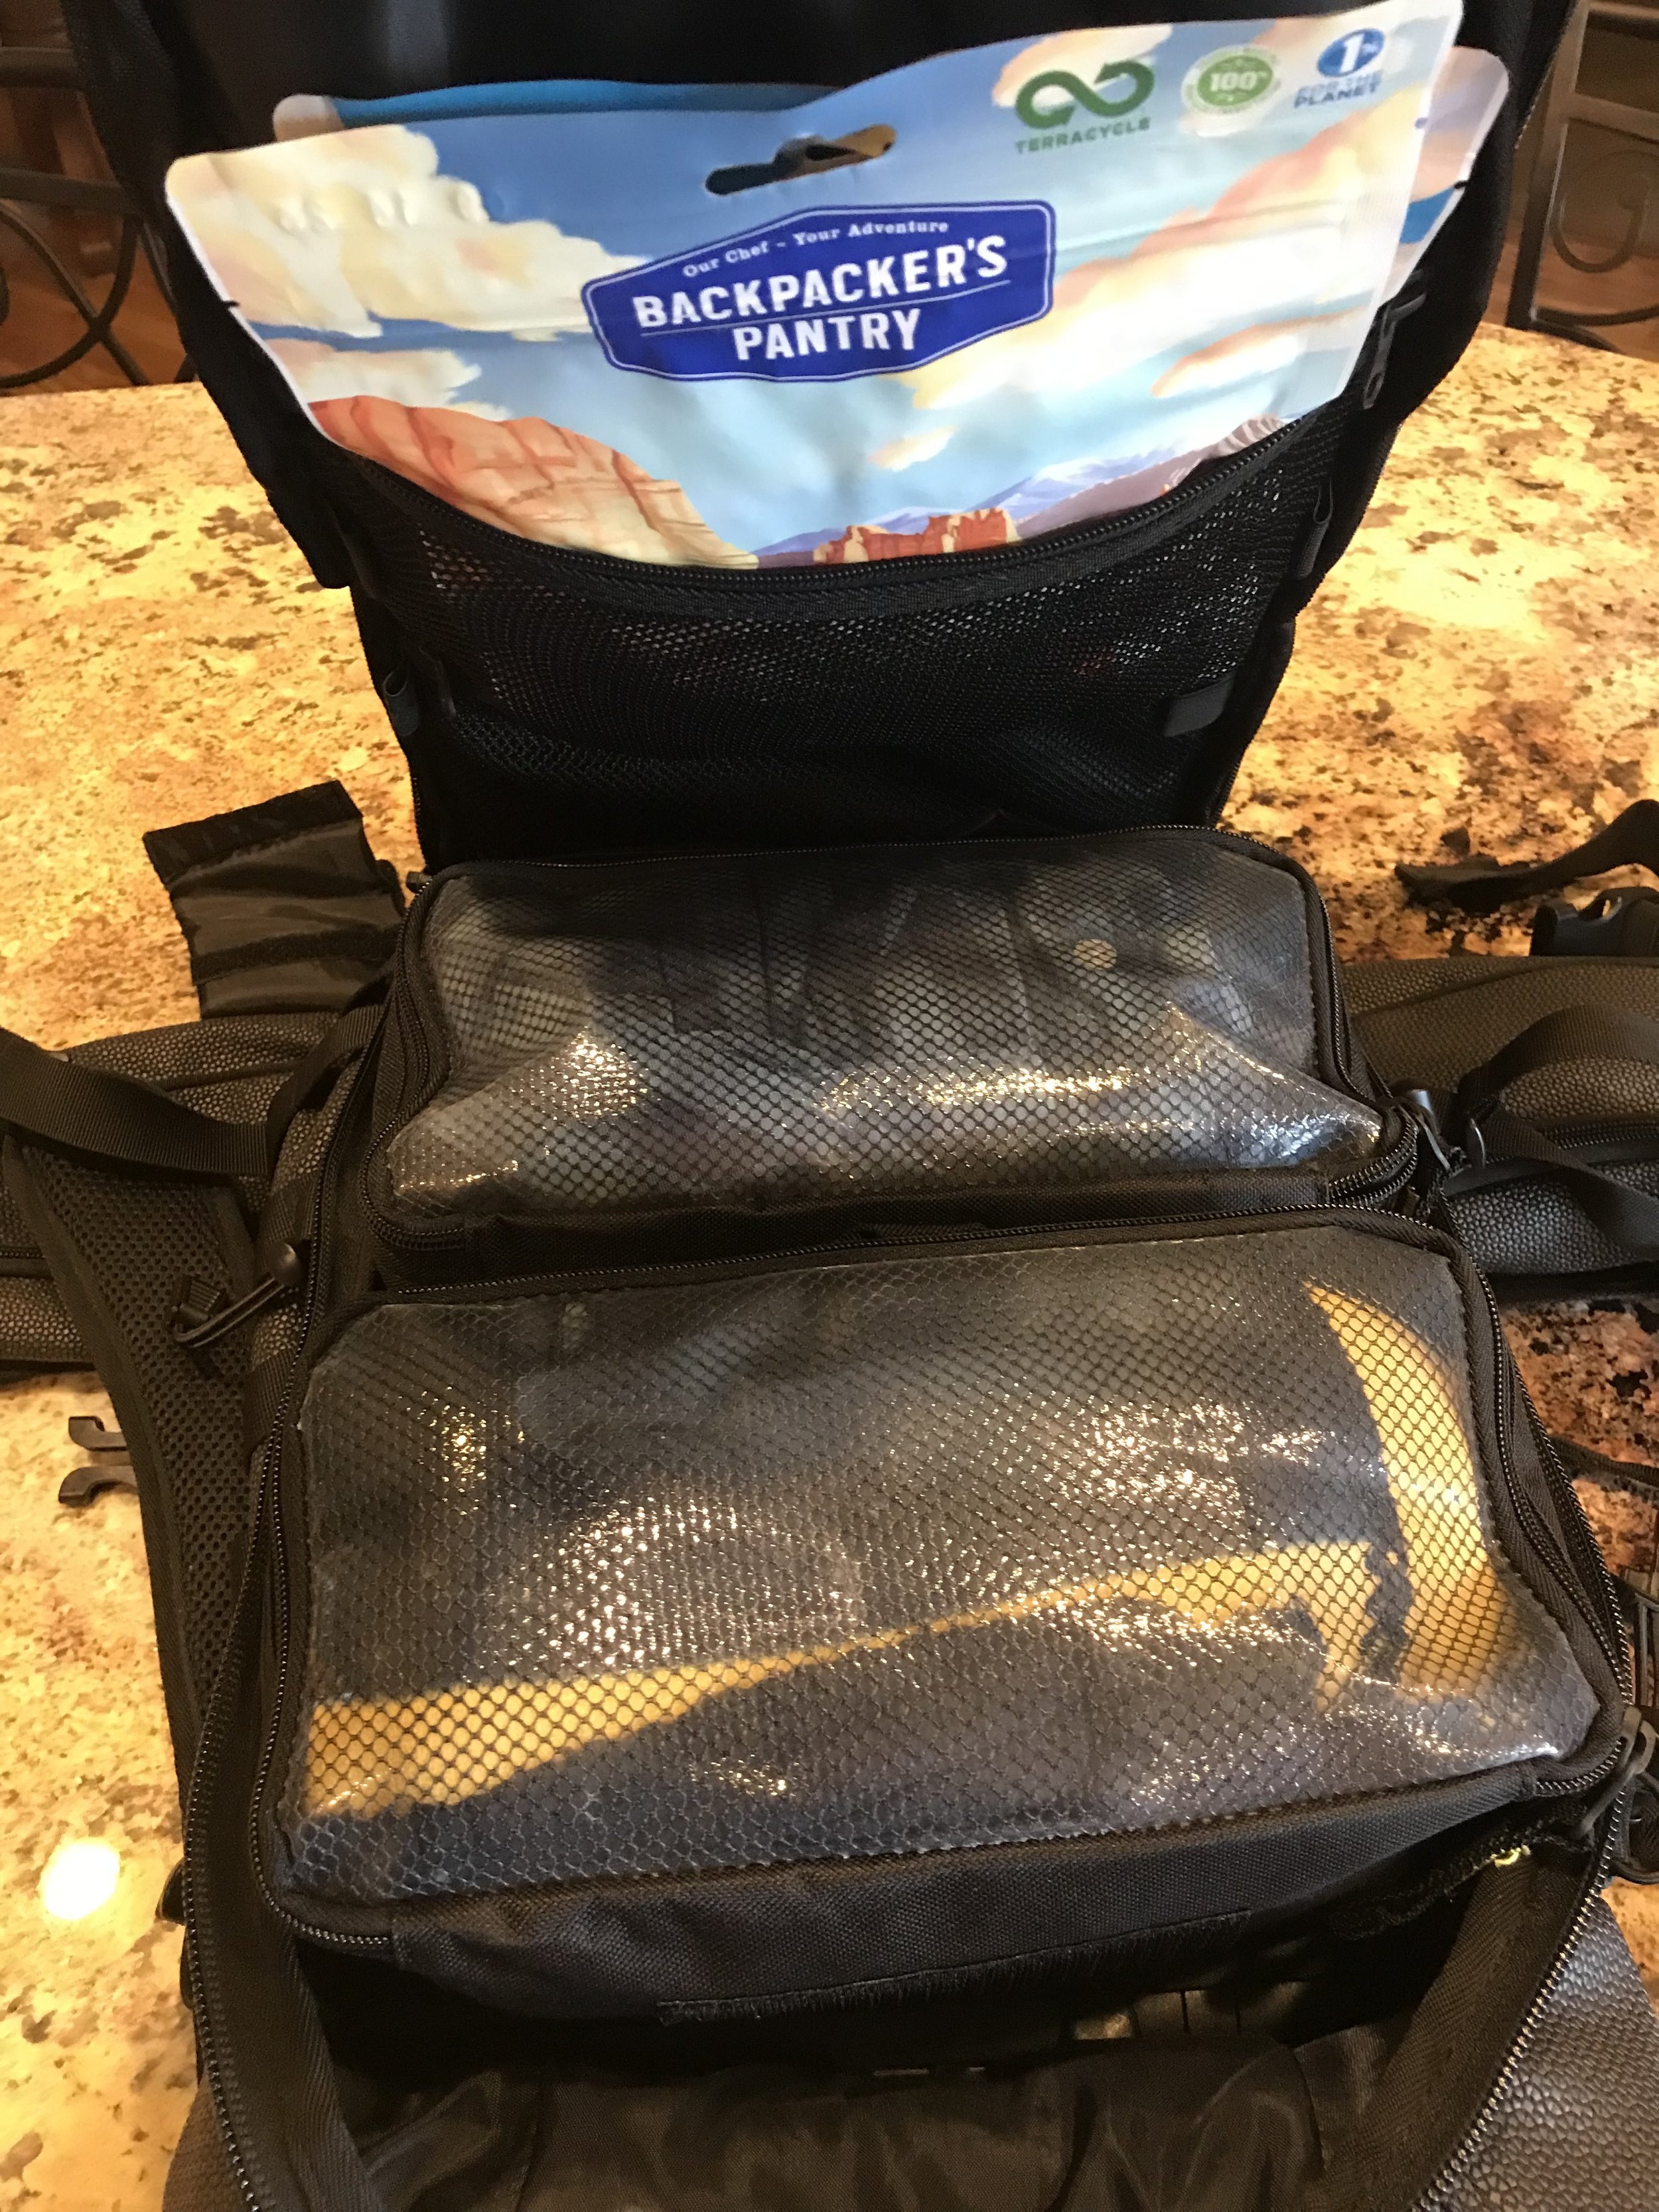
The exterior pockets of the bag are designed in a butterfly type manner where the compartments “butterfly” when opened. See the pic to the left. Each compartment is transparent which allows me to find the material I am looking for quickly. In my case, this would be a new set of props or a full battery. The main compartment opens into a flat clamshell design exposing the twin satchels which are also transparent. Evoke Tactical thought of everything, and all the interior areas are velcro thus allowing me to remove one from the bag and carry it if needed. There are also two areas with zipper compartments that come in handy for tossing in essentials quickly such as a protein bar or extra batteries.

The carrousel below shows how diverse the bag really is. On the left, the clam shell area of the pack I use for an extra set of clothes, food, and a blanket. The other pictures display the bag’s versatility when added to a bug out gear collection.

A Comfortable Drone Bag

Even fully loaded, this bag is comfortable for a long hike (15-20 miles round trip) with its breathability and rugged building materials. Contact points of the pack are perfect for me. I am 5’11”, 205 pounds with an athletic build. The top straps sit on my shoulders firmly while the side straps hug my hips while walking. The bag is made with polycarbonate hardened ceramic making it able to withstand any environment.  

From Evoke Tactical: “Ceramic plates were fused upon ballistic fibers enhancing durability well beyond any other fabric in the market. This unique fabric blend is mil-spec'd and tested to be exponentially stronger than leather but at 1/3 the weight. This offers operators peace of mind as their pack provides complete abrasion control, enhanced cut resistance, elemental resistance, and oil repulsion.”

Solar Tech Drone Backpack

evoke tactical baltimore aerials 2

Have you ever wanted to watch that video you just shot once the drone is back on the ground, but your smartphone just died? Well, that situation is no longer an issue with Evoke Tactical’s Aegis Spec-Ops bag. Included in the pack’s design is a solar panel which puts out a 7.20v voltage and charges an 8000 mAh power bank. One feature I like about the included power bank is the ability to change the output current from 8.4, 9, or 12 volts. This makes a difference when charging electronics as not all chargers will require 12 volts. Always read the brand’s instruction manual for the device you are charging.

Additional specs for the power bank:

  • Inputs 5V

  • Outputs at 5V

  • Capacity is 8000 mAh

  • Only weighs 5.7oz

  • Comes with two USB Ports (1A/2A)

  • DC output is interchangeable as mentioned prior

Conclusions

I couldn’t be happier with this pack — everything I would need to bug out for a few days I can fit into this backpack. I honestly have no criticism of the bag nor do I think Evoke Tactical could’ve packed more value into one backpack. This is indeed an all-in-one system which I am overly excited to keep using in the field.

For more information about my experience or anything related to drones, feel free to contact me here.


Freewell Gear ND Filters for DJI Mavic Pro 2 - Review

Freewell Gear ND Filters for DJI Mavic Pro 2 - Review

baltimore aerials freewell nd 1

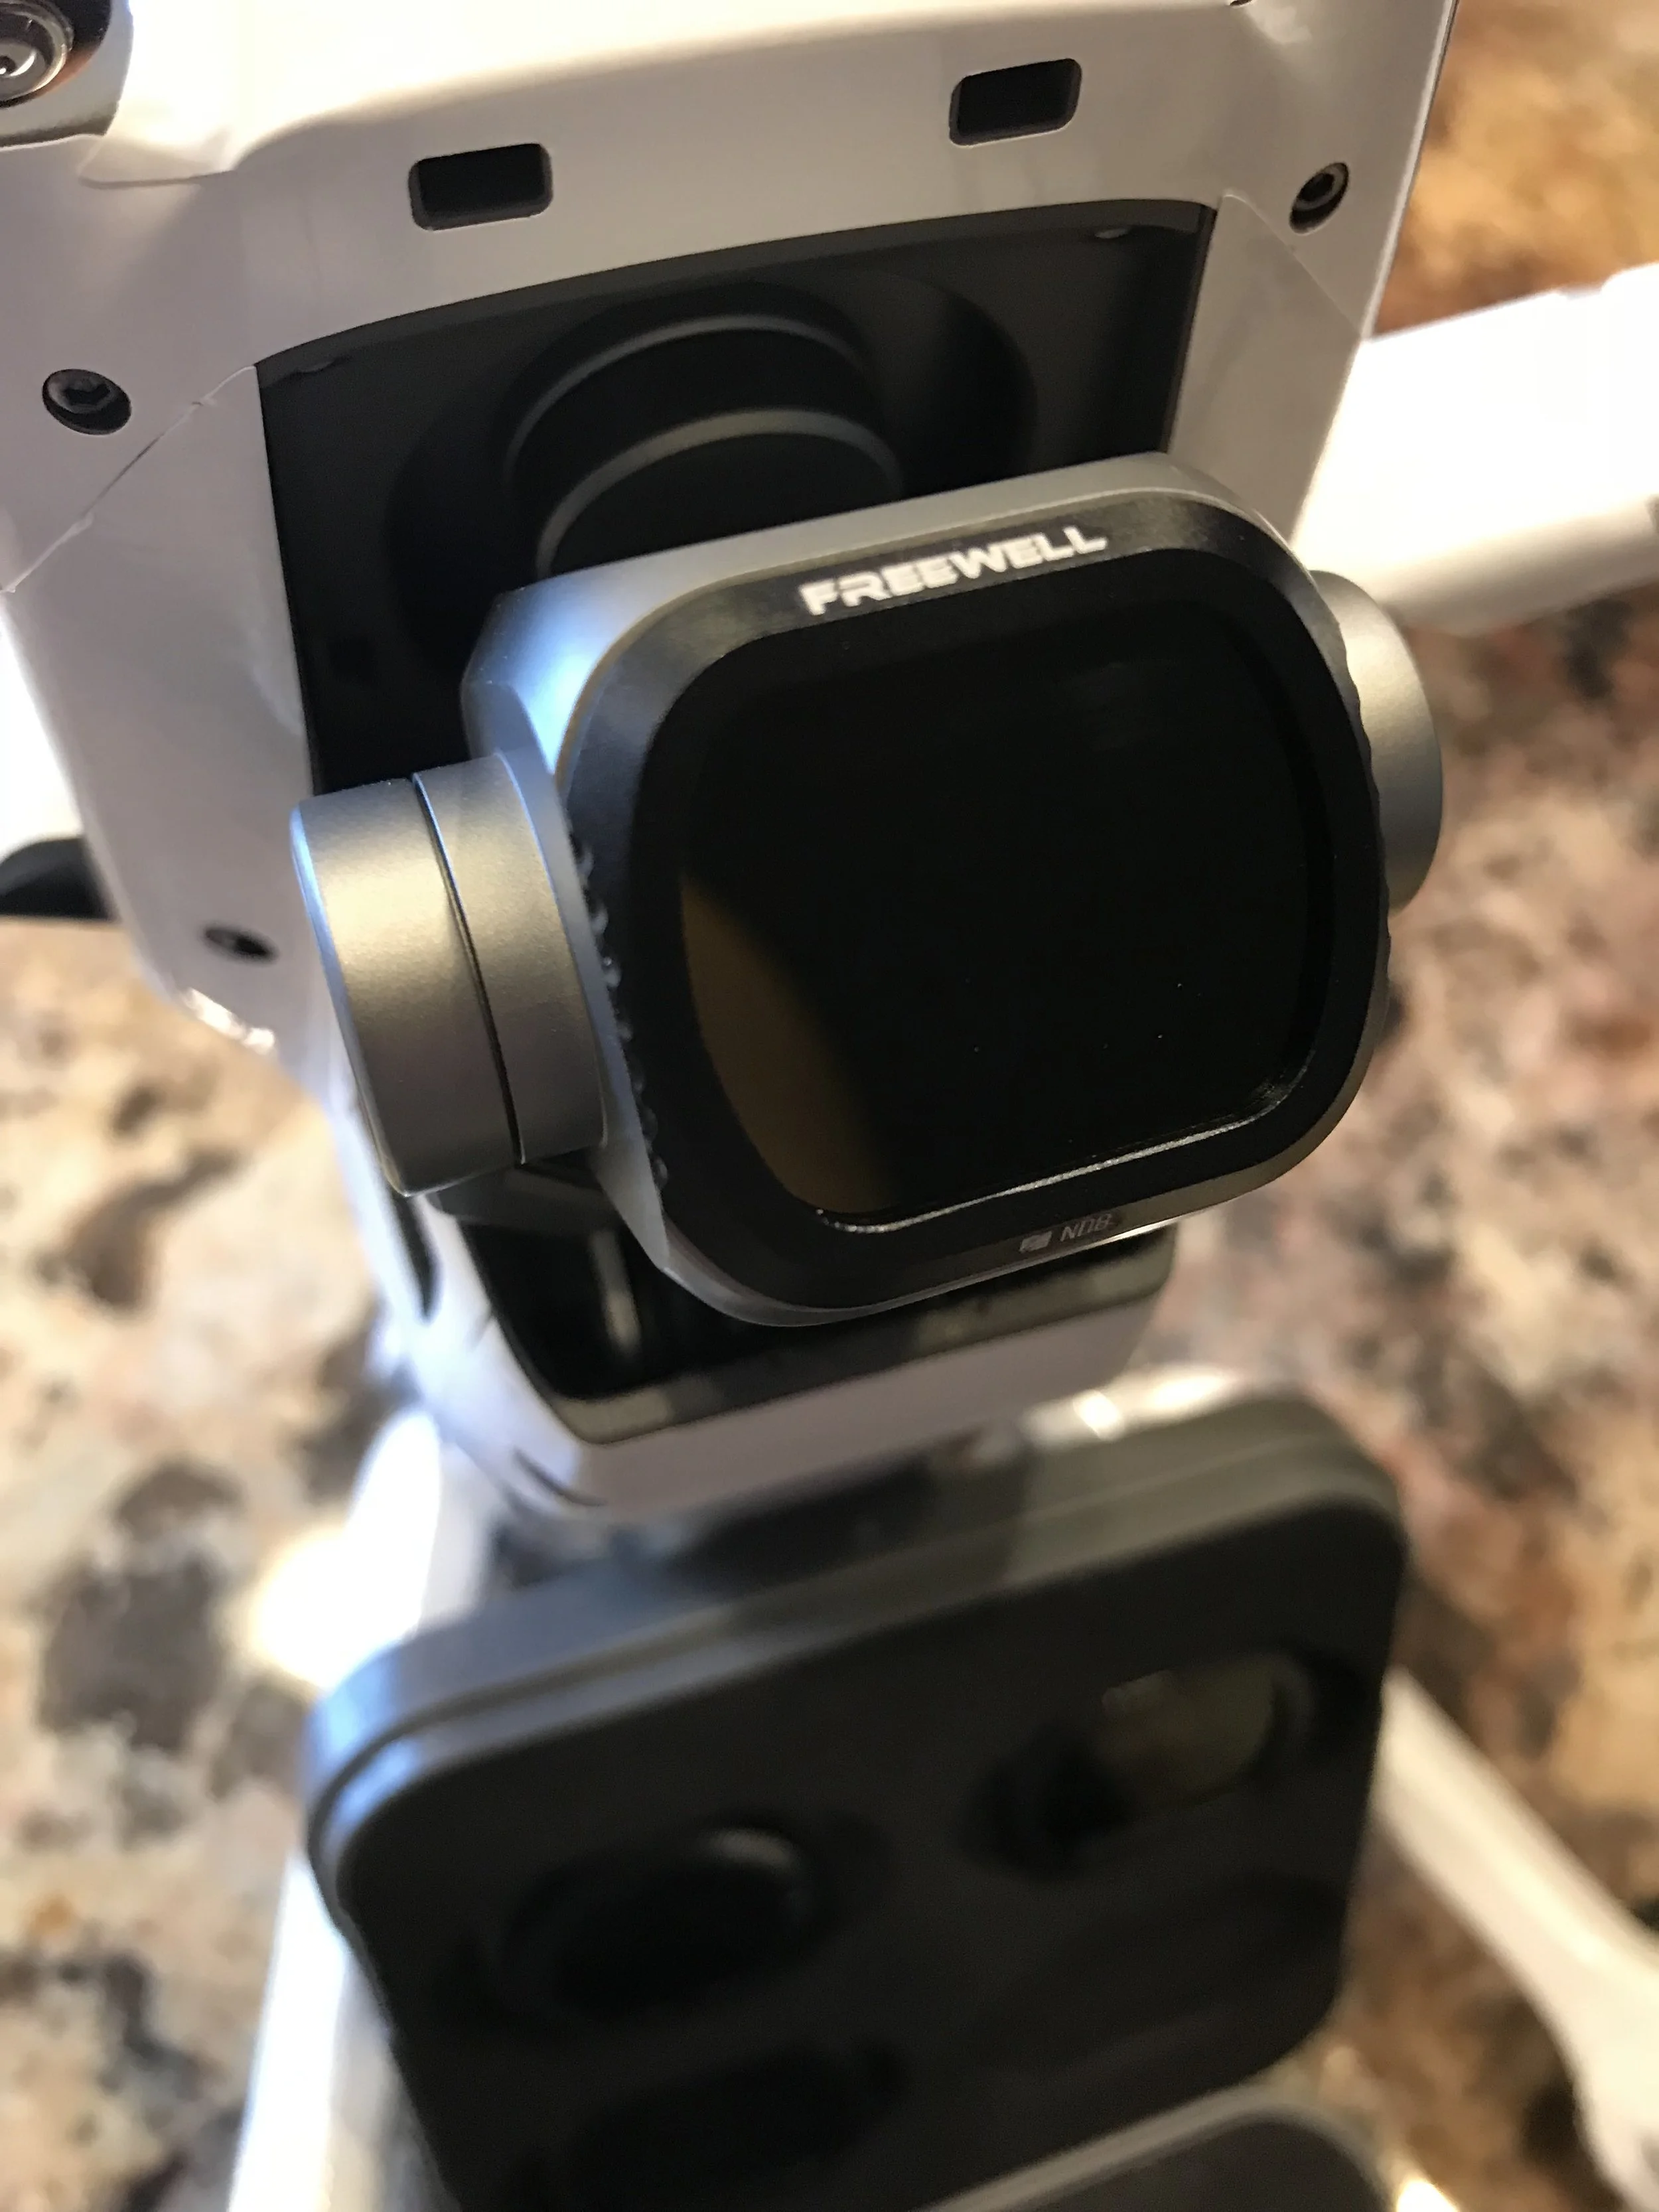
The Freewell ND filters are excellent quality with high value. I received the all-day pack which includes eight filters total, we’ll discuss in detail later. Within the box, there are two hard plastic cases. Each container holds four filters; additionally, a microfiber cloth is included to rid the glass of fingerprints or debris. I’ve used these filters for about five hours of total flight time so far, and I like the results.

Freewell NDs are Easy to Use

Within the all-day pack, these filters are included: ND4, ND8, ND16, CPL, ND8/PL, ND16/PL, ND32/PL, and ND64/PL. Each filter is made with 16 layered multi-coated optical glass all with a CNC aluminum casing. Since the filters were designed with the stock Hasselblad cover in mind, the filters weigh the same. DJI’s Mavic Pro 2 can be powered on with the filters attached which is great for efficiency on shoots. In the past, some companies did not take this vital step into account while designing and some Mavic/Phantom gimbals became overloaded. Since the gimbal incurred constant stress, this problem started a hot topic online. Ever since I believe 3rd party accessory brands have been conscious of thinking of the gimbal motors when designing ND filters.

baltimore aerials freewell nd 2
baltimore aerials freewell nd 3

I love the size and feel of the hard case; it fits in your pocket! Having the ability to carry the NDs right in your pocket is fantastic, much better than having to open up the backpack or Go Professional case to grab filters. Not like this is a huge hassle but the Mavic is a platform for an on-the-go creator and the ability to carry anything in your pockets helps. The case is made of sturdy, hard plastic which has already taken a fall from about three feet above solid concrete. Yes, there were some scratches on the case but it did not open nor did any of the filters shift internally.

When to use an ND Filter

ND filters reduce the amount of light entering the camera’s lens, just put. I use these filters to prevent the consequences of overexposure occurring when taking an aerial photo or video. Below are the standard recommendations for which filter strength to use in a situation.

CP - used in many conditions to reduce glare when the shutter speed is not controllable

ND4 - dawn and dusk applications

ND8 - cloudy or mostly cloudy situations

ND16 - partly cloudy or mostly sunny

ND32 - very bright sunny conditions, I use for snow and water

Standard ND Ratings

ND4, ND8, ND16 & ND32, CP

The number associated with an ND filter indicates that how much light enters the lens in terms of a fraction.

  • ND4 reduces light by 1/4. An ND4 filter can reduce 2 stops of light, allowing you to slow the shutter speed from 1/100s to 1/25s.

  • ND8 reduces light by 1/8. An ND8 filter can reduce 3 stops of light, allowing you to slow the shutter speed from 1/200s to 1/25s.

  • ND16 reduces light by 1/16. An ND16 filter can reduce 4 stops of light, allowing you to slow the shutter speed from 1/400s to 1/25s.

  • ND32 reduces light by 1/32. An ND32 filter can reduce 5 stops of light, allowing you to slow the shutter speed to 1/60s.

  • CP - can reduce up to 1.6 stops of light, normally used when shutter rates are not able to be manipulated

For more information about NDs and the exposure triangle, visit my blog post here.

Conclusions

Freewell customer service is spot on, and the products I’ve tested so far are great. If you’re looking for filters that are high-quality but are budget friendly, I’d recommend the Freewell All Day ND/PL pack. Of course, there are many brands to choose from, but overall value for MP2 filters goes to Freewell.

If you have any questions or comments, reach out to me here. As always, Happy Flying!

The Best Wrap/Skin for the DJI Mavic Pro 2

The Best Wrap/Skin for the DJI Mavic Pro 2

What can I say? Wrapgrade Japan has knocked it out of the water once again with their skin offering for DJI’s MP2. I have used Wrapgrade in the past on the MP1, and the wrap has lasted over two years. No rips in the material, still no bubbling and has held up in various emergency flights when there was significant precipitation.

Wrapgrade Japan is the Best Mavic Pro 2 Wrap Available

IMG_7436.jpeg

After ordering the skin, the packaged arrived six days later. I was very impressed with the timeline between ordering and delivery; this wrap did have a serious journey from Japan to Baltimore. Wrapgrade includes tracking information for EMS Japan Post which helps quite a bit if a signature was required (which it was from USPS). To me, Wrapgrade goes above and beyond with their product. In contrast to other vendors which I may spend $1,500 with, Wrapgrade included the tracking info, insurance, and over the top packaging at no extra fee. In the past, I have ordered high-end electronics that do not even have protective bubble wrap or anything inside the box, just the unit.

A lot of droners complain about the high cost of Wrapgrade compared to Decal Girl. I understand the Wrapgrade skin is over double what Decal Girl charges but there is a significant difference in the material used and the coverage as mention earlier. Shipping is about $14, but keep in mind the wrap traveled almost 7,000 miles. The total cost of the wrap was $72 with the standard MP2 kit and two additional battery skins plus shipping.

Price Breakdown:

  • main unit kit $46

  • two additional battery wraps $12

  • shipping $14

Complete Drone Coverage

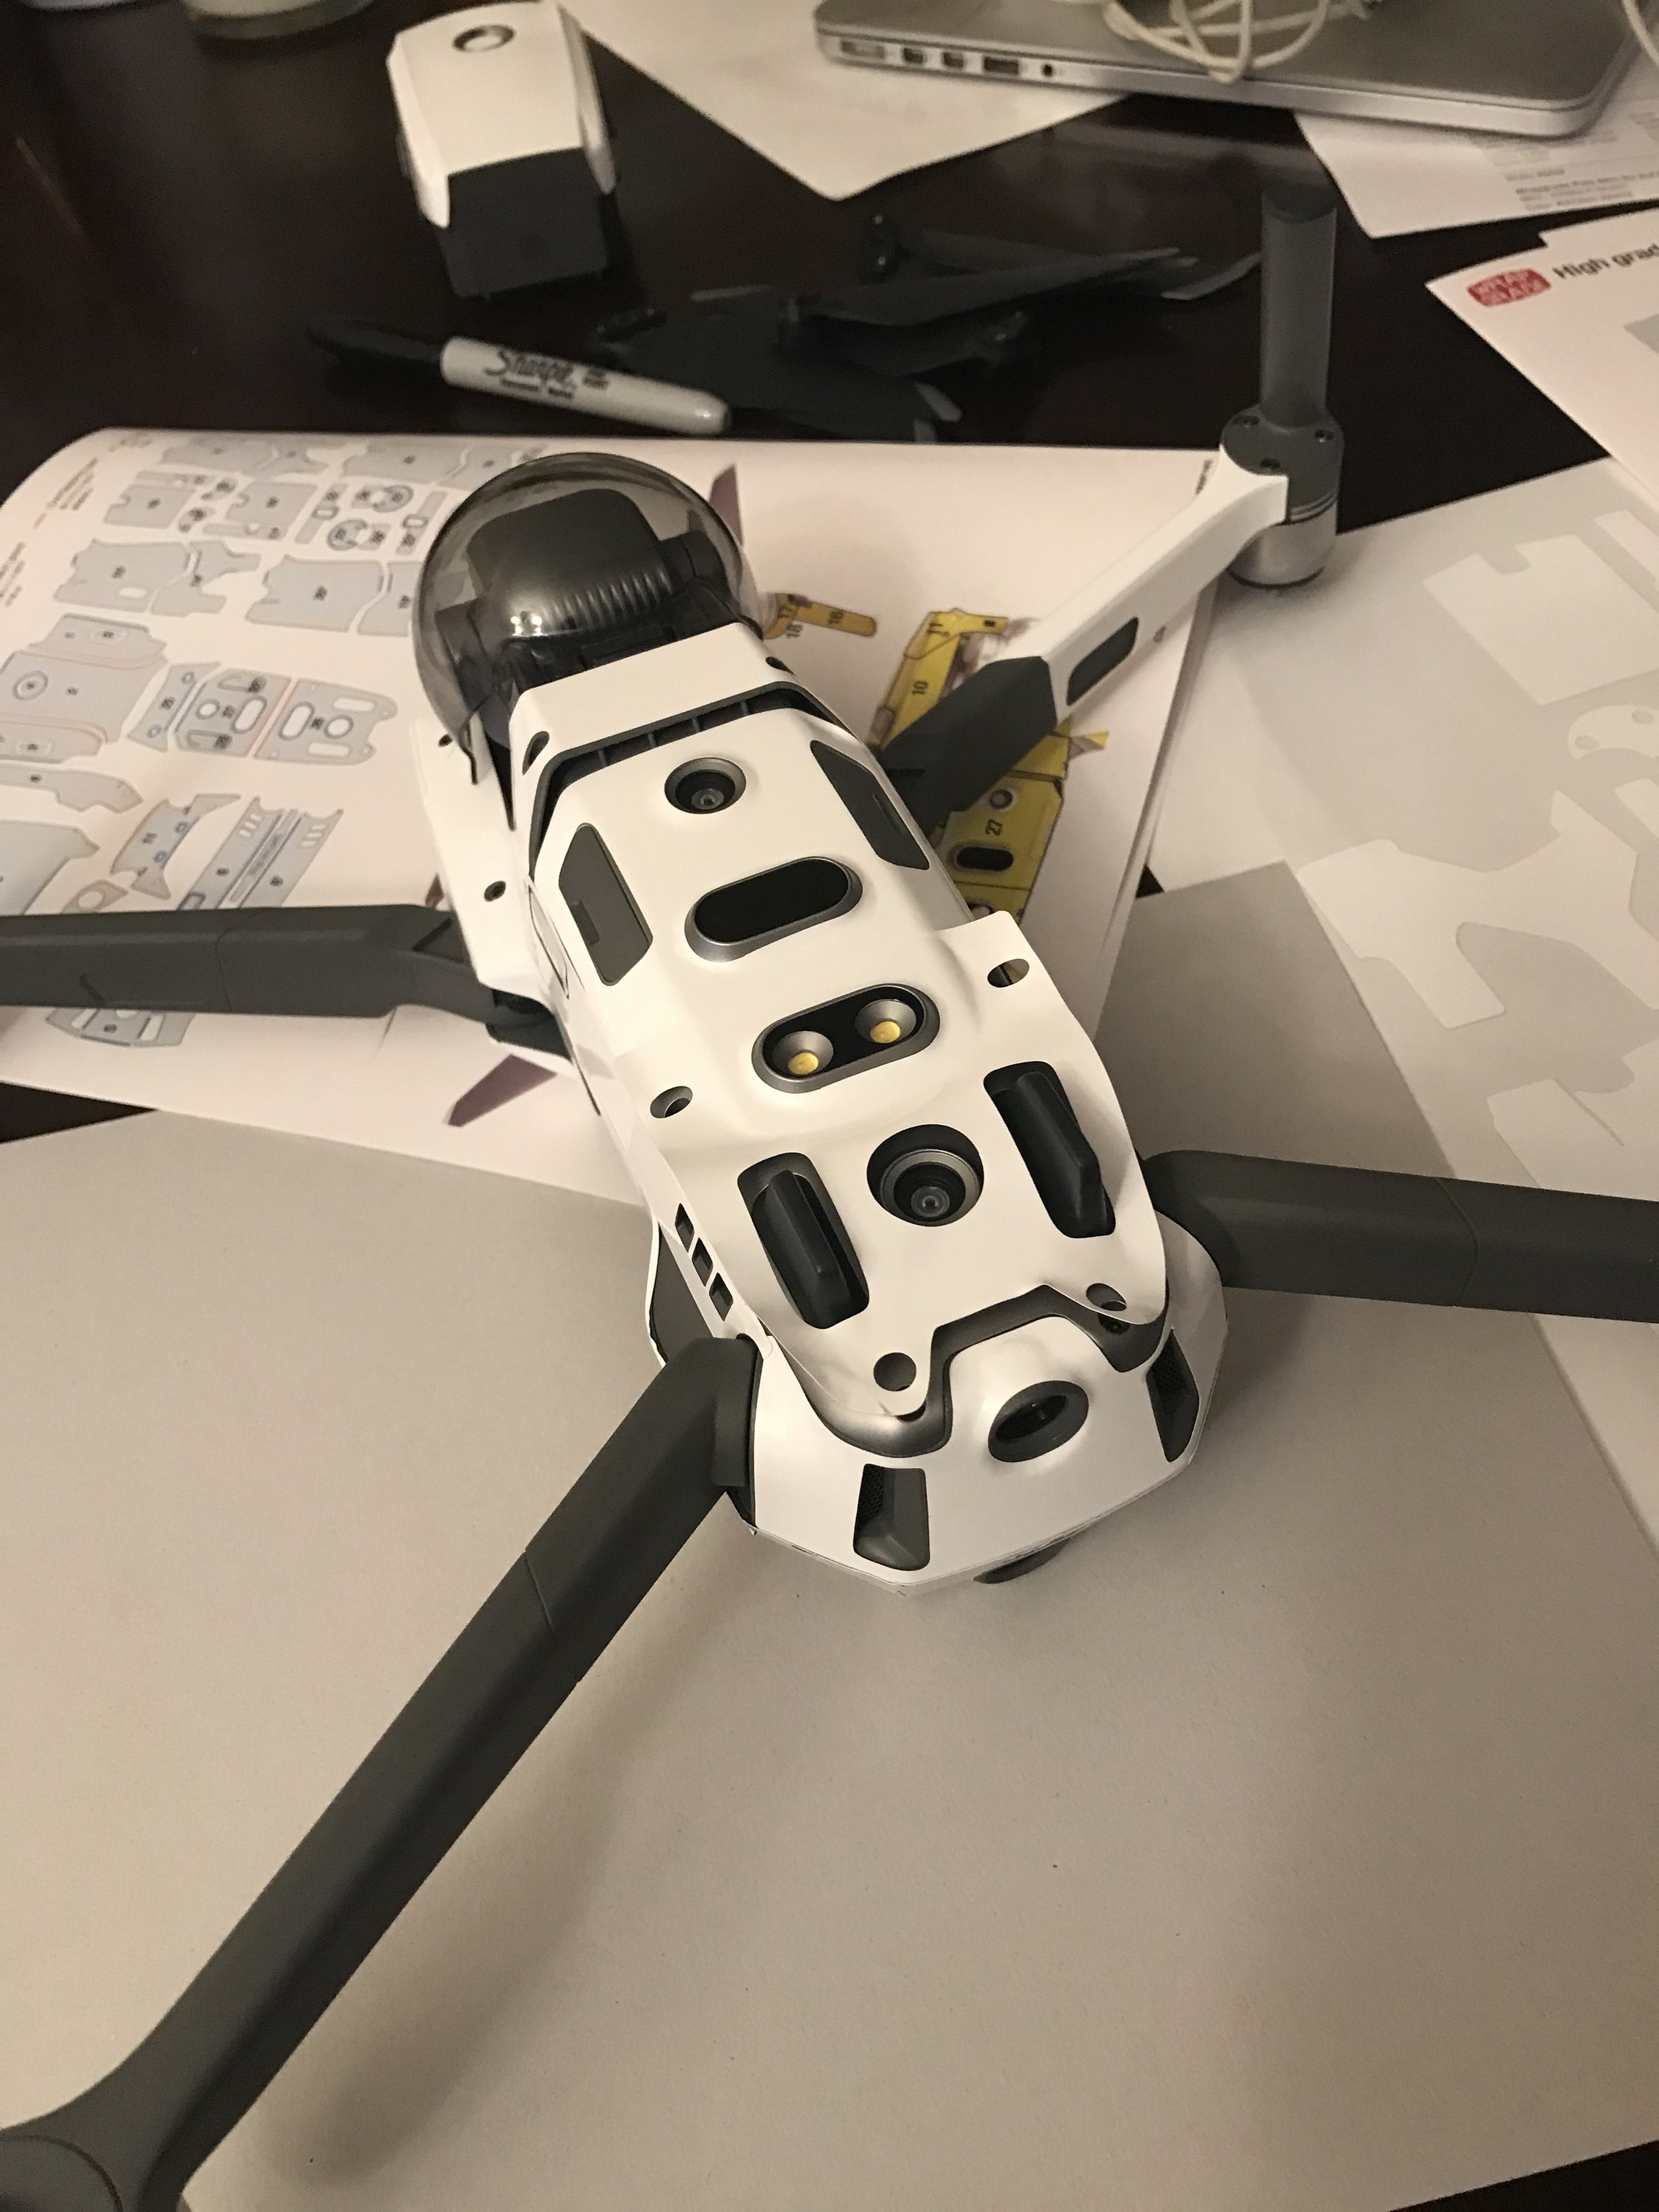
I am delighted to show everyone the coverage of the skin from Wrapgrade. Except for the gimbal/camera, sensors and motors nearly every other section of the drone is covered. See below for the picture gallery of the wrap going on and the final product.

Wrapgrade Japan Drone Skins are Easy to Install

wrapegrade japan batimore aerials 2

While the process of adding these wraps to our drones is time-consuming and tedious, Wrapgrade has included a fantastic set of visual instructions. All of the parts of the wrap are shown in numerical order with a diagram that illustrates where the skin parts are supposed to be applied. This is something new from them which helps a lot when it is time to install. Previously, Wrapgrade did not include this diagram on the gen 1 MP1 skins. I spent approximately three hours putting the wrap on the MP2. This may seem like a long time, but for those that know me, I am a little OCD when it comes to the stickers fitting the area properly. Two additional batteries were also covered which added to the amount of time for application.

Conclusions

I am delighted with my purchase decision of the MP2 wrap. This is in no way a jab at Decal Girl because I have used them for my MP1. However, I will never switch back. They make great products and are in the US; but I chose Wrapgrade for two reasons. First, the amount of coverage of the skin and second, my experience with the company. With the Decal Girl wrap, I experienced bubbling around the hot areas of the drone such as the battery compartment and underside of the MP1. I am not sure if that was a result of my misapplying the stickers or a lesser quality adhesive. Either way, Wrapgrade has my future business.

For more information about my experience or any general sUAS questions, feel free to contact me through the site or Instagram.


Freewell Carrying Case For DJI CrystalSky 7.85inch Monitor Review

Freewell Carrying Case For DJI CrystalSky 7.85inch Monitor Review

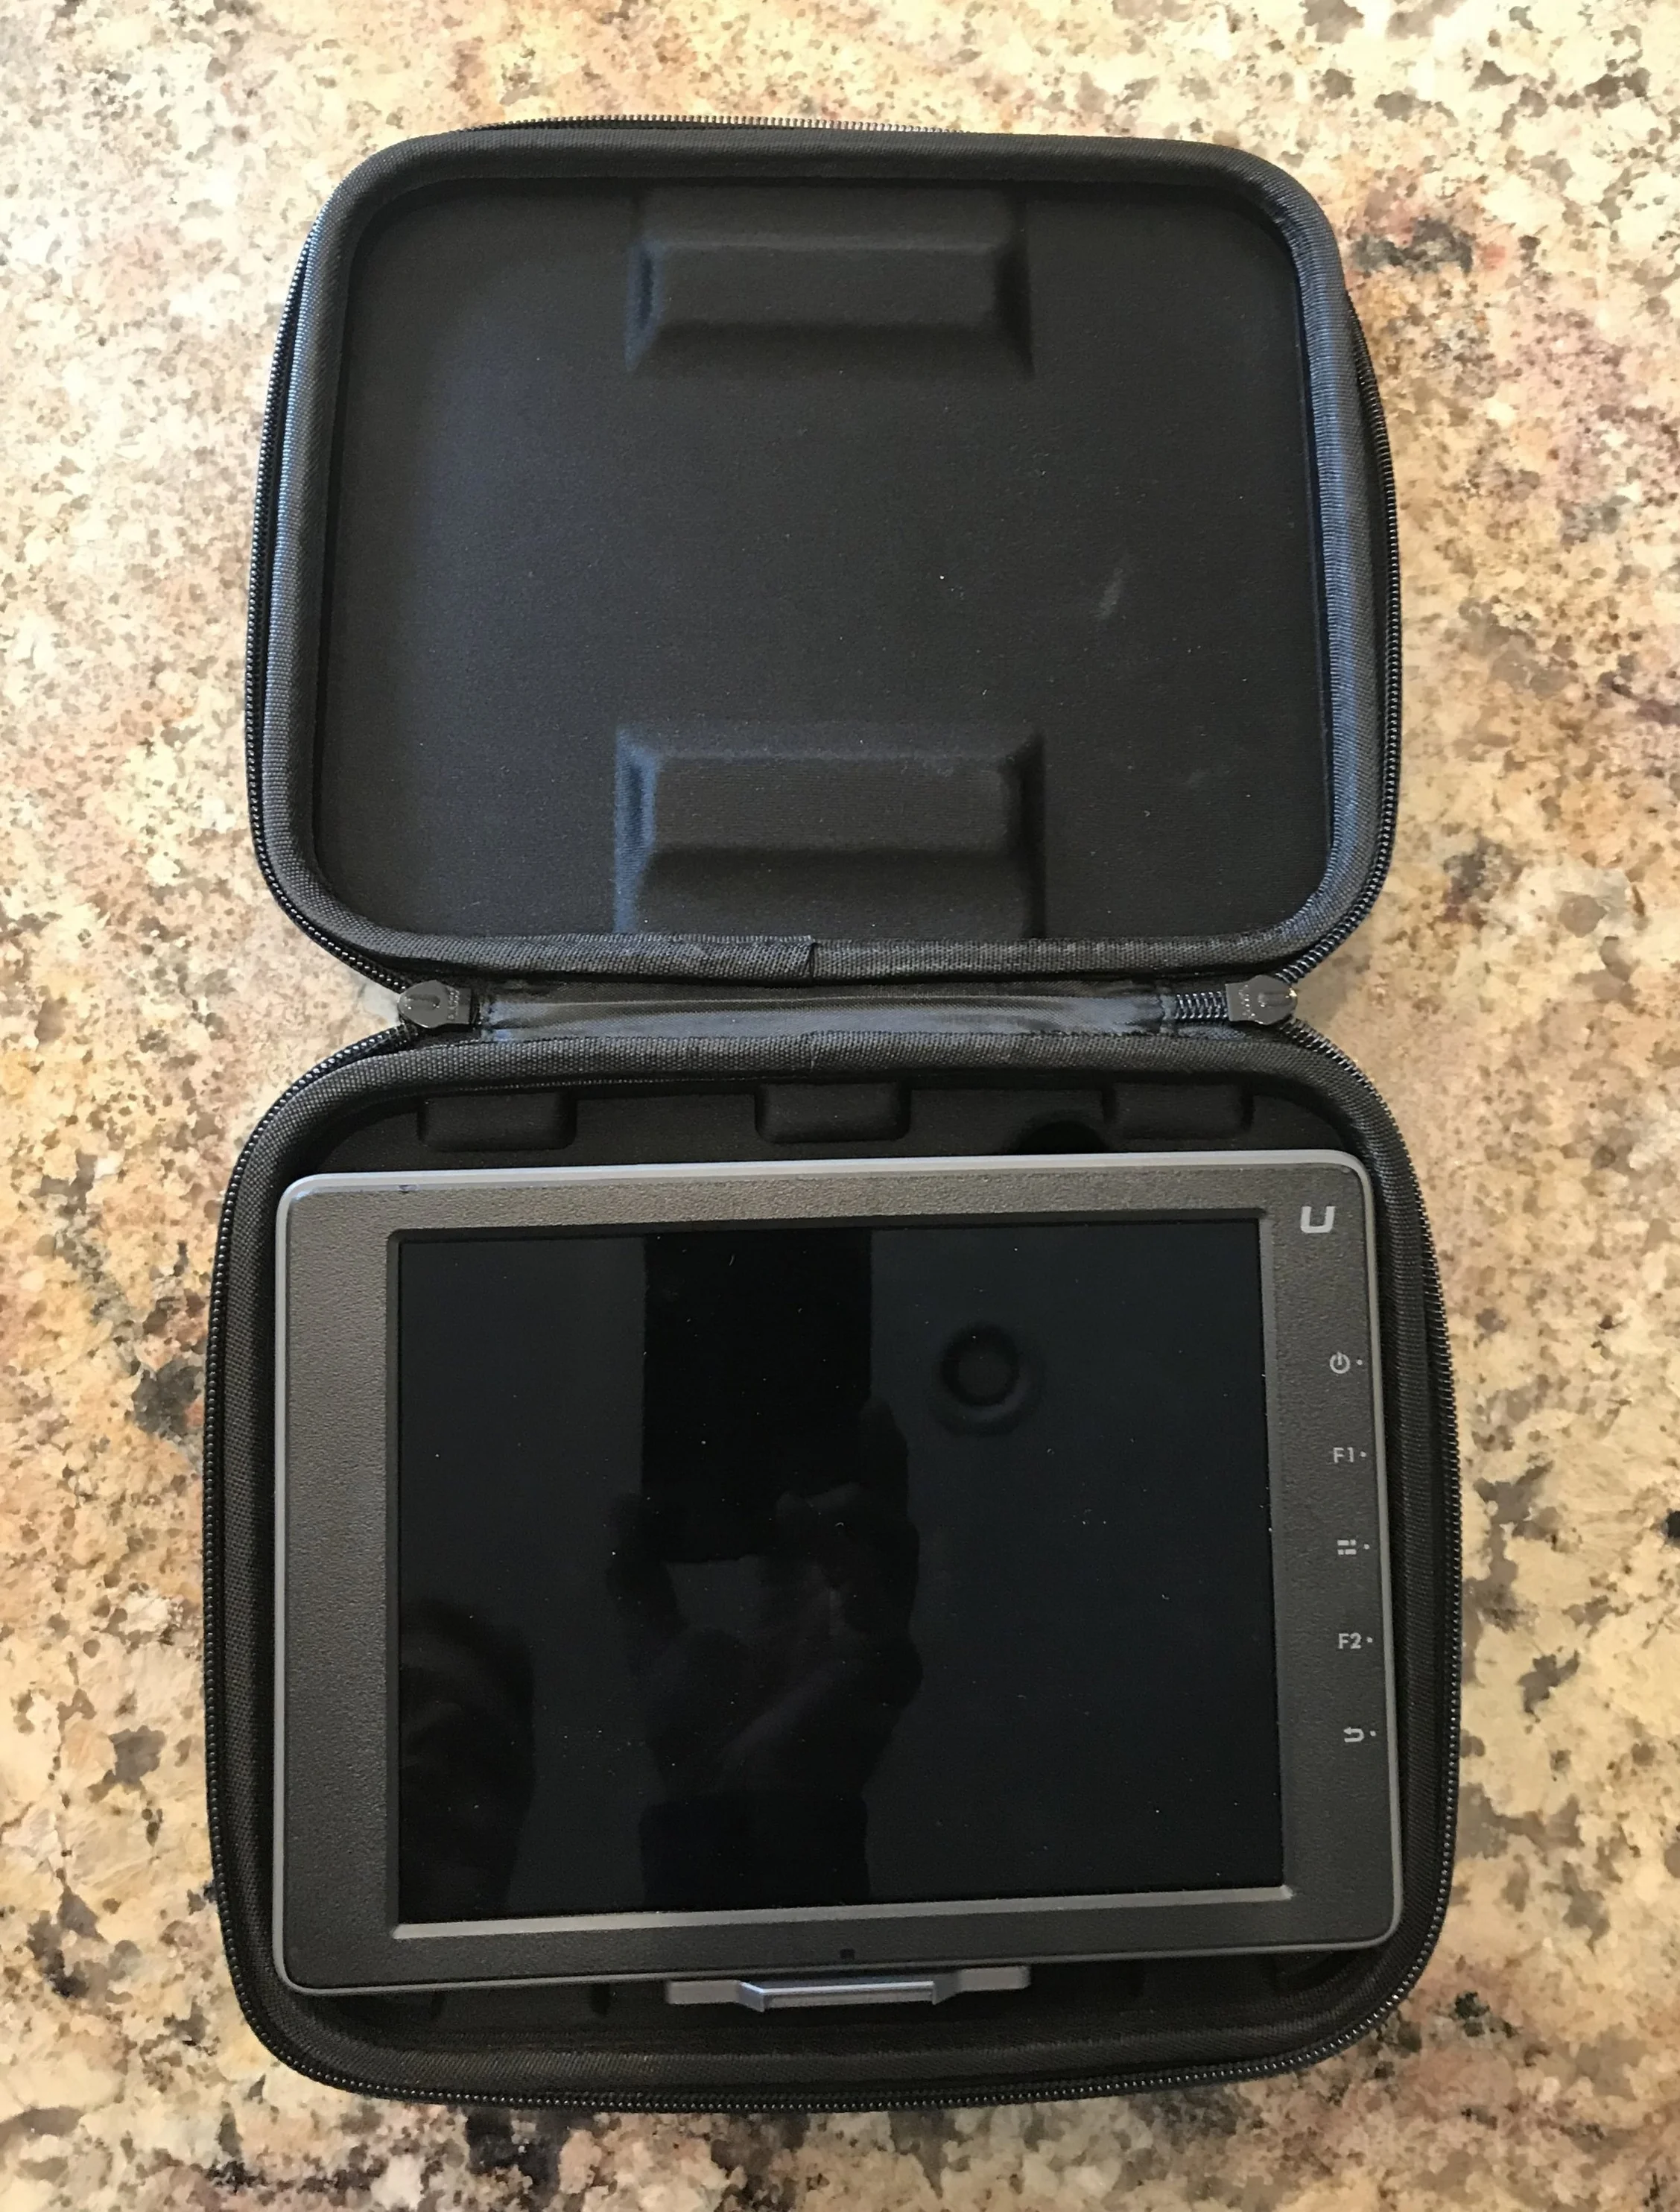
When I purchased the CrystalSky, there was an immediate need for a hard case for the monitor. After doing a little research, I chose the Freewell case. Ultimately, the reason is that of the additional storage for the charger and batteries.

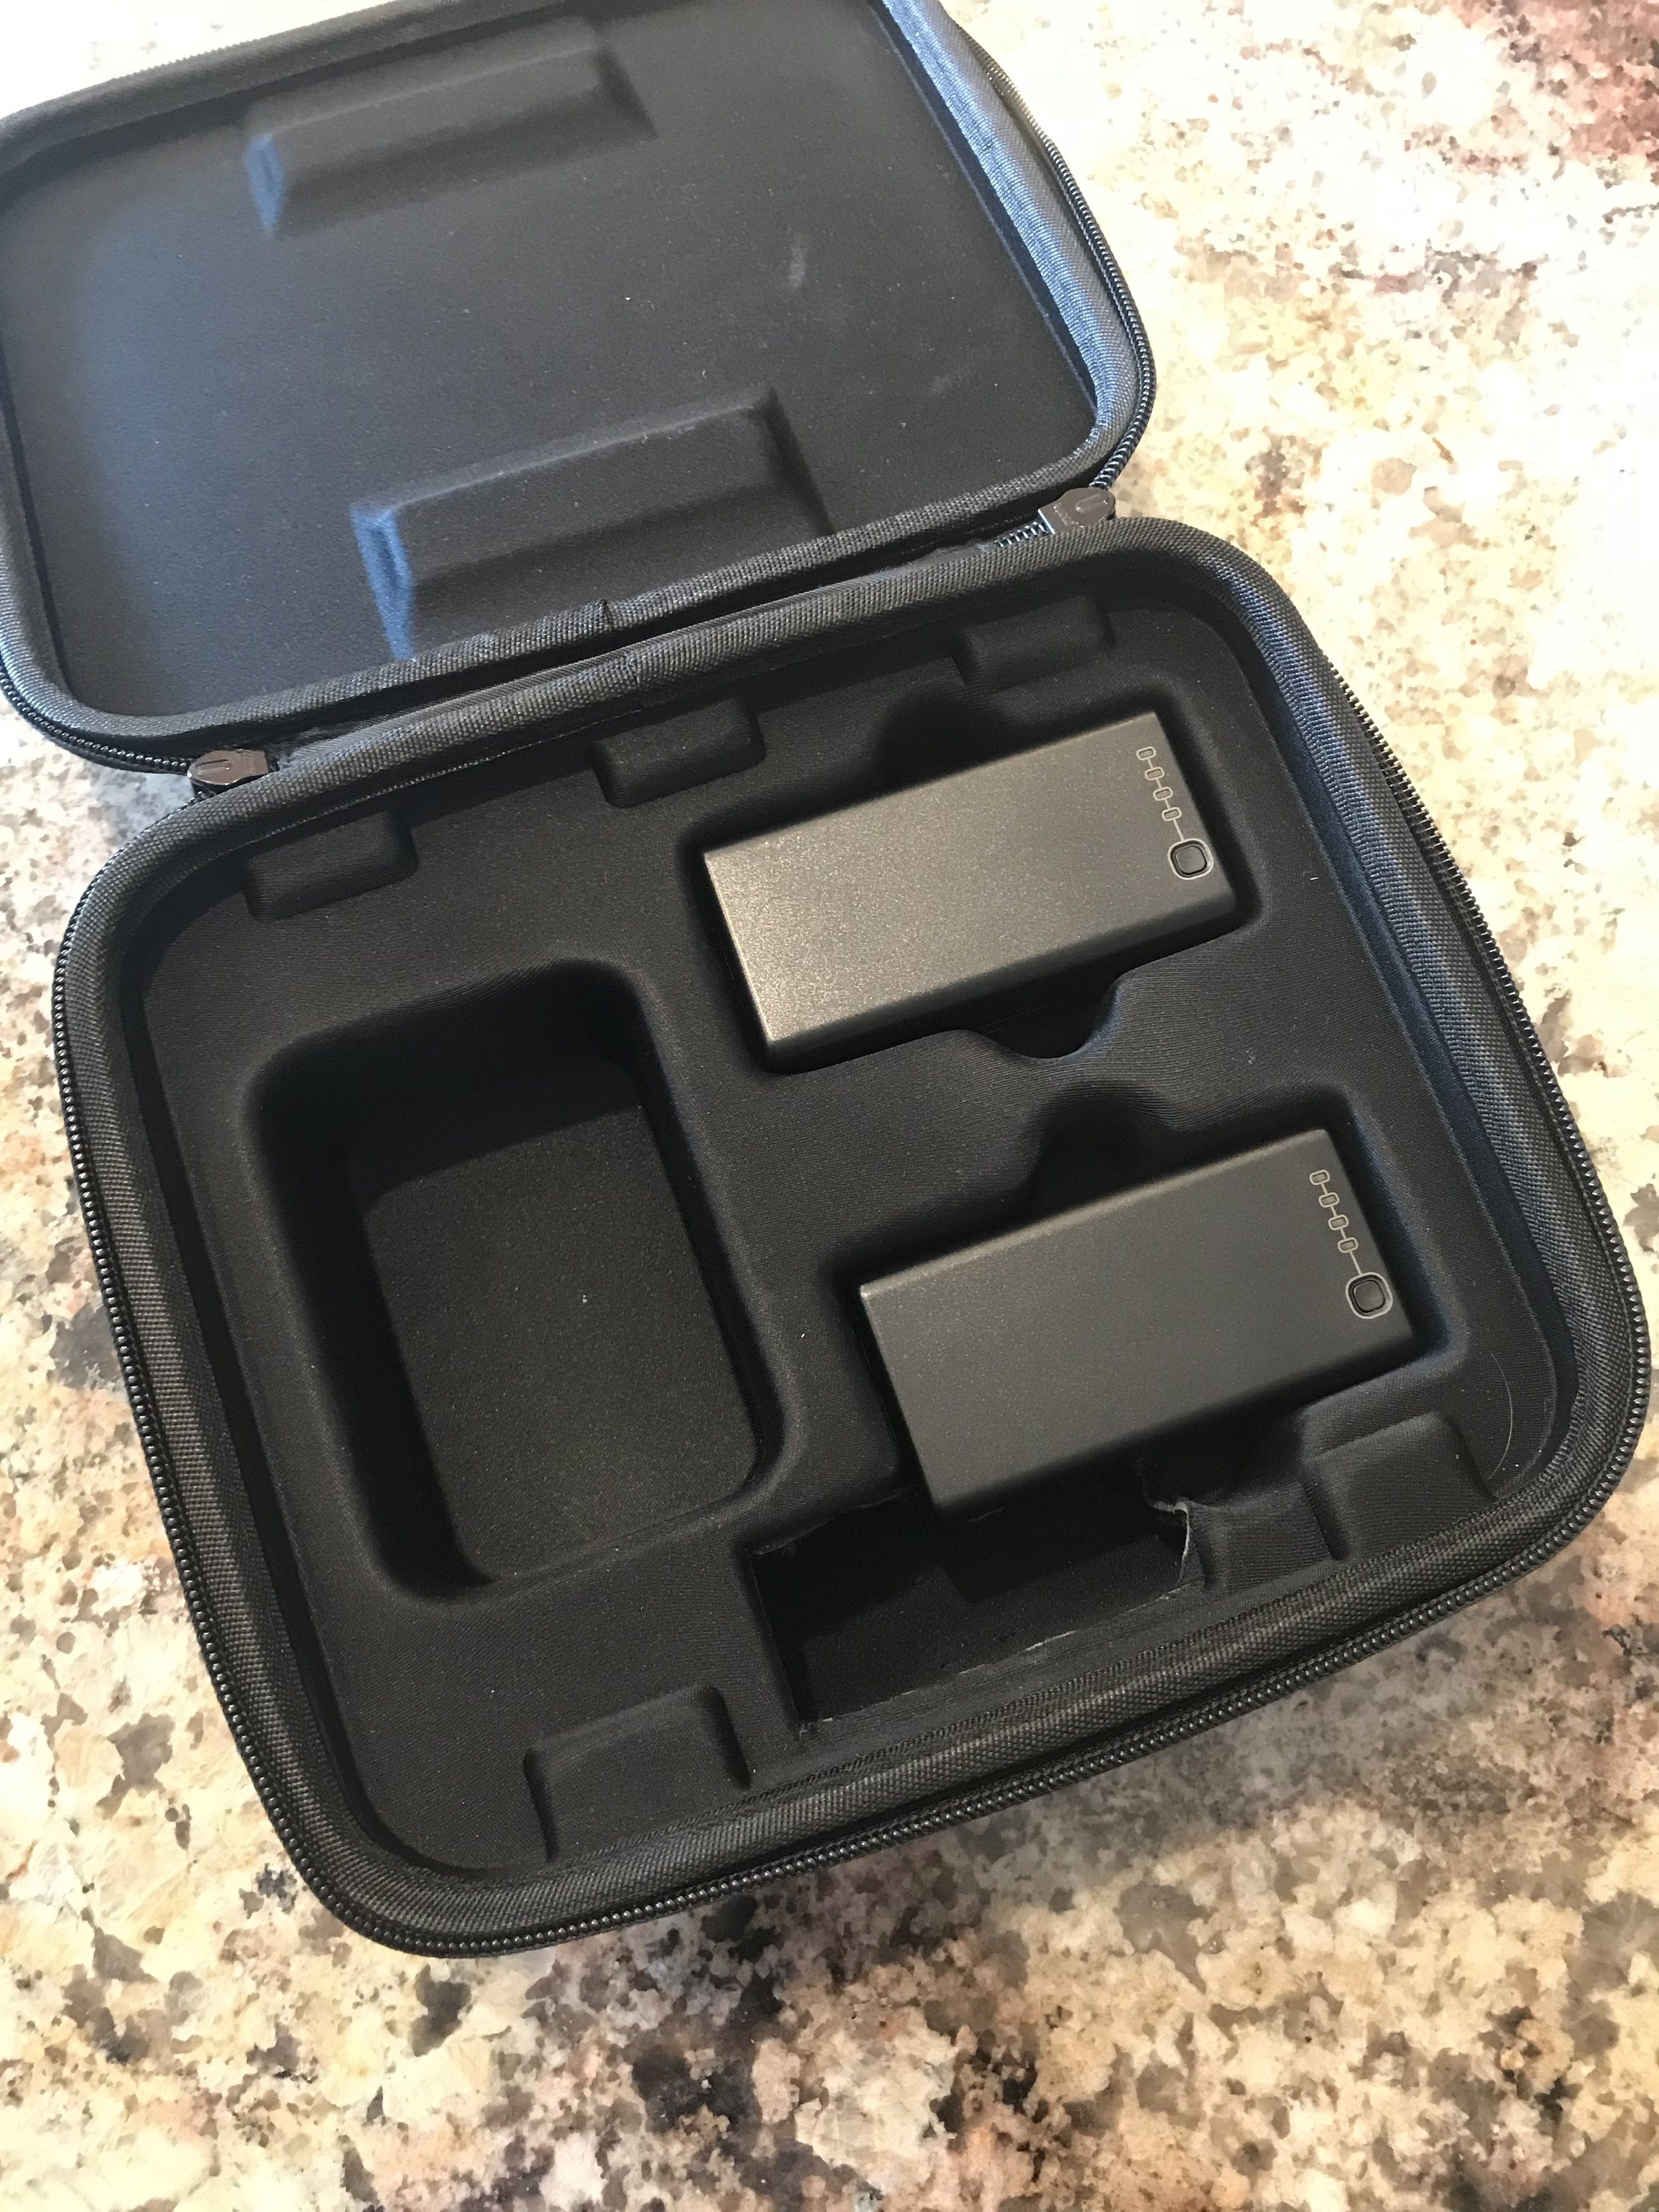
Freewell’s Case Holds a Charger and Two Batteries

Using the CS means carrying around additional accessories just as we do for our drones such as extra props or ND filters. For CrystalSky users, this means mounting brackets for RCs, other batteries, charging equipment and a flathead screwdriver. Freewell did a great job designing the inner shell of this case. There is room for two CS batteries and the charging station. Unfortunately, there is no room for the charger required to use the CS charging station, but there’s room in my other pack, so this isn’t an issue for me personally. I have read reviews where this has been an issue for some users. To me, using the CS comes with more gear anyways, so I was prepared.

crystalsky baltimore aerials 1

One thing I do wish Freewell had accounted for was the amount of space the mounting brackets that screw into the CS take up. I only had to make one modification to the case, and this was the removal of some plastic on the section pictured to the right. After doing this, I can put the CS directly into the case with no issues. Both the DJI CS mount for Phantom/Inspire RCs and the Mavmount fit.

The DJI CrystalSky Case from Freewell is Awesome

After bringing the case on a month’s worth of shoots, I’ve come to like this drone accessory. My score for the product is an 8/10. There are many pros and one con with this case. The only negative criticism I can provide was addressed above with the mounting bracket space. Besides, the only way Freewell could include a space for the charger would be making the case larger. Again, this isn’t a big deal since I put the charger in my backpack.

Conclusions

I’d recommend this case to anyone using the CS monitor. For how much the damn thing costs it would be silly not to keep it safe at all times. Polar Pro offers a hardcover, but this doesn’t enclose the monitor altogether. The cover sits on the screen side of the CS. While this does an excellent job of protecting the CS, this cover does not protect the monitor from a fall.

For more information about this product visit Freewell or contact me here. I hope you enjoy these reviews, feel free to contact me about other products I should review or use. As always, Happy Flying!


Aerie Knobs Review - A Drone Accessory for All sUAS Enthusiasts

Aerie Knobs Review - A Drone Accessory for All sUAS Enthusiasts

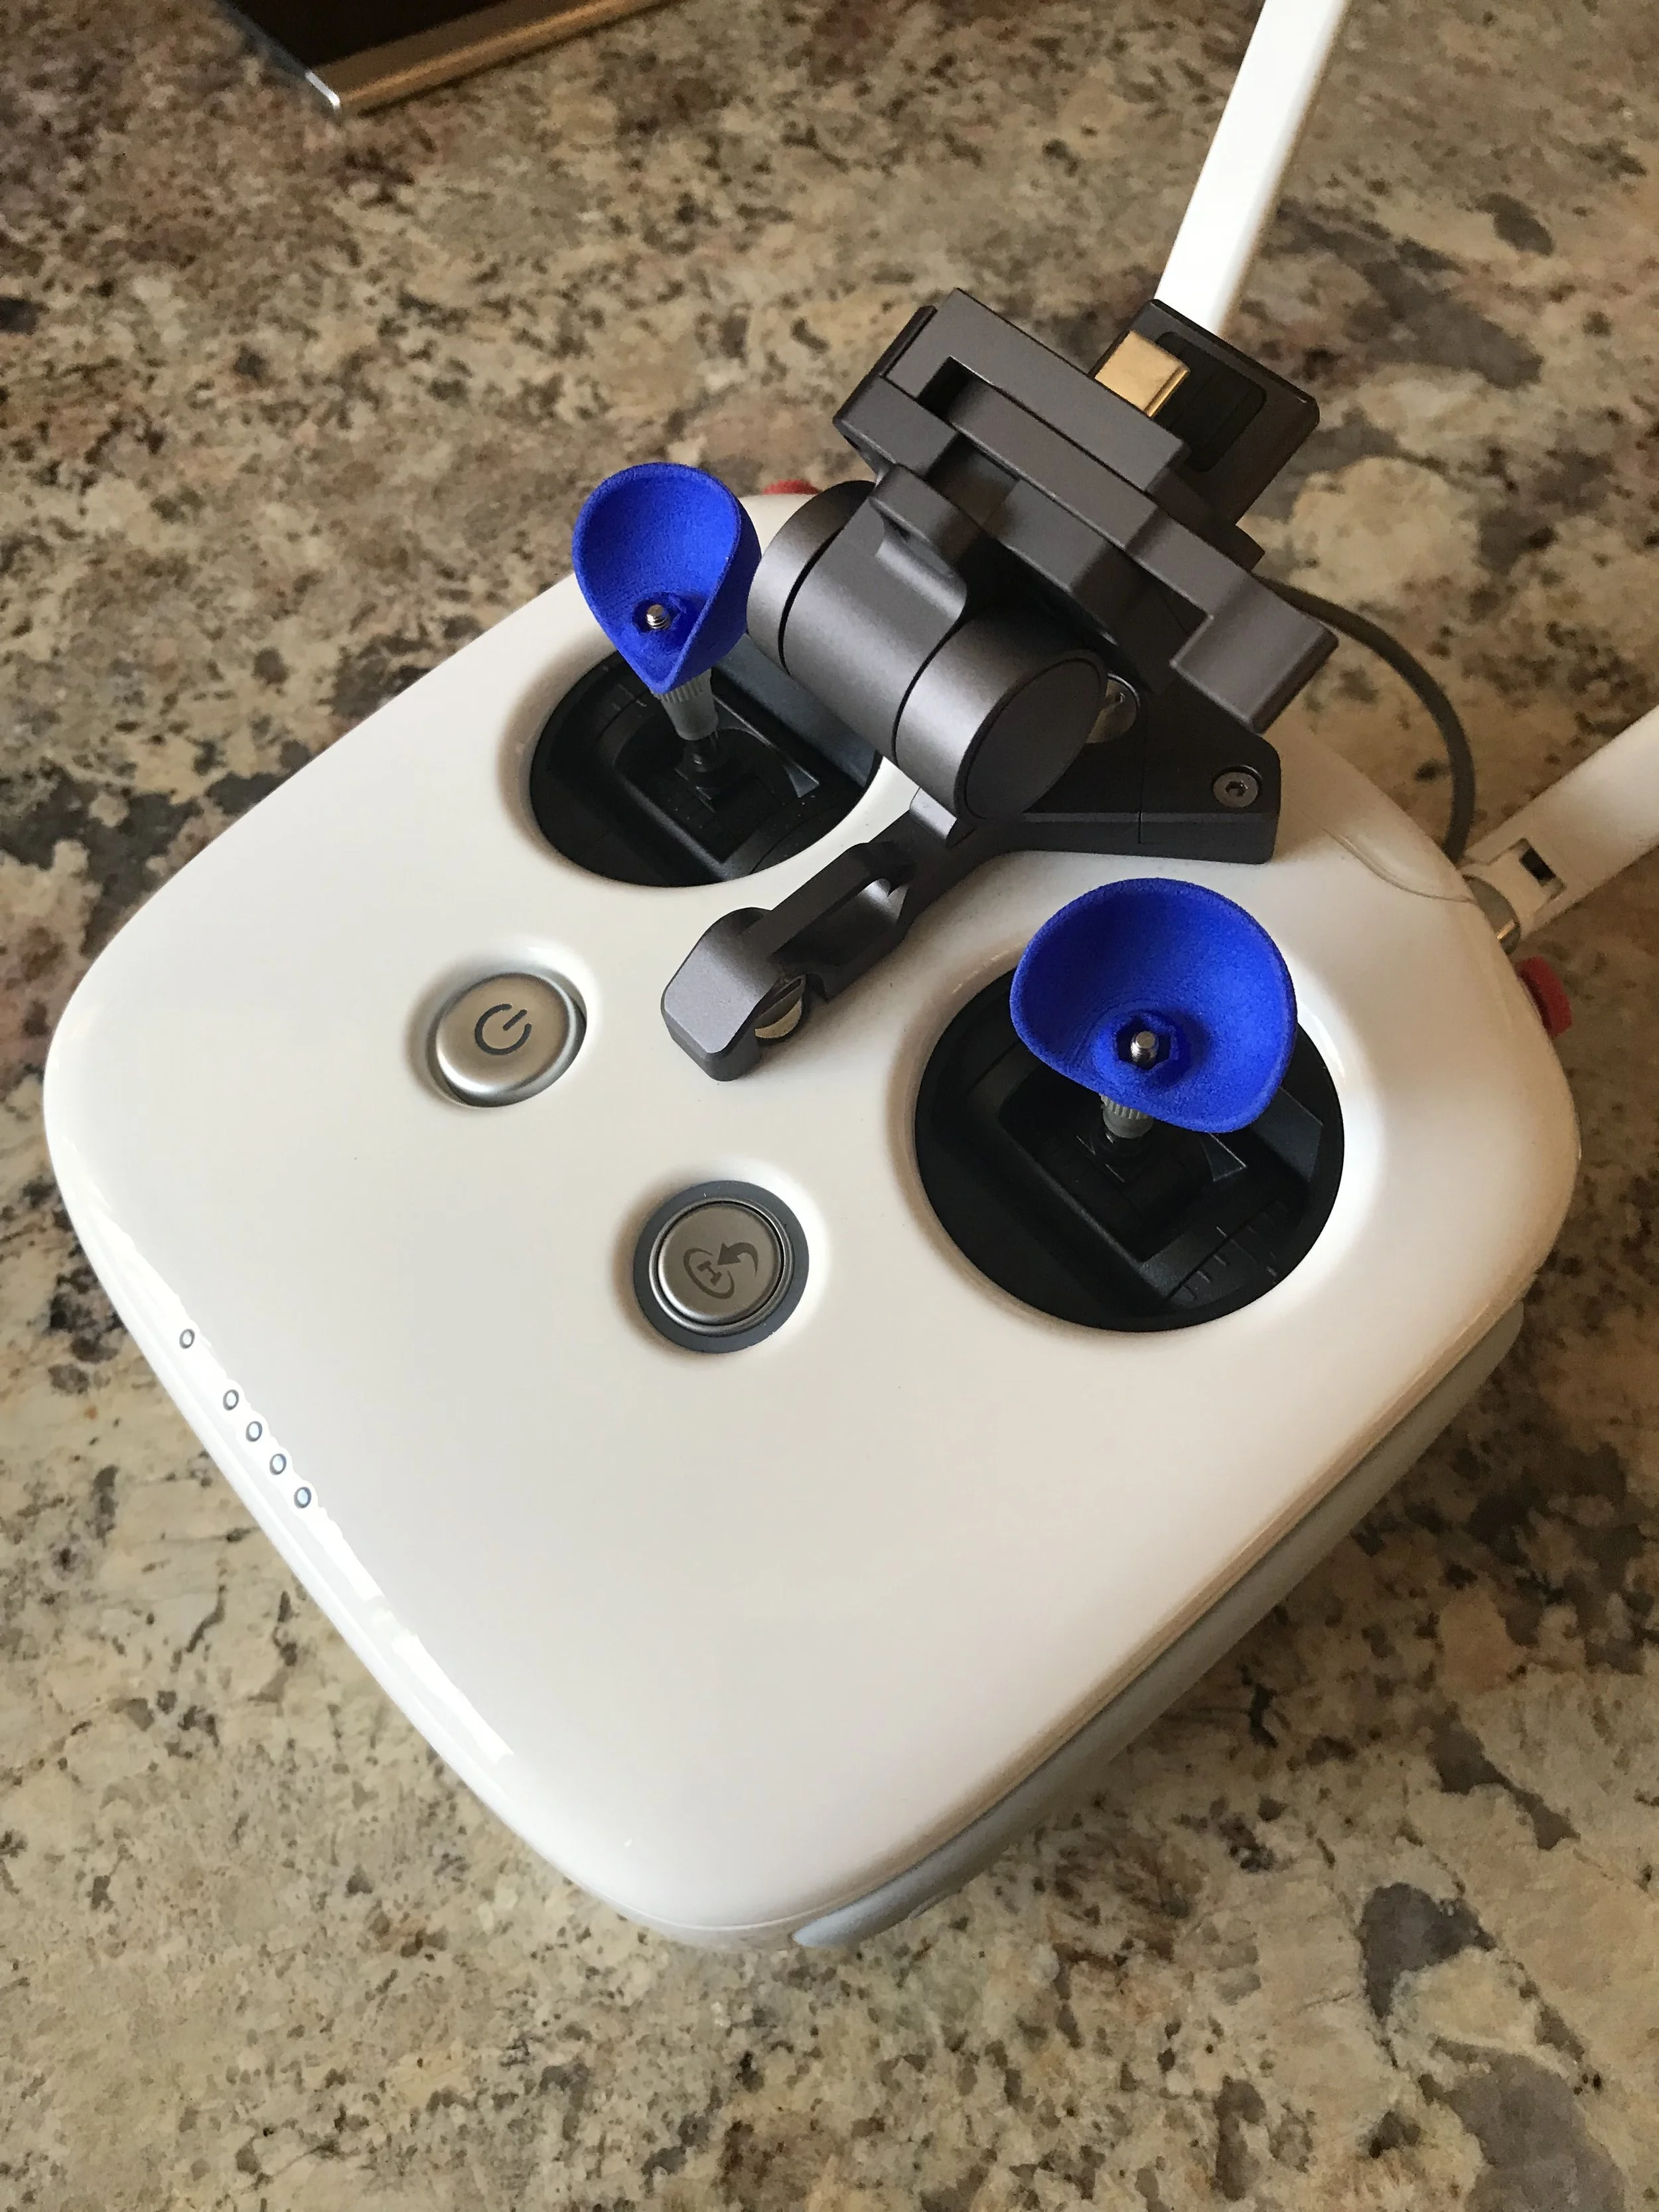
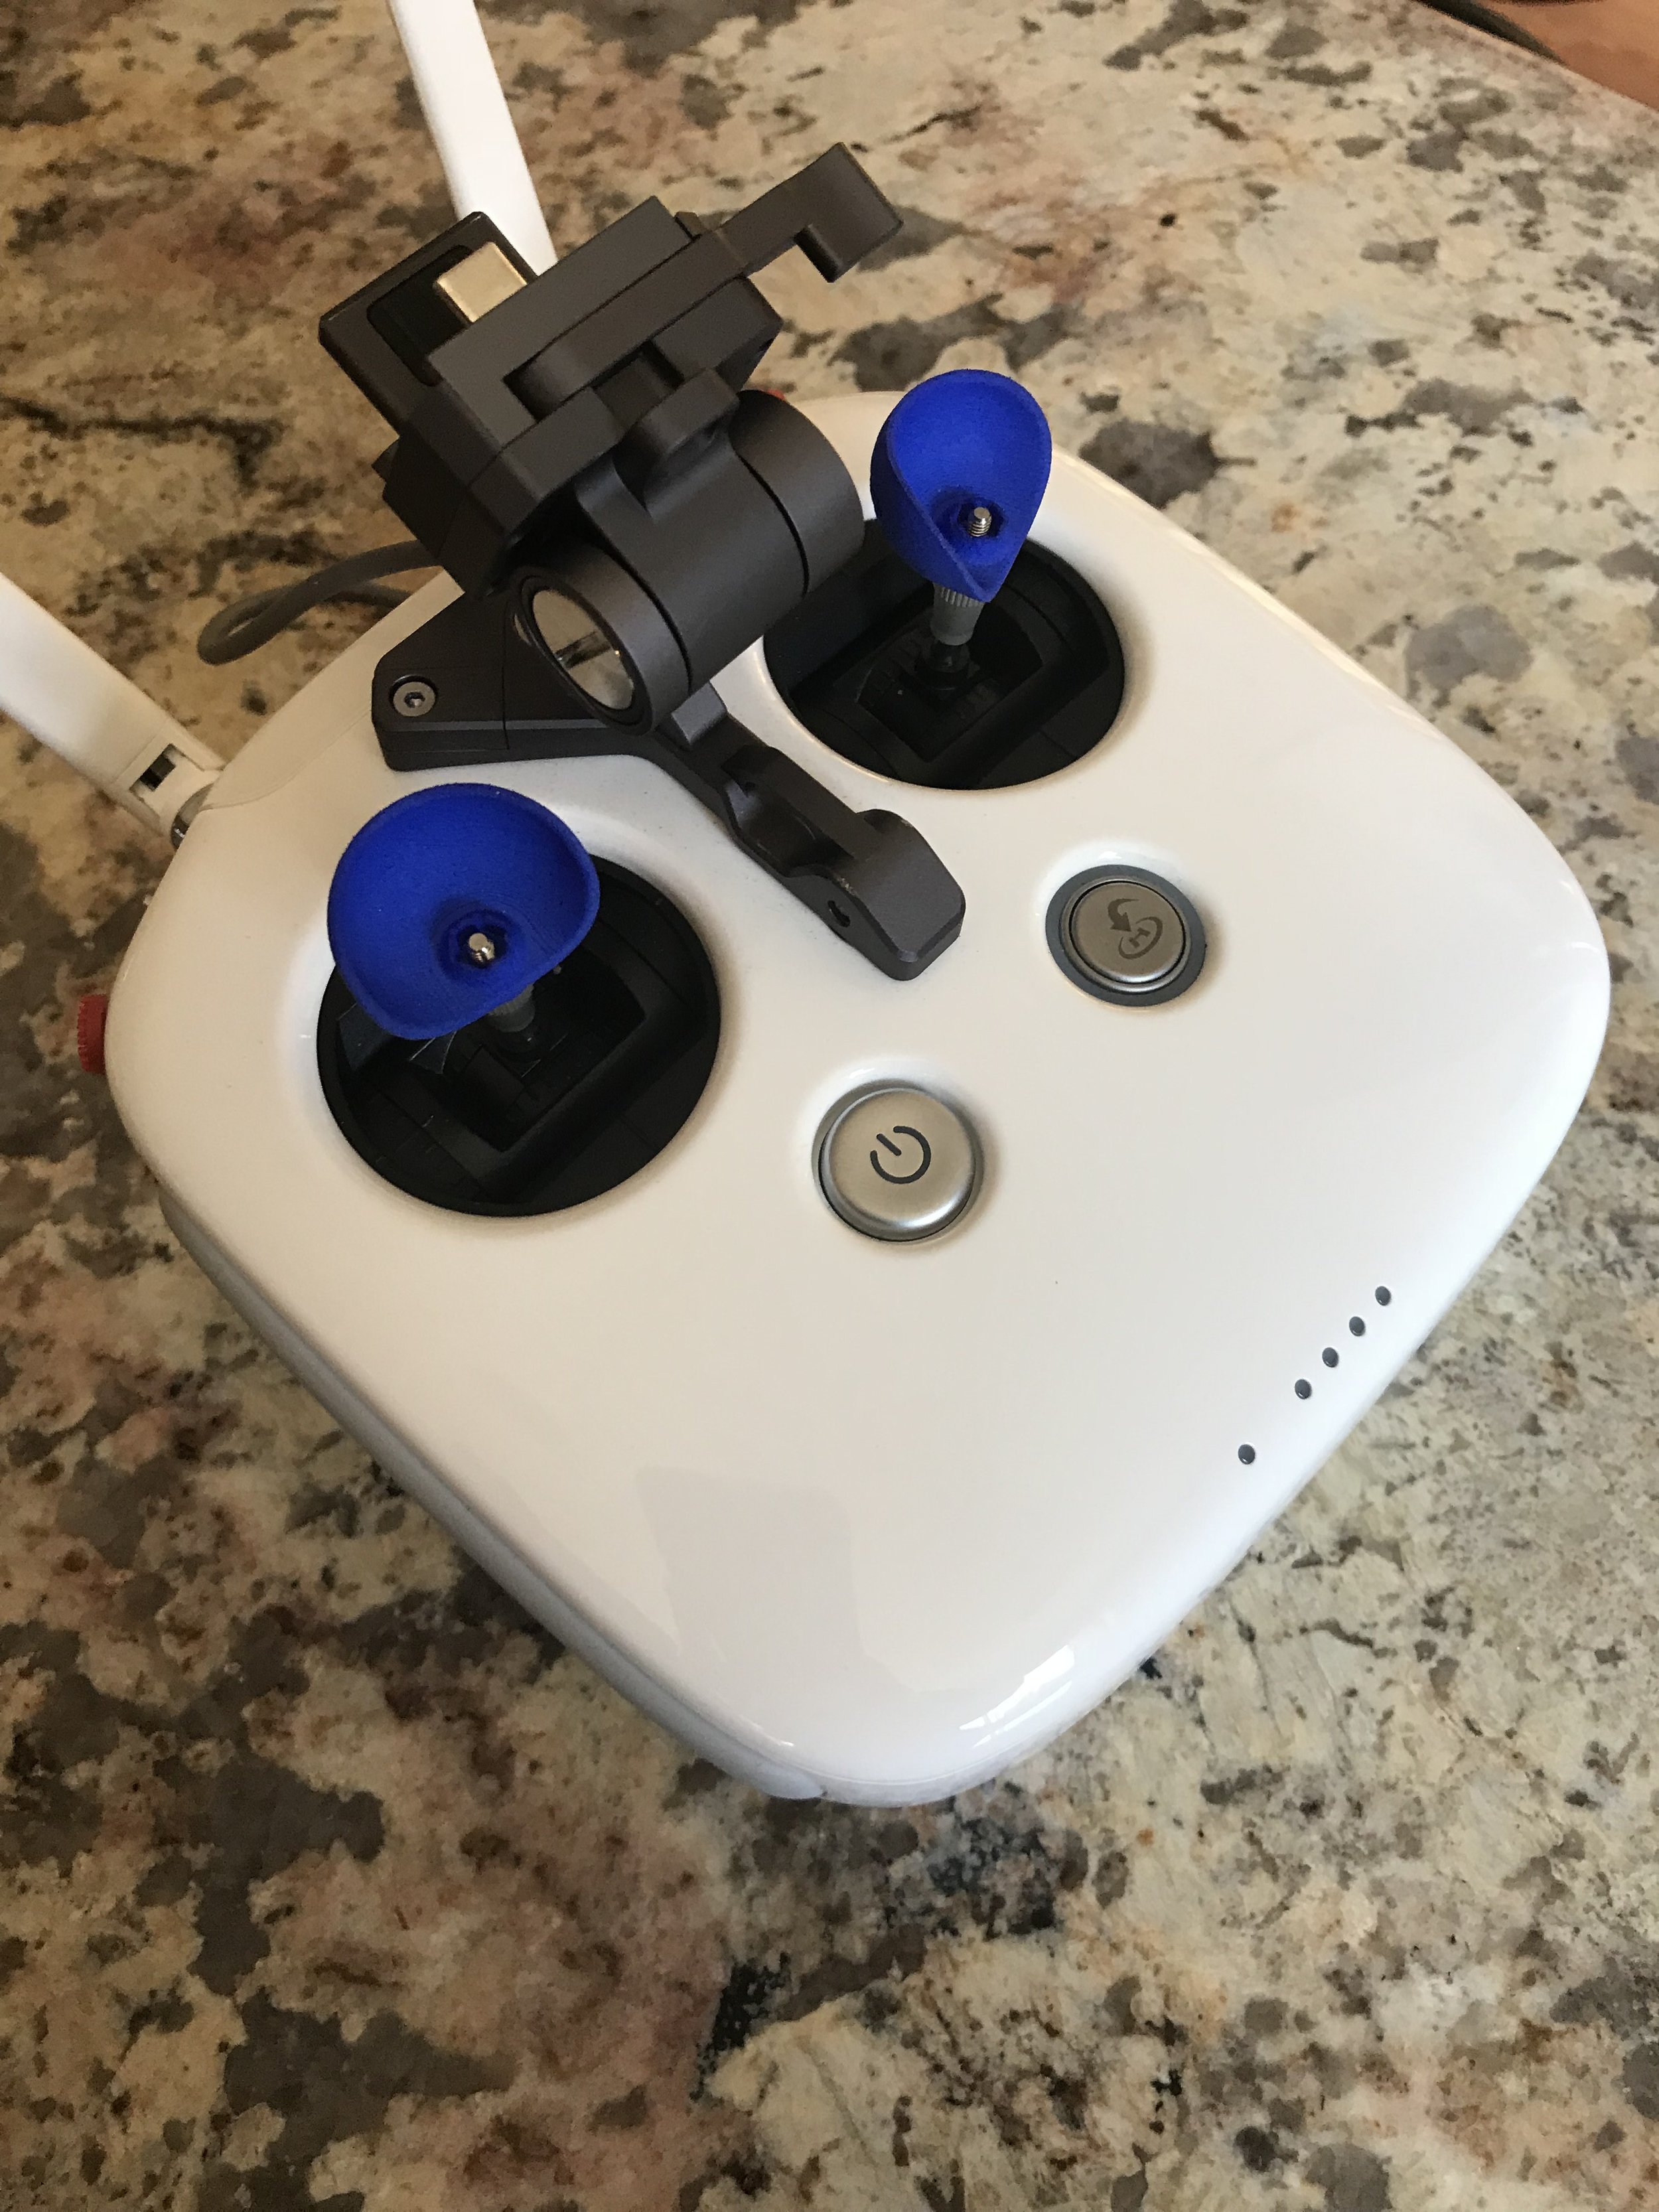
Aerie Knobs are a drone accessory that every commercial remote pilot needs. These knobs have significantly made endurance flying much easier for me. The knobs help with smoother flying which leads to a higher quality video. Besides, these knobs could be considered a fail-safe if your fingertips happen to slip from the joystick center point. So far, I’ve been about to fly with these knobs for almost 55 hours.

Aerie Knobs Improves Flight Performance

aerie-knobs-baltimore-aerials1

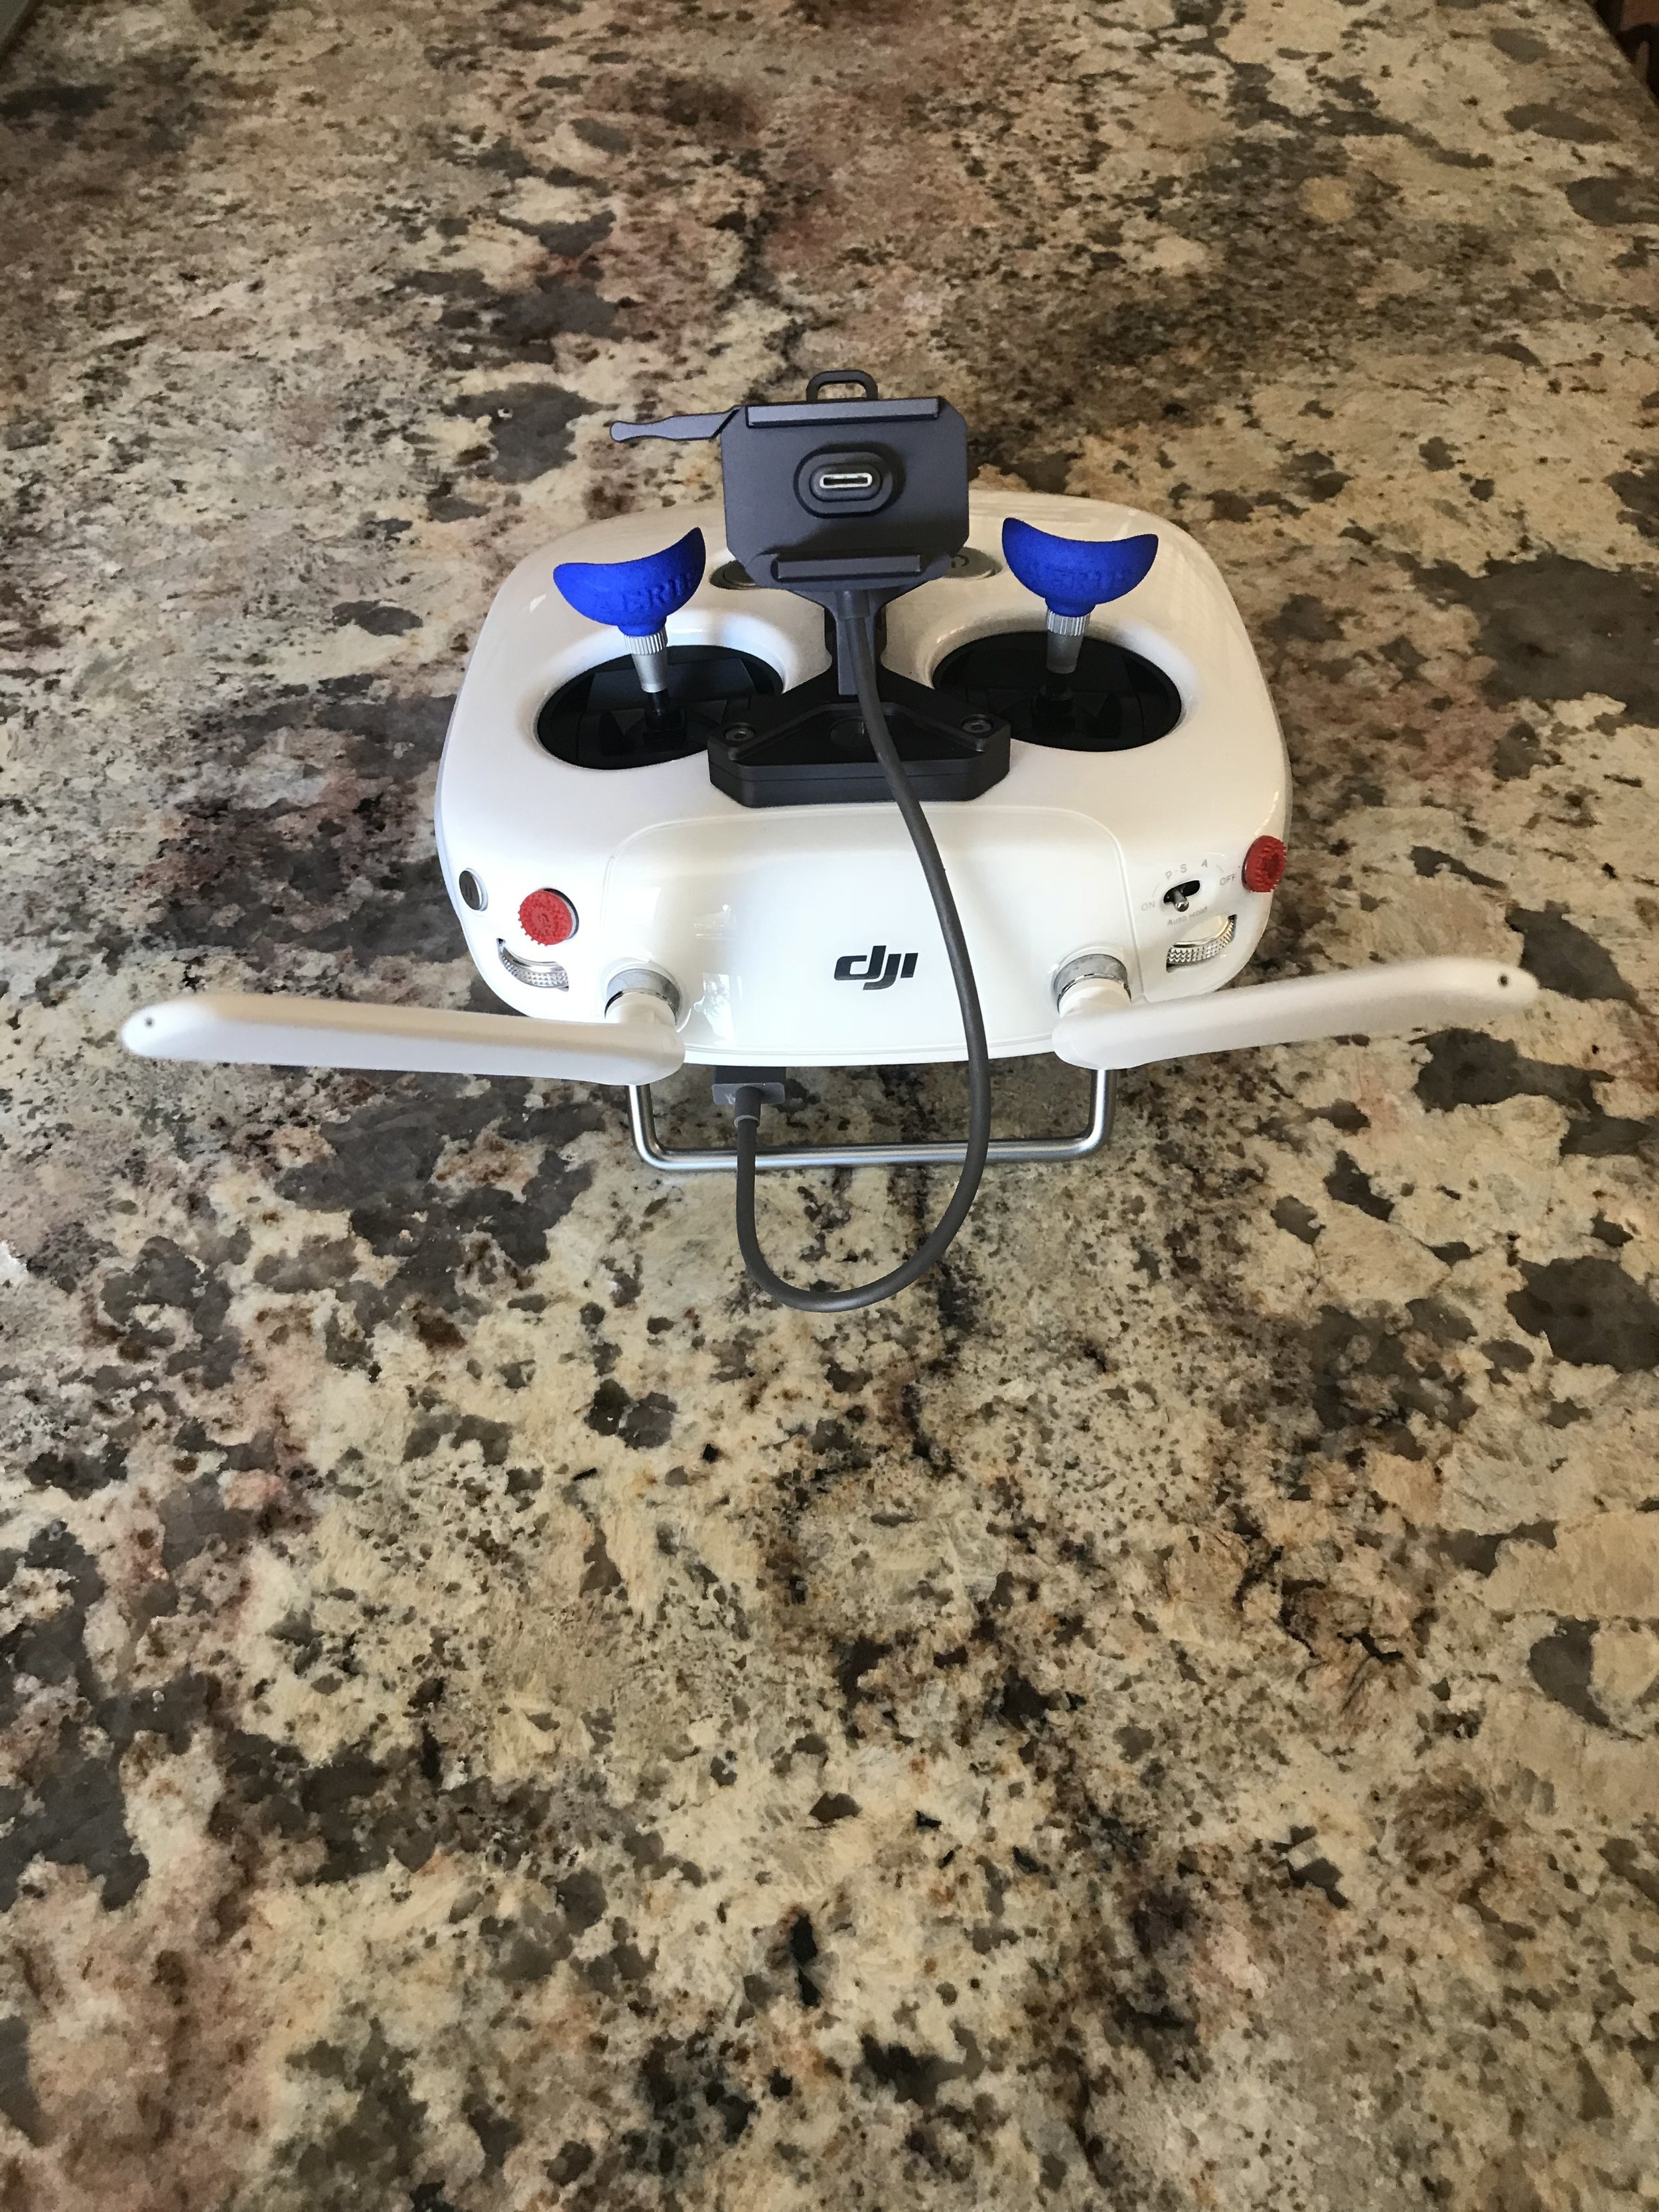
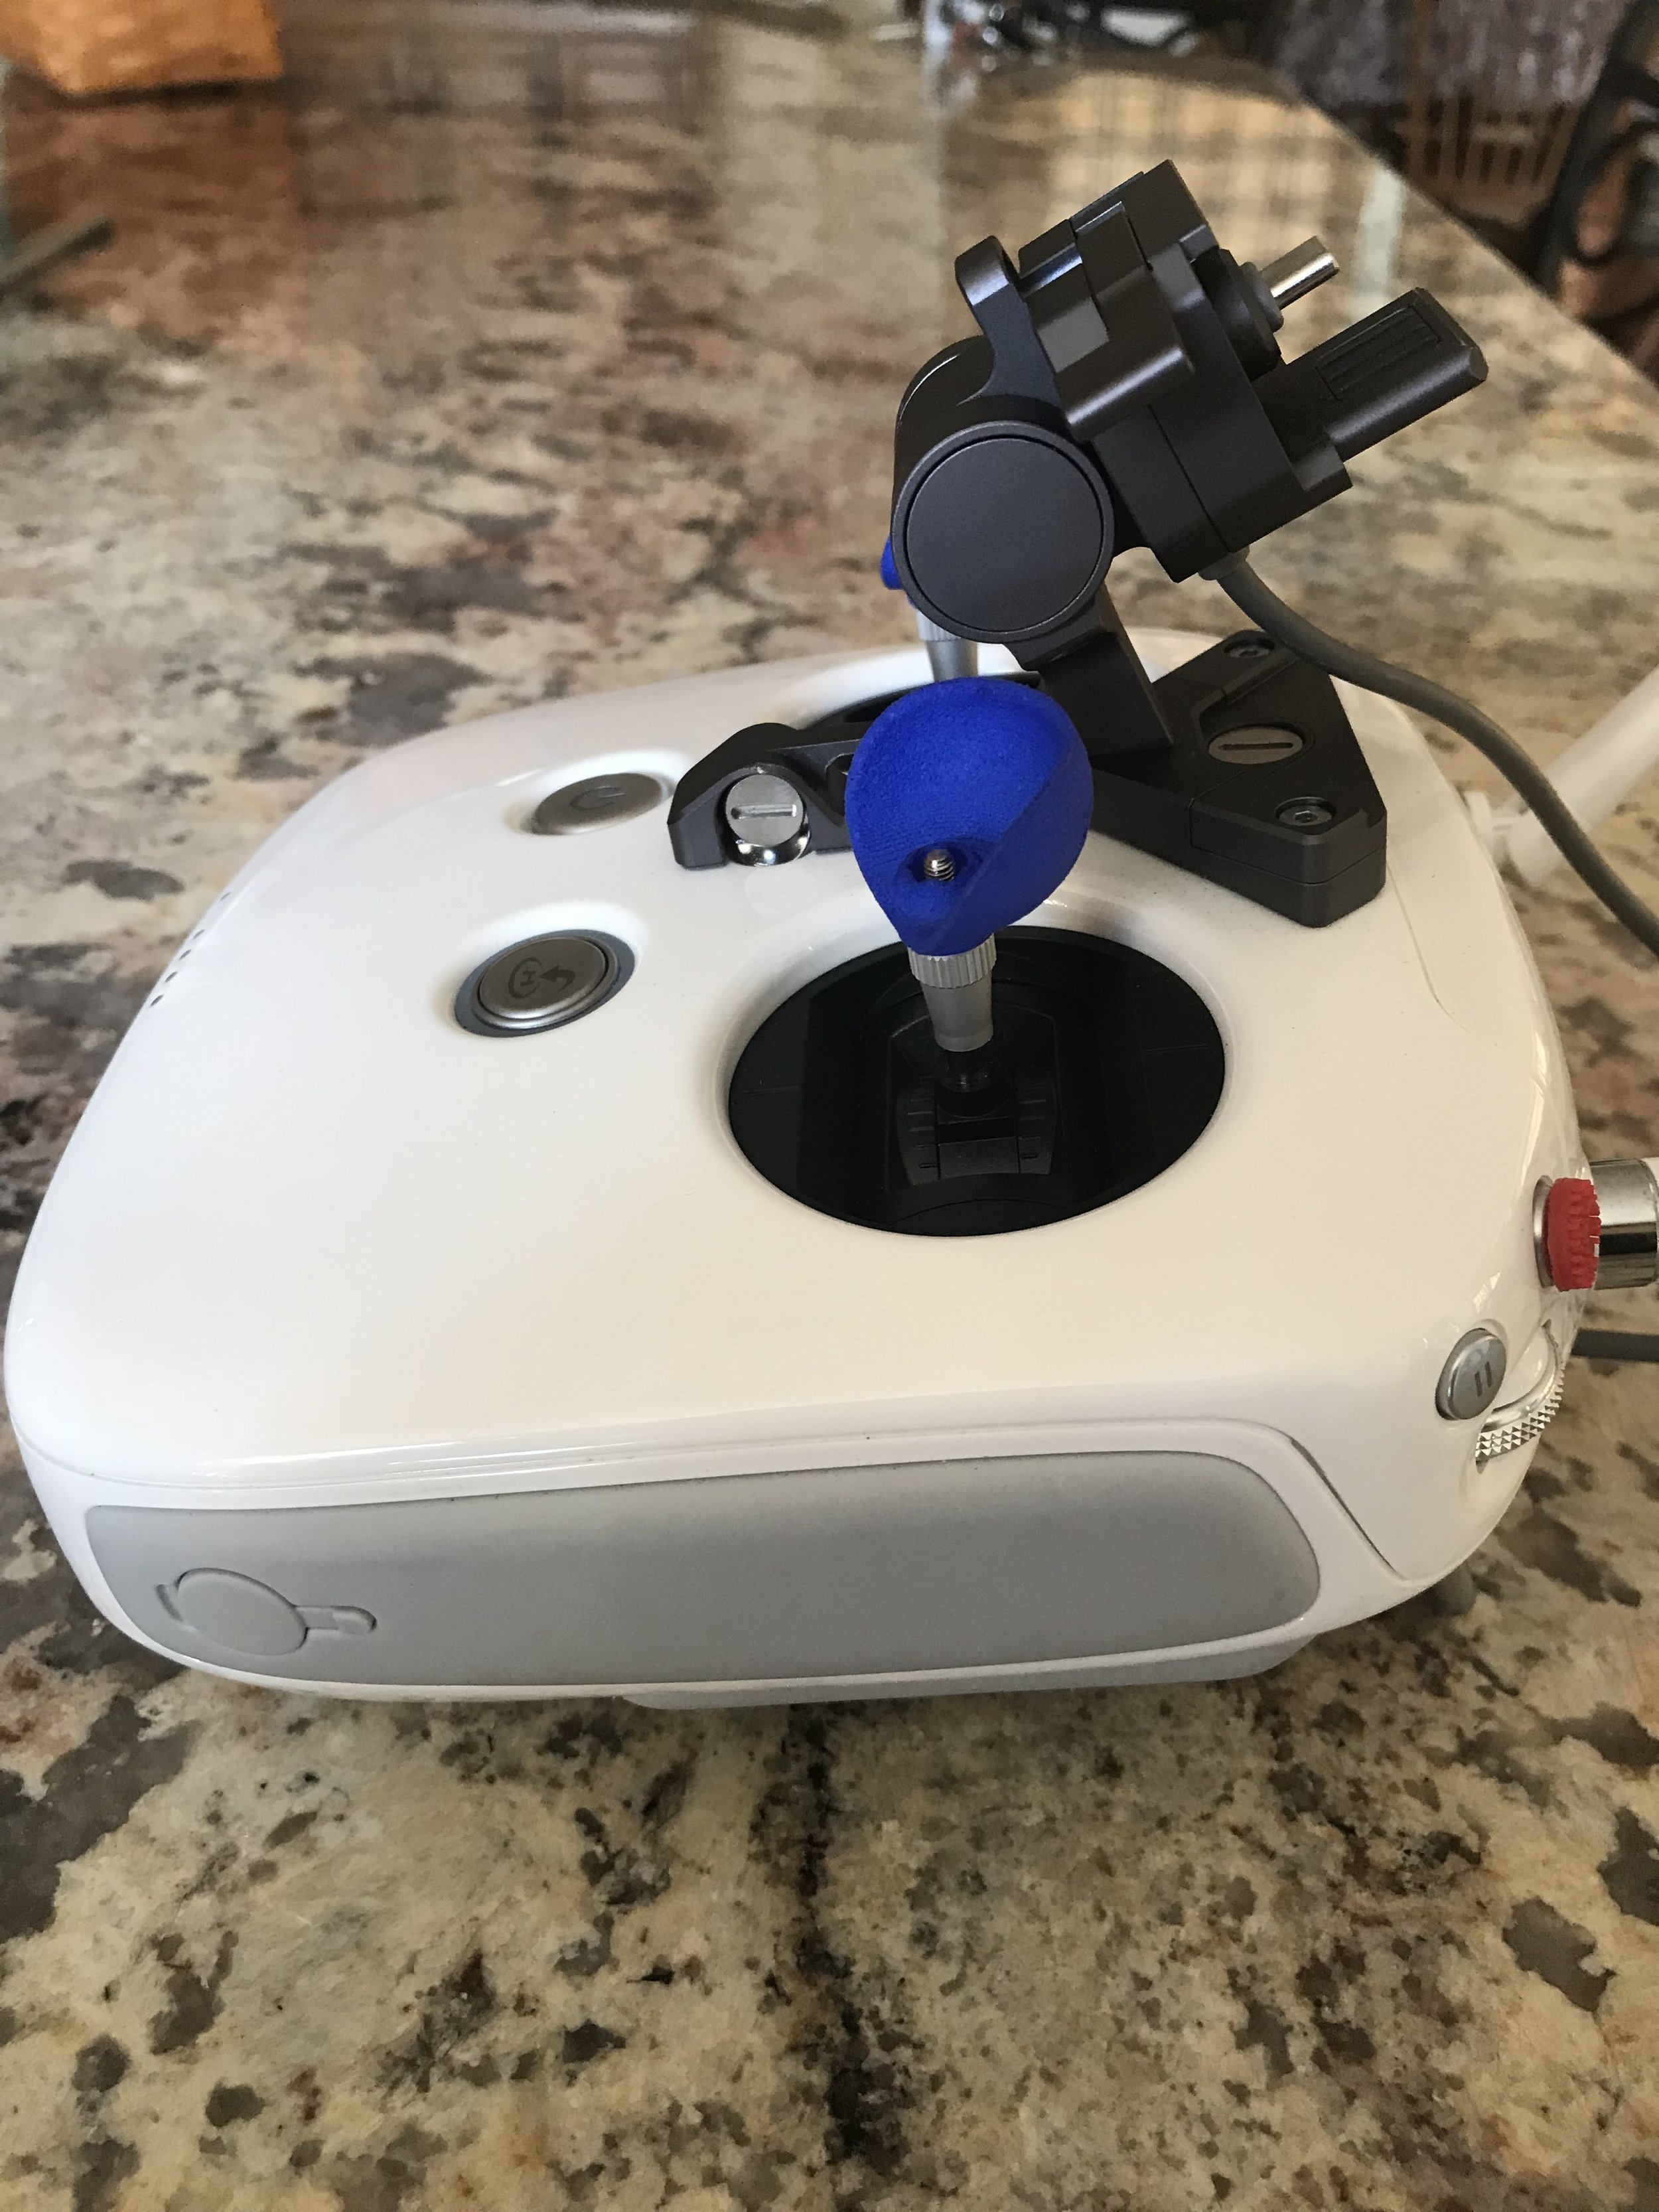
While flying for long periods of time, my fingers sometimes become a little sweaty. During the Maryland summers and standing outside in the heat while completing hours of flights can take a toll. For me, the tax is more mental than physical because flying UAVs can be stressful at times. Aerie Knobs have changed that, my fingers do not become fatigued anymore either. With the stock remote control knobs, I had to apply pressure to keep my fingertips on the knobs. Now, I place my thumbs inside the Aerie Knobs which significantly improves flight experience.

I am also suggesting these knobs for EVERY drone user as well. As mentioned before, the knob walls act like a failsafe while flying. Since the DJI Phantom 4 Pro’s RC sticks are spring loaded, they will recover to the center point if we let go of them sending the drone into a hover. If the sticks set back to center by accident, you'll have to retake that shot. However, the designer has implemented a wall that helps with this problem. Those that have flown with my RC testing the knobs, all noticed a different flying experience quickly. Of course, each of them needed to become familiar with the new feeling before really pushing the sticks hard.

Aerie Knobs are not available yet for the DJI Mavic Pro and Spark line, but the founders did say they are coming shortly.

Using Aerie Knobs with DJI CrystalSky

Many commercial operators use DJI’s CrystalSky, I believe. The knobs were not designed to be used with the monitor so I cannot say anything negative because of this. However, it is easy to work around the minimal issues with the knobs. Since the CS mount for the controller is wider than the stock or P4P+ RC, the knob’s walls touch the mount. Thus, decreasing the range in a movement of the remote controller’s sticks. There is still plenty of room to move the sticks though; I just needed some time with them to adjust my thumb movements.

The upper portion of the wall slightly toucher the CS RC mount.

The upper portion of the wall slightly toucher the CS RC mount.

Conclusion

If you are not using DJI’s CrystalSky, then these knobs are 10/10. Those of us that use the CS, I recommend these with a 9.5/10 rating. However, I have been informed that Aerie Knobs is now developing a knob specifically for CS users. Once the CS knobs are out, I have a feeling my rating will soon be a 10/10!

Like Aerie Knobs on Facebook - Follow Aerie Knobs on Instagram - Visit Aerieknobs.com

Drones as a Data Service

Drones as a Data Service

Pae Natwilai is the founder of TRIK, a drone mapping and 3D reporting software for structural inspection.

Pae Natwilai is the founder of TRIK, a drone mapping and 3D reporting software for structural inspection.

Drones on a Construction Site? | Baltimore Aerials

Drones on a Construction Site? | Baltimore Aerials

Drones on a Construction Site? My Advice for safe sUAS flying

Last week (this blog post is three weeks late LOL sorry), I finished up with a film production crew covering the construction process of the new Guinness US Open Brewery and Taphouse. Compared to previous construction related shoots, this one took my concentration to another level. Four to five man-lifts were moving, a crane was operating, and the parking lot was being paved. All of this was contained within a five hundred foot square, so there was a shitload going on all at once.

Here are a few of my top recommendations for safely completing sUAS flights in an active construction zone. These tips are all equally important and are in no specific order:

Effective Communication

baltimore aerials guinness harp

With so many parts moving at once, communication is essential on any construction site. Before the flights started, we had a general safety meeting held by the head of safety. When the safety meeting was over, I pulled the safety coordinator, crane operator, and those bolting the letters and Harp to the building aside for a second to explain my intentions. After our discussion, all parties were on board, and most people were excited to have the drone document these lifts. 

Spare Equipment

First, I must say I was a little disappointed to find out my main board in the P4P RC was shot. While I use this equipment five days or more out the week, my Inspire 1 controller still works like the day I purchased it (it's another year a half older than RC for P4P). On the first trip down to Diageo, I realized my RC was not holding a charge, and battery life went from approximately four hours of flying to 45 mins. Once the last light on the RC was blinking, I knew it was time to plug in due to a possible RTH if the RC died. So for the rest of the shoot, I stayed plugged into a car charger.

DJI chargers can sometimes be touchy when it comes to power coming out of a cars AC adapter, for example. This brings me to my next recommendation of carrying multiple chargers at all times. I have an AC converter to plug in, regular plug-in chargers (120) and then another made by DJI which plugs directly into the car's AC outlet. 

Having an extra drone(s) also helps in a pinch when one is not performing correctly. I always carry another aircraft just in case. This is important if heavy winds or rain becomes an issue on the shoot. At this point, I have a drone for every circumstance such as rain or heavy wind.

The mid-Atlantic summer can be tough on equipment. Specifically on electronics. The hot and sticky climate is not as bad as the winter's low temps and wind, but I have heard of drone user's iPhones or tablets turning off due to overheating issues. I flew continuously for almost six hours an did not experience device failure, but my P4P batteries did take a while to cool down. The Intelligent Battery's firmware does not allow them to be charged above a specific temperature threshold, so I ran the A/C at 70 Degrees and left the batteries a few feet from vents to cool. I would not suggest cranking the air con entirely either because that could damage the cells. Just bring plenty of batteries :)

guinness-baltimore-aerials

Safety and Awareness

Understand the objective of your flying. Ask yourself:

  1.  Why have you been asked to be a part of this project? 
  2.  What else is going on where or over I'll be flying?
  3.  Have I completed my pre-flight checklist?

Safety and awareness are both critical elements in a day of safe flying. A few months ago, I was setting up my Inspire 1 and noticed one of the Torx screws was loose. This is the screw that connects the prop adapters to the motor, a failure of this part could result in an accident. This is only one example of why we need to check our equipment before taking off. Awareness is the real-time thought process of our flying. There are many moving pieces on a construction site, and as mentioned above, focus is highly necessary. 

Conclusions

Every drone operator is different, these are just a few tactics I use to decrease or eliminate risk. In addition to these recommendations, planning your shots is also important. Ask for a shot list if one if not provided, asking questions to help perfect your craft is never frowned upon. The client wants what they asked for, so give them that and something more. Be yourself, be creative and most importantly have fun while working. 


Using ND Filters with Drones - The Exposure Triangle, ISO, Aperture & Shutter

Using ND Filters with Drones - The Exposure Triangle, ISO, Aperture & Shutter

The Exposure Triangle for Drones Defined


ISO-baltimore-aerials

ISO - this is the amount of light sensitivity for the camera’s sensor

  • As ISO value increases, the sensor’s sensitivity to light also goes up

Aperture ( P4P & I2 Cams) - the amount of light be allowed in the camera

  • This manual setting feature has an inverse relationship. For example when your value is f10 a minimal amount of light will be let in while f5 allows double the amount of light

  • High aperture (f11) number is best for depth of field

  • Medium value (f6-7) is good for a sharp photography

  • Low number (2-4) could be used for low-light conditions or night photography. At the lowest aperture number, the greatest amount of light is let in and depth of field is minimal


Shutter Speed - light gathered by the sensor

  • The longer the shutter is open, the more light into the sensor

  • When using a drone, shutter speed should never be sub 1/30-1/50 (of a second)

  • Personal sweet spot for aperture is 1-2 seconds

Exposure Triangle Diagram from PP


Personal recommendations normal flying conditions

  1. f/8 aperture

  2. 1/250 shutter

  3. 100-150 ISO

What are ND Filters?

ND filters reduce the amount of light entering the camera’s lens, simply put. I use these filters to prevent the consequences of overexposure occurring when taking an aerial photo.

Standard ND Ratings

ND4, ND8, ND16 & ND32, CP

The number associated with an ND filter indicates that how much light enters the lens in terms of a fraction.

  • ND4 reduces light by 1/4. An ND4 filter can reduce 2 stops of light, allowing you to slow the shutter speed from 1/100s to 1/25s.
  • ND8 reduces light by 1/8. An ND8 filter can reduce 3 stops of light, allowing you to slow the shutter speed from 1/200s to 1/25s.
  • ND16 reduces light by 1/16. An ND16 filter can reduce 4 stops of light, allowing you to slow the shutter speed from 1/400s to 1/25s.
  • ND32 reduces light by 1/32. An ND32 filter can reduce 5 stops of light, allowing you to slow the shutter speed to 1/60s.
  • CP - can reduce up to 1.6 stops of light, normally used when shutter rates are not able to be manipulated
    • ND4-16 specs provided by Polar Pro

When to use ND/CP

CP - used in many conditions to reduce glare when the shutter speed is not controllable

ND4 - dawn and dusk applications

ND8 - cloudy or mostly cloudy situations

ND16 - partly cloudy or mostly sunny

ND32 - very bright sunny conditions, I use for snow and water

Video Recommendations

I believe the video settings are dependent on the camera. For example, the Mavic Pro is rated to shoot 4k @ 30fps, but does it? I never shoot in anything past 1080p at 30fps because the camera isn’t writing true 4k files onto your sd card. Most of us are using the media captured for social media and other web purposes anyways, so there is no point IMO. A YouTube video titled “Towson University Aerial Tour in 4k” is bogus. Unless you’re watching YT to Vimeo through a modern TV with an extreme amount of bandwidth. Of all the clients I’ve had over the years, less than ten have asked for actual 4k files. Most request 1080p or 2.7k (UHD) which is what you’ll view through Xfinity or Fios. However, the more prominent named clients will want 4k so it's essential to use a drone that will process that quality if you're a commercial remote pilot. There were a few instances when I flew the whole time capturing video with the end user having intentions of pulling still images. Since day one, I have always relied on Polar Pro ND filters. While DJI has their line, I have found Polar Pro filters provide a better final edit. Besides, if you're looking for a more budget-friendly brand; Neewer is pretty good, too.

Never have AWB on auto...Ever!

Settings for P4P, X5S & X4S

Cinelike - P4P ( For Post Users / no processing)

Sharpness -1/0

helps with aliasing and moire

Contrast -3/0

encourages dynamic range

Saturation -1/0

decreases Artifacts - blocking areas

Settings for DJI Mavic Pro

Mavic Pro with Polar Pro ND

Mavic Pro with Polar Pro ND

Cinelike - Mavic Pro ( For Post Users / no processing)

Sharpness -2/0

Contrast -2/0

Saturation -1/0

How to change your settings in the DJI GO 4 App

Go to style -> custom -> change to your custom settings

Grid -> Grid Lines (shows if the horizon is level quickly)


These are only recommendations or guideline per say. ND filters and camera settings are just like working out, one program is not right for everyone. Half of the fun of aerial media is experimentation and playing with these filters. 

Contact us with any questions you may have about ND filters and drones. As always, happy flying!

Top 3 Drones for a Beginner in 2018

Top 3 Drones for a Beginner in 2018

During Summer 2013, a Phantom 2's MSRP was $549. Now, the current model Phantom (Phantom 4 Pro V2) will cost you around $1,499. In 2018, DJI released the Tello model which now competes with some of the more popular entry-entry level drones on Amazon. What is entry-entry level? Sub $100 drones with brushed motors with minimal flight time and a short range. DJI's Tello is capable of flying 300 feet and carries a 5MP camera with an integrated smartphone app. In early January 2013, the Phantom 1 was announced. This was break-through technology and labeled a "toy for adults" say, Daniel Huang. While the GPS technology wasn't brand new, it was within reach of the average consumer, meaning a user no longer had to complete a DIY build. Now, in 2018 we have the Tello that is capable of being programmed for flight, VR compatibility, and while using an app, the user can snap 360-degree pictures. While the Tello is not comparable to even the Spark model (DJI's next model up), the Tello stands out with an incredible amount of technology given the price. Let's discuss what you came for, the three top drones to get as a new operator. 

DJI Mavic Pro

top-3-drones-for-beginners-3

This model offers a few crucial traits as a new drone owner including portability, easy set-up, and stable firmware. The Mavic Pro is a foldable drone that will fit into any backpack easily. With a significant flight time of around 20 minutes (my personal average battery life landing with 30% left) and the remote control being extremely comfortable, the Mavic Pro is an excellent overall starter drone. Mavic Pros cost approximately $900, currently. To learn more about my thoughts on the DJI Mavic, visit my review here. 

Phantom Series from DJI - My Recommendation

Some may disagree, but the Phantom series is DJI's flagship. This model is what jumpstarted company started back in 2013. Personally, I believe the Phantom 4 Line is exceptionally stable. Flights are always smooth, and the drone can handle weather very well. I have flown the Phantom in winds with 35mph gusts, and it held tight in GPS mode. Phantoms are the best consumer drone because of the value. These drones come with the best cameras for the money, simply put. A Phantom 4 is definitely less than a Mavic, and the Phantom 4 Advanced and Phantom 4 Pro blow all other drones away at this price point. Autel has released a few Phantom copycats, which cost around $200 less. 

    Mavic Pro - Amazon
    Phantom 4 - Amazon

DJI Spark

With a flight time of 15 minutes, ActiveTrack and Gesture modes, the Spark is action-packed. There is one flaw with the Spark if you are going to drone meets, the WiFi connection interferes with those flying FPV. However, for the price, the camera is pretty good and the Spark fits anywhere. If you do buy a Spark, make sure the package you buy includes the remote control. For a while, DJI was listing the RC as an optional accessory which is required. 

Further Recommendations

My recommendation for the new user is a Phantom 4  refurb. It's $699 and takes a superior picture to the Mavic at $749. There is no doubt the Phantom takes longer to set up and it is a little more of a burden when it comes to transportation, but the Phantom is simply reliable. The Mavic is too, but the Phantom can also handle hard landings and a oppppps ohhh sh$t into a tree branch, the tragic fall to the ground is what does the damage LOL

If you have further questions about the three models listed above or another drone, feel free to shoot me an email. 

The Tiny Whoop Bug

1 Comment

The Tiny Whoop Bug

This past Sunday, I worked my way through the race heats and semifinals to win the novice class of our local Tiny Whoop race. I have been flying drones for quite some time now (mainly LOS rigs) and have been officially bitten by the micro FPV racing bug.

That's me LOL

That's me LOL

I’m writing this post to not only spread the word about Tiny Whoop racing but also to describe how fun this hobby is. On Sunday, May 20th, 2018 the DMV Droners MultiGP chapter held a pop-up race at Jailbreak Brewing Co in Laurel, MD. The track was fun and fast, even for an n00b like myself. Using Tiny Whoop’s TBS race gates, the LEDs lit the brewing area up! Besides, the public was able to enjoy the racing as the experienced pilots flew into Jailbreak’s taproom. 

Jesse Perkins, the founder of Tinywhoop.com and creator of the micro FPV society race community generously donated a custom TWR to the first place winner of the advanced pilot class. To learn more about Jesse, I reached out to Mr. Tiny Whoop with these two questions, his responses follow:

1. What do I love about Tiny Whoop Racing?
“I love Tiny Whoop racing because it's both competitive as well as casual. It seems like no matter how high-profile the races get we all keep the mood of the event stress-free and people are never too serious to laugh. It's easy to set up a racecourse anywhere- I've raced in restaurants, atriums, hotels, houses, gardens, huge trees, etc. Because the aircraft can't damage anything most venues are excited to host a race, and anyone not directly involved in the races, like unexpecting spectators, is pretty amazed by the tiny flying drones.”

2. How do I see the culture expanding in the future?
“Tiny Whoop is now the largest FPV community on Facebook in the world, and is likely the most-flown quadcopter on the planet, but it's amazing how many people are still learning about the fun that can be had with tiny flight. Understanding the freedom that comes with the gift of flight is a big deal, but there is a certain whimsy to being tiny in a giant world that is my favorite aspect. The international Tiny Whoop community will continue to grow, and I expect to continue to see local races and fun-fly events popping up in homes, bars, and restaurants around the world. It's clear that the best part of the entire global movement is the friendships created thru social Tiny Whoop events, and the more people experience, the more they seem to want to participate.”
 

How the Tiny Whoop Bug Bit Me

My love for the micro FPV drones started before Thanksgiving, 2017. I saw a video of little FPV drones flying through a coffee house in Fort Collins, CO on YouTube. Instantly, I thought to myself “I need one.” Well, I called my buddy up who was heavy into FPV drones at the time and asked for his help to build one. A few days later, I had my first whoop; a modified Blade Inductrix with a BeeCore board because I am using a FrSky RC instead of Spectrum. 

Once I posted the little drone on our local drone club Facebook group, interest among members peaked. Over the next few weeks, quite a few people that were and are still aerial rig users started to buy these little drones. Next thing I know, we have a MultiGP chapter set up, and we are organizing our first event. Forty pilots showed up to our first race in Alexandria, VA. It was a shit show LOL. We were overwhelmed and feeling the growing pains while we explored the micro FPV world head first. This past weekend was our third Tiny Whoop race, and it ran so smoothly, most pilots only had praise after the event concluded.
 

Micro FPV Society on the East Coast

Our race this weekend pulled pilots from all over the DMV and some from Pennsylvania and New Jersey. For The DMV Droners, this is a huge success! I’m not sure if the custom TWR brought the out of town pilots to the event, but damn it was awesome. Jeff Walrich and I split the race director responsibilities. He kept track of the laps, I started the races but what happened during the races was the special part. I asked Jeff why he loves to Whoop so much.

From Jeff: “I love Tiny Whoop racing because of how simple the quads are, you can fly anywhere and love being in different venues, which brings a unique experience to the pilot and the audience.   With the tiny Whoop quads, you can create your own look and theme with frames, canopies, and motors.  That is fun to me!

I have met so many different people since we started to have races.  Between races, people are talking about their quads and just having a good time.  Even with huge prizes at stake, we are drama free and encourage new people to the hobby. 

In fact, that is our mission on why we started the DMV Droners MultiGP FPV group.  We want to host “pop-up” Whoop events and spread this awesome hobby to other folks around the DMV area.  We always have an experienced and newbie level at our races, and often you see the experienced pilots helping the new pilots at our races.  We also have a “theme” to our races and where we hold them.  With the custom name badges at each race, everyone leaves with something!  This is a great community to be involved in. “     

As mentioned prior, the advanced pilots flew into Jailbreak’s taproom where the public was enjoying their food and beer. I have never seen drones bring so many smiles to people of all ages. The kids were running around chasing them, while parents wanted a go on the sticks. I think that is what captured my attention, to begin with, while people are wearing FPV goggles they are having a blast. In contrast to when a Phantom or Inspire is in the air, people are concerned you may be taking their picture without their permission and all that BS. 

People within the FPV community are more chill. I’m not sure if it’s because 107 people are burnt out and trying to figure out how to make it in a heavily saturated environment after spending their life savings on a Matrice package. Personally, I pick and choose my commercial drone gigs because the race to bottom as far as compensation for drone work has begun. Furthermore, we see that companies, even high-profile brands are ok with sub-par aerial media. From blown out skies to tilted horizons, the commercial drone industry is questionable. 

OK, so enough of the tangent, I apologize. 
 

Spreading the Tiny Whoop Vibe

Moving forward, the DMV Droners are hoping to have a race within Washington D.C.’s city limits soon. We hope this brings a lot of attention to the group and the micro FPV world. Of course, this race will be indoors as D.C. has the most regulated airspace in North America (maybe the world). I’m not sure if this has been done before, but just having a legal drone race in D.C. is a groundbreaking concept in itself. 

I continue to spread the word about these little drones, and you can fly them almost anywhere if the weather conditions are preferable. Recently, my fiance has picked up the addiction too. She loves it! While she may not be the fastest around the track, that’s not necessarily the end goal. Fun supersedes anything when it comes to hobbies, and I think this is the most enjoyable hobby I’ve found to date. 

Also, we are very inclusive. We have young pilots, old pilots, hearing impaired pilots etc. Two DMV Droners built the light pictured below to help everyone start the race evenly. Before this race, we used a whistle to start each heat. They built it to have a two minute countdown with final buzzer, too. Now, after running the light through many races, there is a final design. Travis and Dustin are going to reprogram the light, so the yellow to green light transition is random. The DMV Droners and Tiny Whoop racing is something I never see going away :)
 

You can see the yellow light counting down

You can see the yellow light counting down

The green light is on! Go!

The green light is on! Go!

1 Comment

Best Places to Fly Your Drone in Baltimore

Best Places to Fly Your Drone in Baltimore

Baltimore is filled with heliports and controlled airspace, but don't let that stop you from enjoying our city from above. Always check airspace regulations and NOTAMS before taking off. If you find yourself close to a heliport, give them a call. Let them know what you're doing, where you'll be flying, and at what time and day the flight will take place. Communication is always crucial, notify any heliport, airport, or seaport before flying. 

Now that all the safety jargon is out of the way, let's get into what you came for; the best spots in Baltimore to fly your drone. 

1. The Inner Harbor

While the Inner Harbor is full of tourists, it is an excellent place to fly. Ultimately, the benefit is you'll be predominantly be flying over water. Thus, the risk is minimized. From the Maryland Science Center to the National Aquarium in Baltimore, you'll be able to view our harbor and surrounding areas from the sky. 

2. Federal Hill

This area is beautiful from the air and one of the very first spots we flew back in 2014. While on top of the hill, you can view Pier Five and the Pier Six Pavilion. If you're local to Baltimore, you already know some of the best summer concerts in the city take place at Pier Six Pavillion. While many do not know this, Federal Hill is in controlled airspace. If you're flying under the FAA's 101 regulations, this may not affect you, but if you're operating under a Part 107, you'll need to acquire the necessary paperwork. 

3. Druid Hill Park

As you head south on I-83 into downtown Baltimore (from 83-North), there is a fantastic park called Druid Hill. This area is located directly off of the 28th Street/North Ave exit from interstate 83. With an extensive lake and running routes spread throughout this destination is one for any drone enthusiast. The park consists of 745 acres with a history dated back to 1652. 

4. Fells Point & Canton

With many marinas and maritime magic, Fells Point and Canton are other places a drone operator would love to film. Fells Point is named after an English settler who started a shipbuilding company in Baltimore during 1726. Once known as the areas for the three Bs of Baltimore; bars, brothels and boarding houses. While you're in town be sure to visit Alexanders Tavern, Bond Street Social, or The Point in Fells

5. Graffiti Alley

This place is a graffiti artist's dream. A legal area in Baltimore where artists can display their work without having the possible consequences of breaking the law. Tucked behind The Motor House, this L-shaped alley is a colorful plethora for photography and video. Come often because the art changes frequently!


5 Tips for Flying Your Drone During Winter

5 Tips for Flying Your Drone During Winter

A few local drone operators have contacted me about flying drones in sub-freezing temperatures recently on social, email, etc. So, I decided to write a blog post about flying in the cold. Here in Maryland, we’ve seen two weeks of daily highs temps in the teens. Winds have been moderate, but there have been gusty days, too. Here are my top five suggestions when flying when it’s cold AF outside.

Flying Drones During Winter Weather


1. Cold hands?

Personally, my most common issues are my hands becoming cold. I feel like my hands move in slow motion after only 30-45 minutes in the elements. Over the last few years, I’ve tried a few different remedies, but only one has worked for me so far. These gloves from REI are my favorite option for now. When it is windy though, I add a pair of Nitrile Gloves as a base layer to cut the wind.

2. Device battery life

Cold weather and electronics don’t mix well. Low temperatures decrease battery life in electronics and slow performance. A significant share of drone users uses apps on either iOS or Android devices which are rated to operate efficiently at specific temperatures. This article states iOS devices perform best within 32 and 95 degrees while Android can run between -4 and 122 degrees Fahrenheit. If your app crashes, DON'T PANIC! Restart the app and fly home. If a worse case scenario occurs, you may have to hit the return-to-home button if your drone has this feature built it. I only suggest using the RTH button in a emeregency situation such as your device completely dying, do not rely on this every flgiht.

3. Inspect your drone before and after each flight

During flight ice can build on props and condensation could form around electronics. Usually, I find ice only forms on my Inspire 1 props, but it’s possible this could happen on any drone. However, the Phantom series easily builds condensation around the gimbal and the underside of the drone. There are many variables which affect flying conditions though so make sure it’s safe before buzzing around.

4. Let your craft warm up before taking off

Once you’ve arrived at your launch destination, assemble your drone and power on. I let the drone and controller warm up while I verify all settings are correct in the app. Furthermore, I will allow the motors run for a minute or two to increase the battery temp. In recent DJI GO App updates, new notifications have been included to remind the operator that the battery is too cold for flight.

5. Keep your batteries warm

Sometimes keeping batteries warm is tough. For example, the Inspire 1 batteries were notorious for issues in cold weather. DJI released a battery warmer to help but once out on a hike it was still hard to do. To combat the problem further adding a small hand warmer into a lipo safe bag will help keep batteries warm outdoors.


Plan B: Fly from inside your car. I would recommend sticking your head out of the sunroof to maintain VLOS though. 

Feel free to contact me with questions or concerns about flying in the winter weather. Happy flying!

How Drones Significantly Improve Hurricane Research

hurricane-drones-blog

Drone technology has improved a lot over the past months, and not only for entertainment purposes but for various industrial and search and rescue operations. Drone tech has inevitably shaped the way weather stations and scientists predict the weather as well.

With the support of the government, new developments in drone technology were tested and proven to aid in the understanding of wind patterns, especially related to hurricanes and tropical storm systems.

Latest Micro Drone Technology

This cool new technology called CICADA (named after the insect) or Close-in Covert Autonomous Disposable Aircraft MK5 is a micro gliding drone weighing 35 grams that transports a tiny sensor payload and uses GPS for users to determine its exact location.

The CICADA MK5 is designed for deployment by aircrafts and it can glide 15 feet using its mini wings. This little device is assembled by robots and prototypes of these were made by the U.S. Naval Research Lab (NLR). Its glide ratio is also 3.5 to 1 or 3.5 feet for every one foot it gravitates.

Hurricane Research Process

drone-hurricane-research

These $250 microdrones are stacked into a cylindrical tube which fit up to 32 drones and launched by an aircraft using different methods. This tube is then thrown into the hurricane to collect data. Data used to detect hurricanes are transmitted using the CICADA’s antennas. The data gathered is mostly meteorological, biological and chemical information. The CICADA’s sensors report back humidity, temperature, and changes in air pressure.

Next Steps

hurricane-research-with-drone

Securing FAA approval and acquiring aircrafts are just some of the things the NLR needs to do in order to harness the drone's potential for high-risk advancements. More tests will lead to a better understanding of the benefits of this technology and prepare it for manufacturing.

Advantages

The CICADA drone was designed to be virtually silent without the use of an engine. This makes it lightweight so it can freely float in the air and able to record readings clearly without interfering noise from the drone itself. It is also a secret weapon for creating 3D models for forecasting cyclones.

Disadvantages

This only disadvantage to the CICADA is that it’s disposable, which is understandable since it will be hard to bring back such tiny drones. Their signal only lasts a day before they are entirely eaten up by the storm or before they hit the ground. For some reason, not all CICADA’s are destroyed when they land on asphalt roads. The ones found wholly broken were those that fell onto something sharp and had the sensors wrecked as well as the body.

Other Uses

Aside from its ability to gather weather readings, the CICADA sensors are highly favorable in determining enemy submarines or spy on enemy operations. The government isn’t quite sure where it stands on drones and their use, but with a tool like this, it seems drones could help them out in numerous ways.

How to Fix DJI Mavic Horizon in 5 Quick Steps | Baltimore Aerials

How to Fix DJI Mavic Horizon in 5 Quick Steps | Baltimore Aerials

I have seen a few operators get torn up on social media for not having a level horizon recently. In my experience, the DJI MAVIC is particularly susceptible to not having an uneven horizon after powering on. Using a non-level surface while powering up the Mavic is the problem, usually.

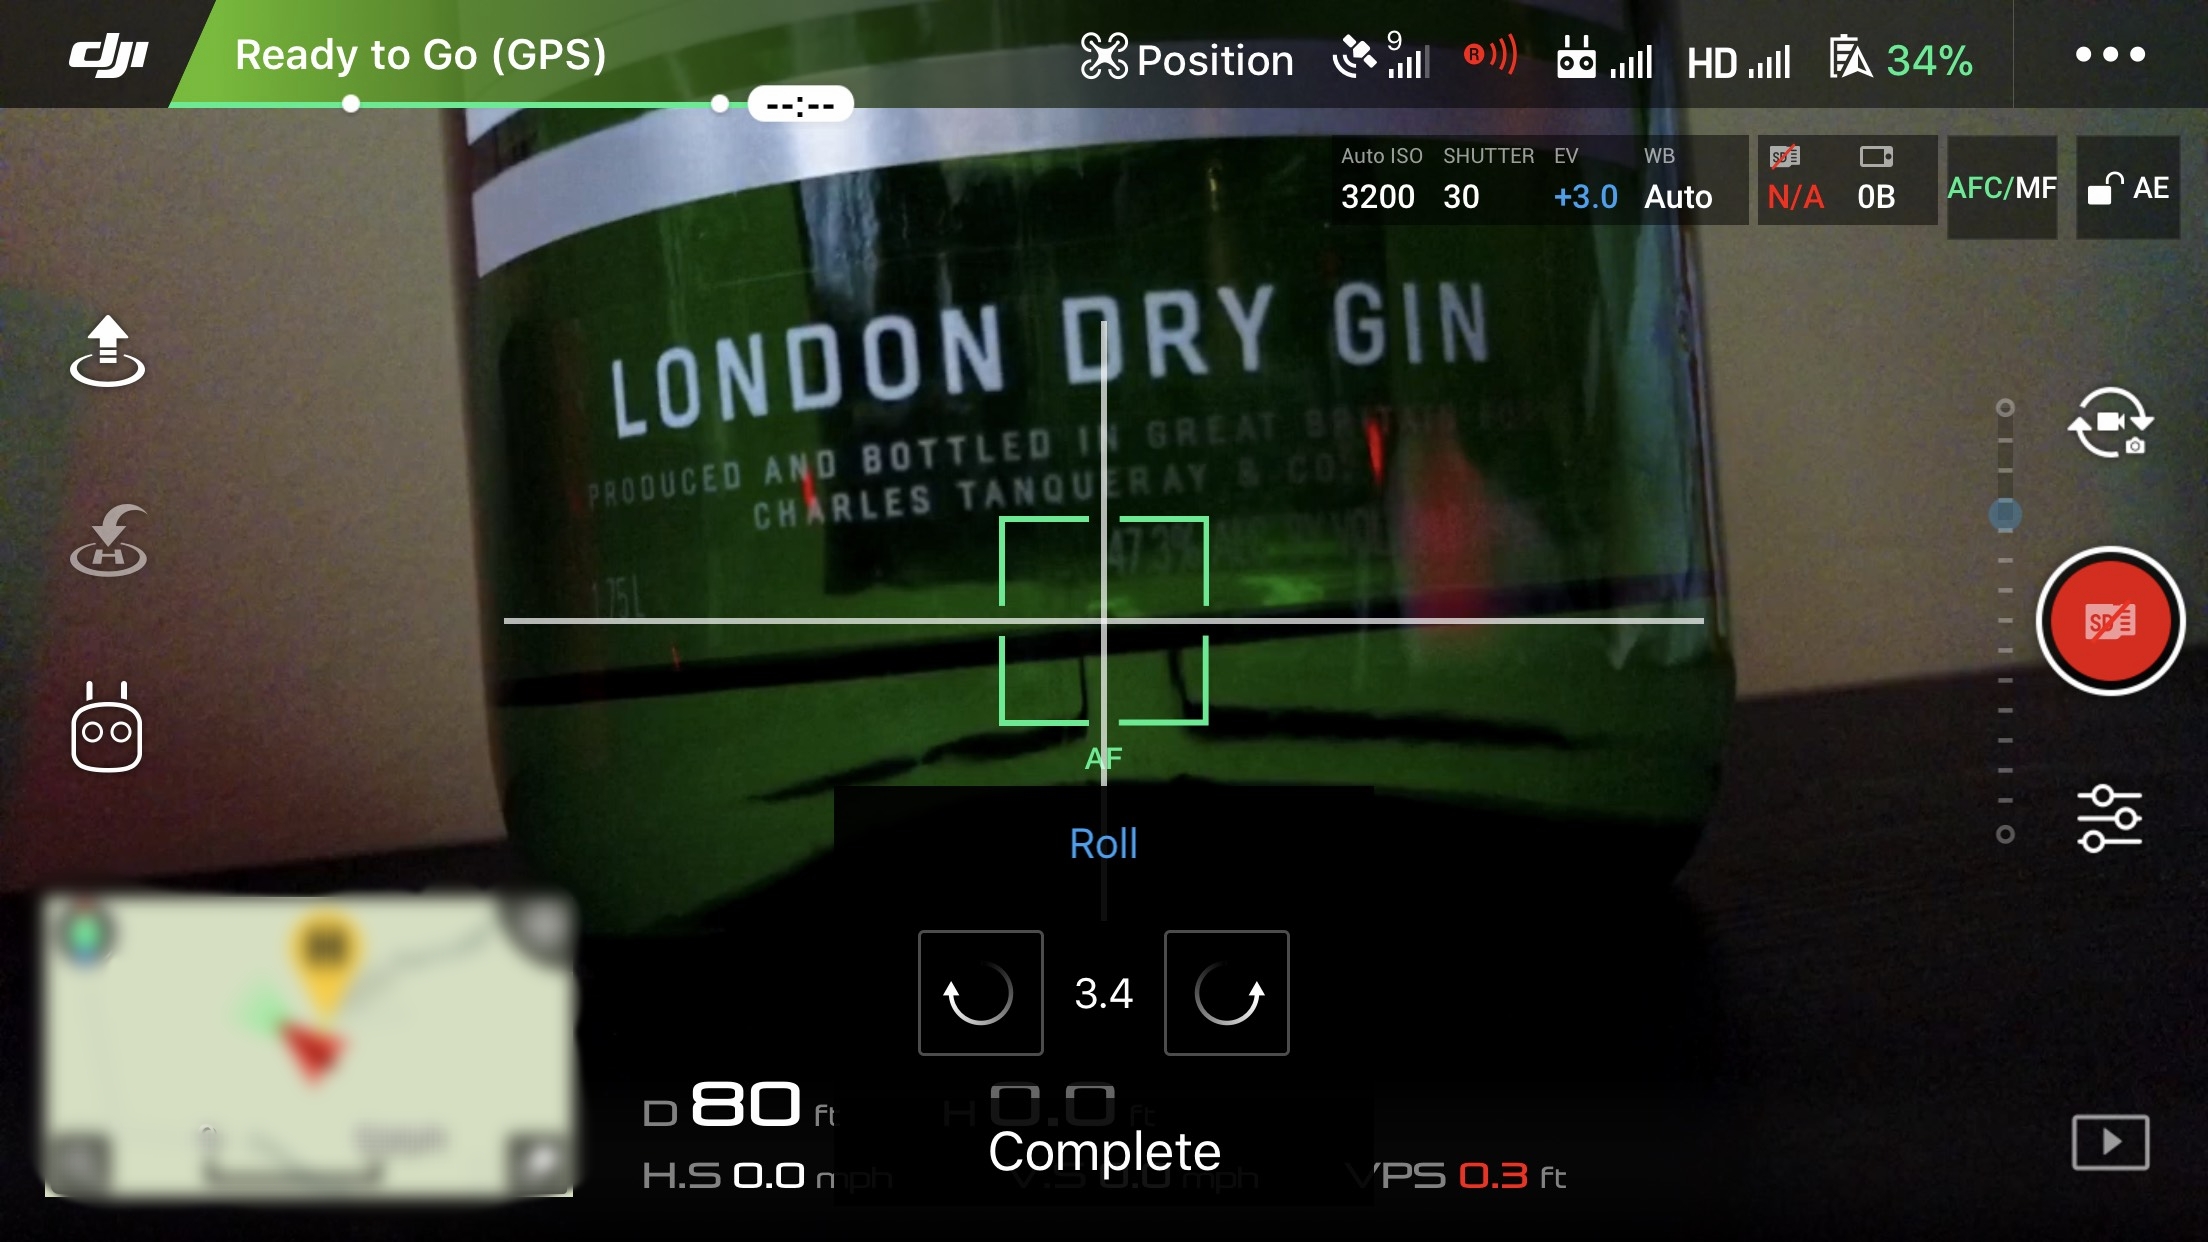
Below is a step by step guide to fixing the horizon on your DJI product. Click here to watch a 40-second video.

  1. Press the three horizontal dots in the top-right corner of DJI GO APP

  2. Tap the camera icon on the left side - 6th image from the top

  3. Click “Adjust Camera Gimbal”

  4. Use the vertical and horizontal guidelines to manipulate the gimbal level using the two arrows

  5. Once you’ve perfected the horizon, press “Complete” and have some fun!

Below are a few pictures comparing before and after the horizon has been adjusted.

Before correcting the horizon

Before correcting the horizon

After fixing the horizon

After fixing the horizon

Always verify you’re powering up on a level surface. If you use a pre-flight checklist when flying, add this as a step before taking off. Taking 30 seconds to complete this procedure will ensure you don’t have to worry about correction during post-production.

If you have any questions or would like another tutorial completed, please contact me.